The Cameras and Lenses Behind the Marvel Cinematic Universe — Phase Two
Let’s look at the cameras used to capture the entire Marvel Cinematic Universe. In this follow-up to our first article, we’ll explore the Phase Two films.
A continuation of a journey through the production of the Marvel Cinematic Universe. (Read about the cameras and lenses of Phase One films here.)
I was curious to know which camera was used most throughout the entirety of the Marvel Cinematic Universe (MCU). So I took a deep dive into each of the films to find out.
In this roundup, we’ll be looking at the camera gear used in Phase Two (2013-2015) of the MCU, starting with Iron Man 3 and wrapping up with Ant-Man. Stay tuned in the following days for the conclusion of this series of breakdowns.
MCU Phase Two Cameras: “Now, before we get started, does anyone want to get out?”
Iron Man 3
Director: Shane Black
Director of Photography: John Toll
U.S. Release: May 2013
Camera Package:
- ARRI Alexa Studio
- Phantom Flex
- Canon EOS C300 (for VFX)
- Lenses
- Leica Summilux-C
- Fujinon Premier
- Angenieux Optimo Lenses
- Zeiss Master Primes
- Canon EF
- Codex, ARRIRAW
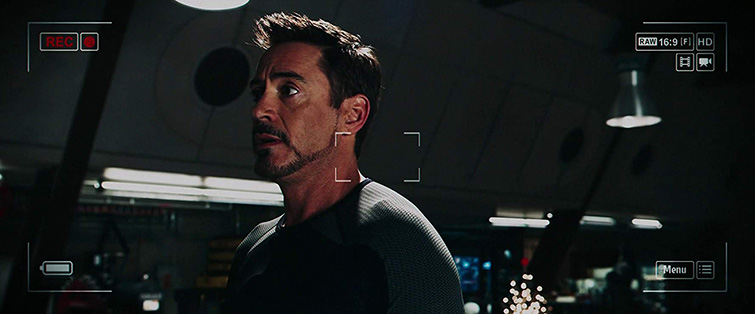
Iron Man 3 was the first film cinematographer John Toll shot digitally. In an interview with Definition Magazine, Toll says the following:
I was very interested in doing a movie with digital cameras, and exploring the whole medium . . . I love film, but obviously, there are reasons to use digital cameras on certain projects. Iron Man 3 was a good opportunity for me because I had the resources to do a lot of testing and to really explore how digital cameras work. I think part of the whole attraction of the digital world is convenience, especially for big visual effects movies. I thought it made sense for this project.
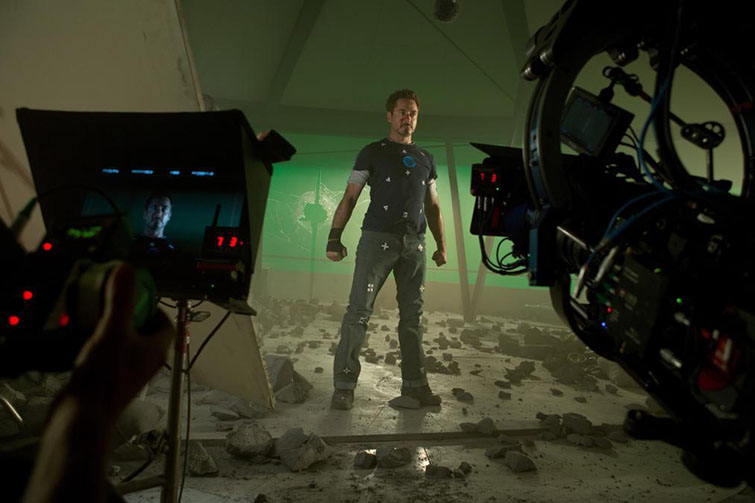
In a behind-the-scenes look from Canon, it was revealed that
Six Canon EOS C300 cameras served as ‘witness cameras’ for accurate close-up tracking of stunt actors’ movements. The footage captured using Canon EOS C300 cameras was then used by visual effects facilities as a reference to convincingly overlay photorealistic CGI of Iron Man armor, and other imagery, on to main-camera footage.
Visual Effects Supervisor Christopher Townsend went on to tell Canon the following:
The Canon EOS C300 witness cameras were placed on either side of our main picture camera and they recorded exactly what the picture camera was seeing, but from slightly different angles. Then, using various software programs and hard work, we were able to triangulate exactly where a person was in space, at any particular moment, and then overlay a CGI ‘character’ on top of them.
Thor: The Dark World
Director: Alan Taylor
Director of Photography: Kramer Morgenthau
U.S. Release: November 2013
Camera Package:
- ARRI Alexa Plus
- Phantom Flex
- Red Epic (some shots)
- Canon EOS 5D Mark II (second unit: crash camera)
- Lenses
- Panavision C-, G-Series, ATZ and AWZ2 Lenses
- Canon EF Lenses
- Codex, ARRIRAW, Redcode RAW
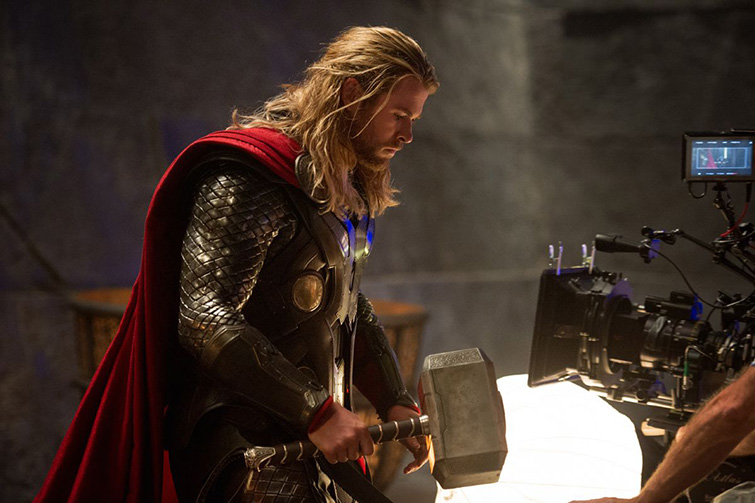
In a chat with The Location Guide, DP Kramer Morgenthau shared the following:
Shooting in Iceland ranks high up there in my lifetime great experiences as a cinematographer. It was absolutely stunning. We felt like we were shooting Lawrence of Arabia, but with black sand, and we were certainly inspired by that widescreen desert look, where the characters are very tiny in the frame and they’re a part of this huge world around them and the environments themselves become as much of a character as the actors themselves.
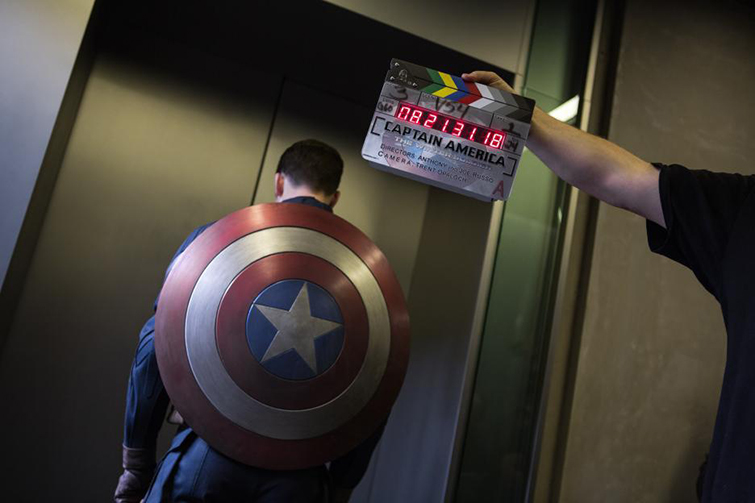
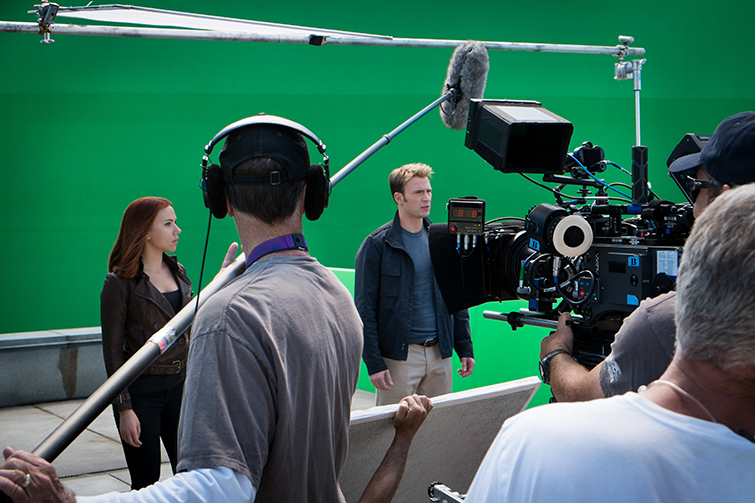
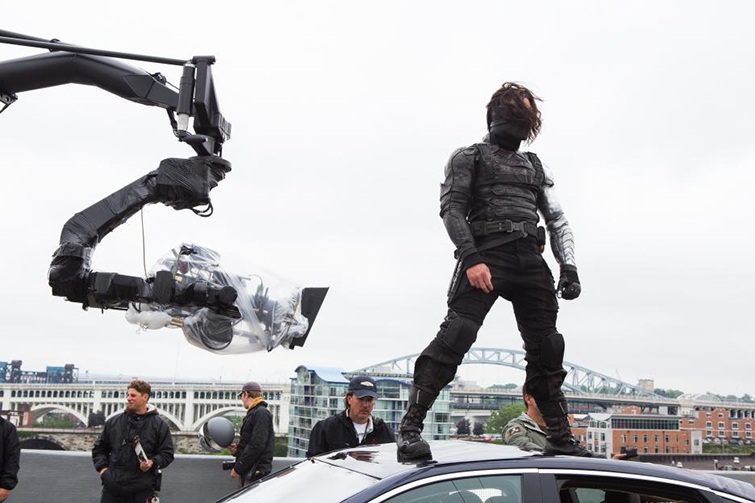
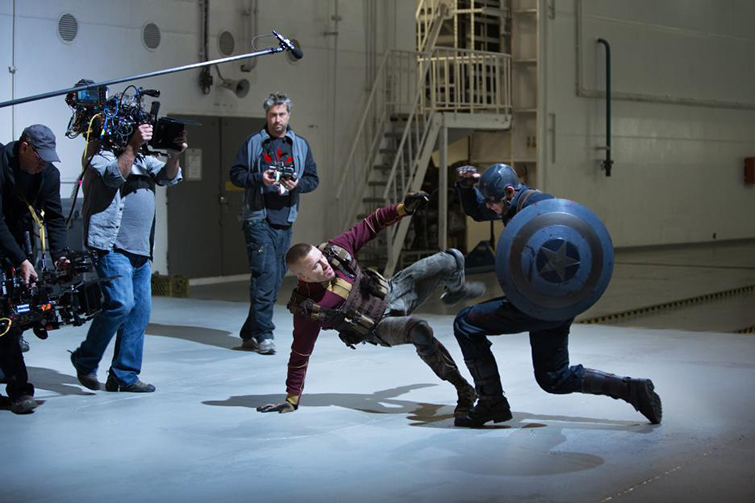
Captain America: The Winter Soldier
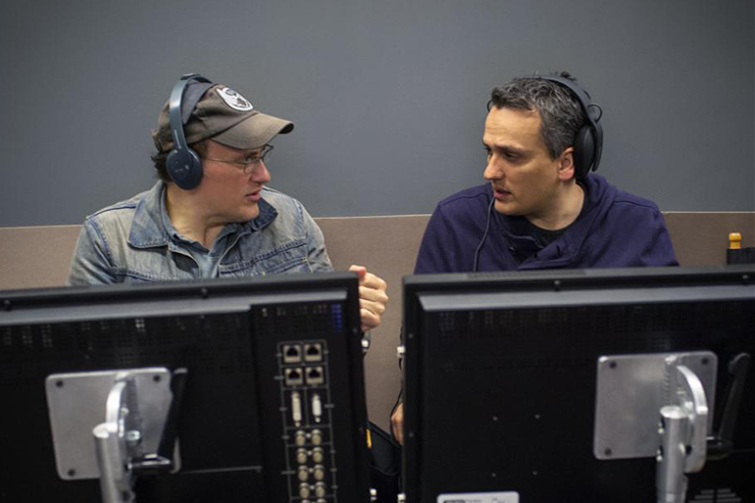
Directors: Anthony Russo, Joe Russo
Director of Photography: Trent Opaloch
U.S. Release: April 2014
Camera Package:
- ARRI Alexa Plus
- Red Epic
- Lenses
- Panavision C-, E-, G-Series, ATZ and AWZ2 Lenses
- Codex, ARRIRAW
This is the first of four epic Marvel collaborations for the Russo brothers and cinematographer Trent Opaloch. When talking about working with the brothers, Opaloch reveals the following in an interview with Matthew Toffolo:
I’ve actually worked with directing duos quite a bit in commercials, so it wasn’t that strange for me to step into that sort of thing for Winter Soldier. I got the call for the first meeting with Joe and Anthony Russo and I was really impressed with them — and their approach — and how they wanted the film to feel.
I actually don’t mind the director duo thing as long as they have their dynamic figured out between them. Different directing teams work in their own way that is specific to their combined personalities, so you get different approaches. The fact that Joe and Anthony are brothers is great because they have this great bond between them that goes back decades. And they’ve worked together on so many things — in films & TV shows — that they have a good system down.
As for the pre-production and shoot:
These films are heavily boarded and prevised, far more than anything else I’ve ever done. The previs process starts very early in the film’s development. So that’s when you have to get in there to help to start guiding the process along with the directors so that it fits in with what everyone is aiming for, and what the production team is going to do on set.
The Marvel films are incredibly collaborative and that’s a huge part of their success, I think. We have worked with the VFX supervisor Dan Deleeuw on these last two films. He is in charge of building the previs sequences. So that is an invaluable resource to start the discussion with the whole team before you get out there on the real-time clock, burning production money.
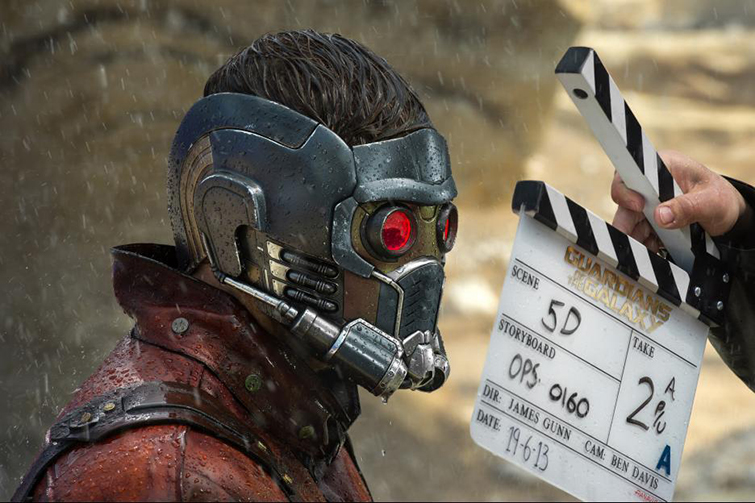
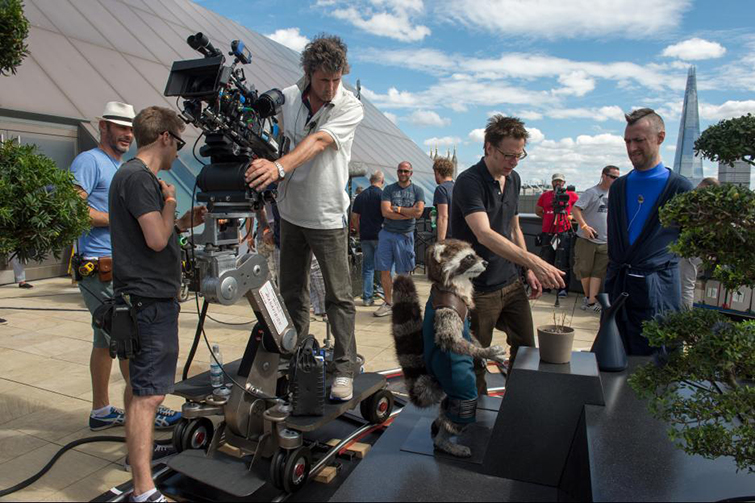
Guardians of the Galaxy
Director: James Gunn
Director of Photography: Ben Davis
U.S. Release: November 2014
Camera Package:
- ARRI Alexa XT Plus
- Lenses
- Panavision Primo
- Cooke Xtal Express
- Angenieux Optimo
- Codex, ARRIRAW
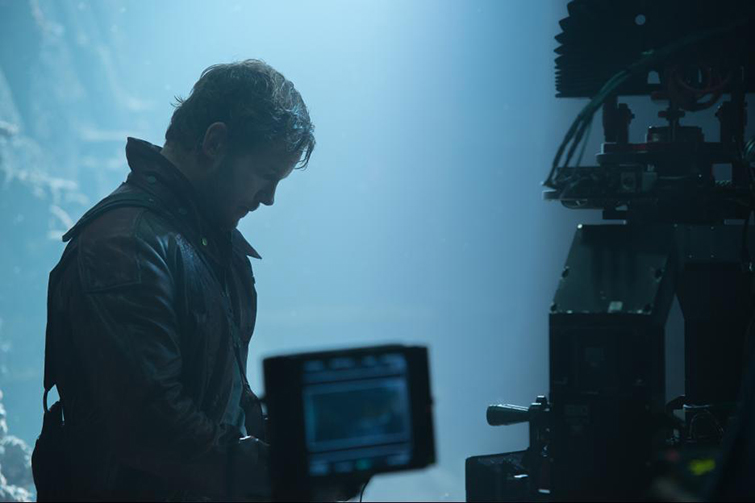
This was the first Marvel film lensed by Ben Davis, who went on to shoot several additional MCU installments. Davis wrapped Guardians and immediately went to work on Age of Ultron.
In a spotlight on Variety, DP Ben Davis talks about shooting the many worlds of Marvel:
Marvel is deferential to the source material, but often you’re very much creating a world and an aesthetic. You’re trying to take that material and elevate it to something different. On Captain Marvel, we had the benefit of a story that is set in the 1990s. There was an existing visual language, and a point of departure for decisions about color, camera movement, and so on. On Guardians, we were building a world from scratch.
While on the set of Guardians of the Galaxy, Davis recalls meeting director Joss Whedon:
He liked what I was doing and from that meeting to signing on to do Avengers: Age Of Ultron was a quick process . . . What he brings to The Avengers is very different to Guardians of The Galaxy. It’s earth-bound and a normal setting. But, in that, are these extraordinary characters and situations. Joss gives them a humanity through the writing, but in this one, he did set out to make it grittier than the original, which I loved.
(Bonus, check out this tutorial on creating Guardians of the Galaxy-style titles in After Effects.)
Avengers: Age of Ultron
Director: Joss Whedon
Director of Photography: Ben Davis
U.S. Release: May 2015
Camera Package:
- ARRI Alexa XT Plus
- Blackmagic Pocket Cinema Camera
- Canon EOS C500
- GoPro HD Hero 3
- Phantom Flex4K
- Red Epic Dragon
- Red Epic
- Lenses
- Panavision Primo Lenses
- Canon Cinema EF Lenses
- Zeiss Super Speed
- Panasonic Lumix G and Lumix GX Vario Lenses
- Codex, ARRIRAW, Redcode RAW, Canon Cinema RAW, Phantom RAW, CinemaDNG RAW
In a conversation with Studio Daily, DP Ben Davis talks about the scale of this production:
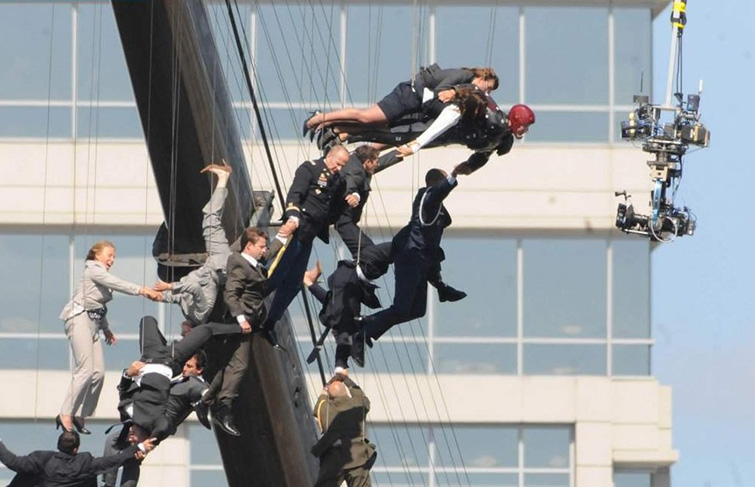
[O]n these big pictures, like Guardians and Avengers, everything is amplified and becomes much more challenging to manage. As a cinematographer, you want to maintain some sort of creative control over multiple units and crew. That’s why a large part of our job, these days, is done during pre-production.
As for the planning, Davis tells British Cinematographer about his approach to the look of Age of Ultron:
The aim was to get something very real. So we looked at quite a bit of war photography, which influenced the third act, featuring a big battle.
War photographers and camera operators don’t stand in the line of fire . . . so there are views not directly looking that way. But within this, we wanted to show each hero using his or her powers and put the audience in there with them.
As for the actual shoot, Davis is quick to credit his team of camera operators — Julian Morson on A-camera, Luke Redgrave on B, and Sam Renton on a third, when necessary. As for whenever Davis needs to grab a camera:
I need to be on top of the lighting and be looking at the monitors. If I’m on a camera, then I don’t have an overview of everything. Although during the big battle scenes, I did grab a [Canon EOS] C500 to do a bit of handheld shooting.
As for using the Pocket Cinema Camera, Davis revealed the following in a Blackmagic Design press release:
There are two large battle sequences, in particular, during the film. The first is at the beginning and the second features in the third act. And we very much wanted these to be shot as a war correspondent would cover news in a conflict zone. What we needed was a lightweight camera that we could then distribute around the set, during the filming of battle sequences, that would give us more than twelve frames of good quality HD material, that we could match with our main camera package. For this, we used eight Pocket Cinema Cameras paired with either a 14mm pancake lens or a 12-35mm zoom, which we then mounted to impact points around the set.
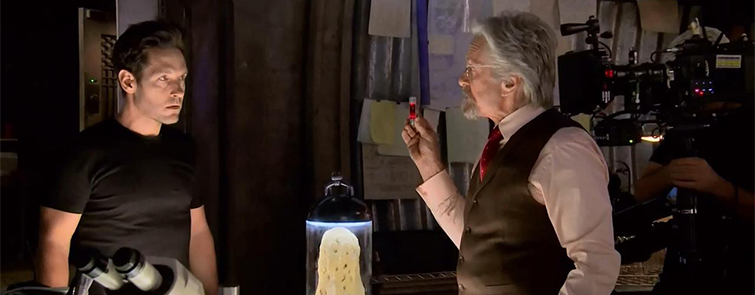
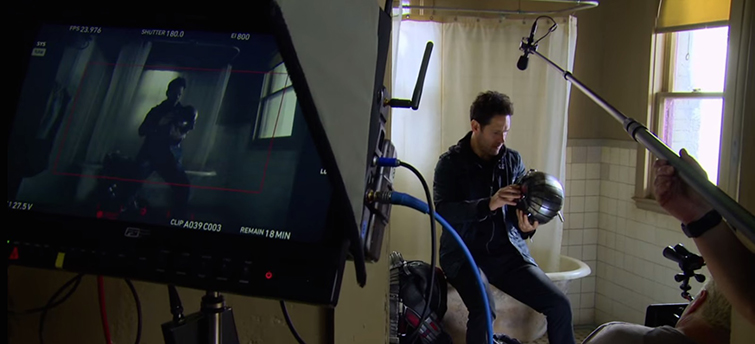
Ant-Man
Director: Peyton Reed
Director of Photography: Russell Carpenter
U.S. Release: July 2015
Camera Package:
- ARRI Alexa XT Plus
- ARRI Alexa M (fight sequences, helicopter)
- Canon EOS 5D Mark III (some shots)
- Phantom Flex4K
- Lenses
- Panavision Primo V, 14.5 to 150 mm
- Nova Lenses
- Canon EF Lenses
- Frazier lens
- Codex, ARRIRAW
In a great piece on ICG Magazine, many of the production staff share incredible insights. Cinematographer Russell Carpenter shares the following:
After going over the existing boards, Peyton [Reed] saw there were useful elements and decided it didn’t make sense to jettison everything that had been done before. So, he kept those storyboarded sequences that supported his personal vision for Ant-Man. I looked at the sets to see what could be done with respect to lighting, and production designer Shepherd Frankel worked with my gaffer Len Levine to introduce improvements. We had armies of people deployed to get things ready in time, since the release date hadn’t slipped.
As for the look of the film, Carpenter went on to say the following:
For a lot of recent comedies, I’ve kept my LUTs kind of ‘Kodak’ — saturated and upbeat. But this show needed something different that affected skin tones and the Ant-Man suit, which dates back to the 1980s, so it looks a little run-down. What I loved about this LUT was how it allowed the costume to retain the color but took it from fire-engine red to something a little more weathered. I baked it in with a bit more falloff, a little deeper in the toe. If I needed to see something in that toe later on in the DI, I had assurance that the information was there in ARRIRAW and I could bring it up.
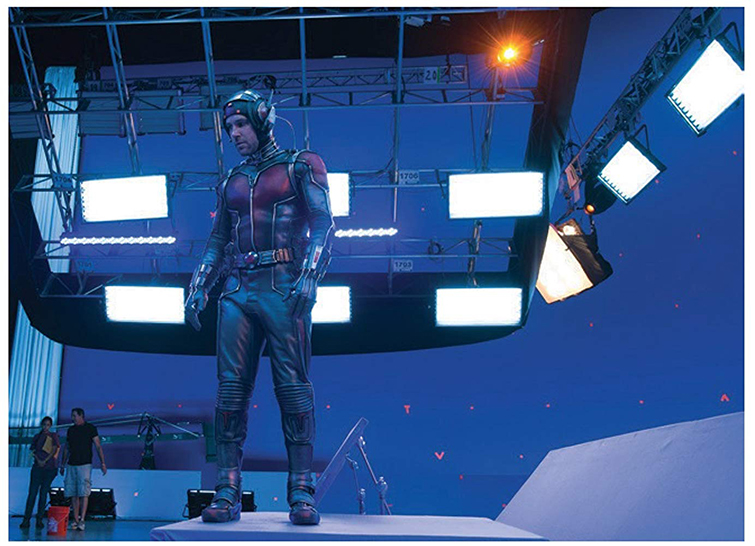
Now, as for the incredible macro sequences featuring a shrunken Ant-Man, Carpenter talks about the need for outside help.
There is a real art to working at this scale. One inch off the ground is like fifteen feet in the air. From an ant’s perspective, you move four inches — to a human perspective, that’s a football field! And when moving the camera, vibration becomes a tremendous problem, requiring careful consideration. It required thinking a bit outside the usual VFX box before we realized an expert and artful Director of Photography — from the world of commercial ‘tabletop’ photography — was needed. Based on her reel, it was clear Rebecca [Baehler] had the chops to take this on.
Rebecca Baehler joined the production, and she shared her microscopic insight:
We had renderings and previs, but until you actually get a lens where it needs to be, you can’t be certain of what you’re going to get. We had to rework things because no matter how careful the measurements, the looks and angles didn’t always translate. If there’s a crack on the floorboard, it is going to look like the Grand Canyon to an ant. I followed Russell’s lead in terms of using light to create mood, and we actually followed first unit chronologically about a week behind. When they finished with a set, they’d break it down and bring the relevant portions to me, on my stage. We might go from shooting a perspective looking up at the seemingly huge bedroom set, to peering down inside something that looked like an ant tunnel, where only a light head could get in to project a shaft. So, we’d find ourselves switching around from big Fresnels and 20Ks, to working off the end of a piece of light ribbon. Sometimes it would be high-tech, then down to a flashlight and a piece of tin foil.
That concludes the second phase of the Marvel Cinematic Universe. For the next installment — and a summary of the cameras most often used on Marvel films, check out Phase One and Three.
- The Cameras and Lenses Behind the Marvel Cinematic Universe: Phase One
- The Cameras and Lenses Behind the Marvel Cinematic Universe: Phase Three
Looking for more articles on filmmaking and video production? Check these out.
- The Cameras and Lenses Behind the Marvel Cinematic Universe
- Composer David Schwartz on VEEP, The Good Place and Arrested Development
- Breakout Director Kat Candler on the Best Festivals for First-Time Filmmakers
- Industry Roundup: Top Destination Jobs for Videographers
- NAB 2019: Our Favorite Releases from This Year’s Show


