
How to Use the Dynamic Trim Tool in Resolve

DaVinci Resolve has a unique take on trim functions. Learn how to maximize your workflow in this quick tutorial.
If you’re considering trying out DaVinci Resolve, there’s an important feature you need to know—this function is quite different in Premiere Pro.
These are the trim tools. (If, on the other hand, you’re coming from Final Cut Pro, you may be more familiar with how Resolve handles the trim functions.)
The ripple, slide, slip, and roll edits are all under one function in Resolve: the Trim Edit mode. Let’s check out what they are and how they perform different functions.
(For more on trim tools functions in Premiere Pro, check out this article.)
Dynamic Trim Edit
In Resolve, trim is a dynamic process. When you’re in the Trim Edit mode, you can complete different trim edits depending on where you place your cursor on the clip. This is a much faster process for performing edit tasks.
You no longer have to hit various keyboard shortcuts or find the particular edit tool icon. Remember, you need to be in the Trim Edit mode (T on the keyboard) to perform these functions.
Let’s take a look at how you activate each edit mode.
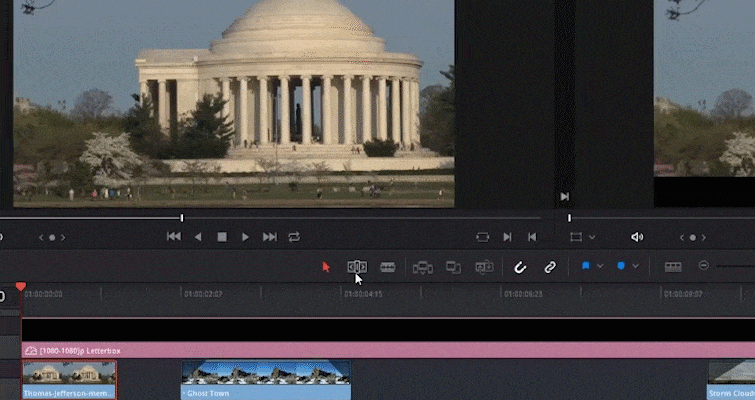
Ripple Edit
Bring your cursor just in from the edge of a clip to perform a ripple edit. The following icon will appear and allow you to proceed with a ripple edit.

A ripple edit will shorten or lengthen the beginning of an incoming clip or the end of an outgoing clip, but where the ripple edit differs from simply resizing the length of a clip, is that a ripple edit will simultaneously move all the clips on the track forward or backward (depending on the direction of the edit).
As seen in the GIF above, with the trim mode activated and selecting the edge of the clip, we also move the corresponding clip forward instead of eating into it. Ripple edits do change the duration of the overall timeline, and they can also alter the sync between different tracks.
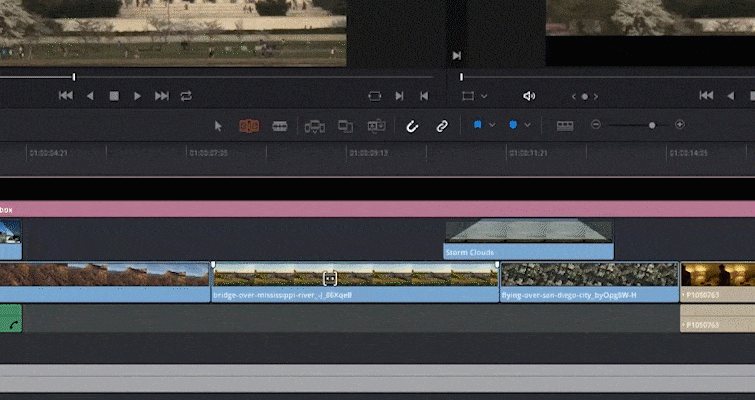
As a side note, if the edge of your clip is highlighted green, that means the clip still has unused footage—so you can extend it. If the edge is red, that signifies there’s no more footage to work from.
As you can see in the still below, I’m trying to perform a roll edit, but I’m unable to do so because I have no extra footage in both clips to work with.
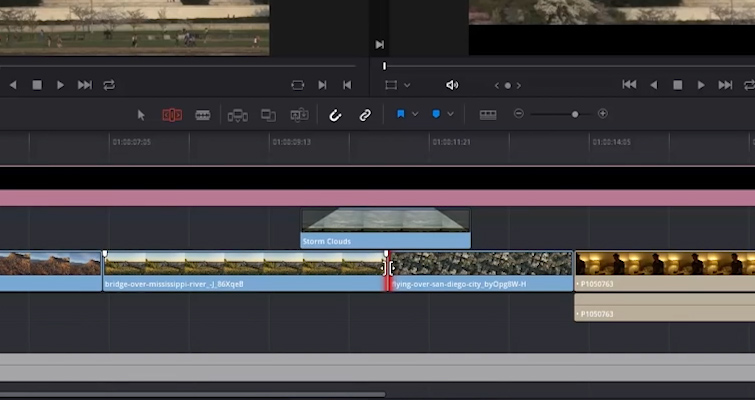
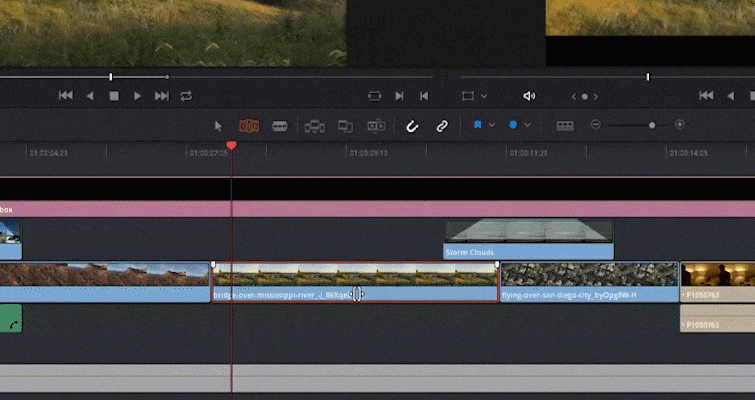
Roll Edit
You can perform a roll edit by placing the cursor directly within an edit point or two clips. When the cursor is between both clips, the following icon will appear.
A roll edit will move an edit point to the left or right by either shortening the outgoing clip or lengthening the incoming clip. Unlike a ripple edit, a roll edit doesn’t change the duration of the overall timeline.
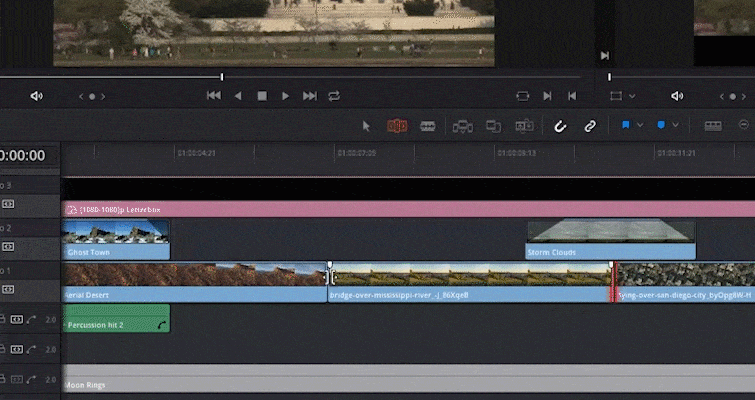
Slip Edit
It’s easy to accidentally perform a slide edit instead of a slip edit, as the area from one tool to the other is minimal. Place the cursor on the frame thumbnails to perform a slip edit while in Trim mode.
This is one of my favorite trim mode edits. A slip edit will keep the media within the same spot in the timeline, but it’ll change the range of media that appears in the spot. This allows you to use the media information before or after the current edit points.
You have to have the thumbnail previews activated on the timeline to perform this dynamic edit. If, however, you prefer to edit without the thumbnail preview, you can also increase the track height to display an extra area of solid color to perform a slip edit.
However, increasing the track height adds an extra step and diminishes the efficiency of the Dynamic Trim function.
Slide Edit
As you might have guessed, the slide edit involves placing the cursor underneath the thumbnail previews and onto the area with the clip’s filename.
Like the slip edit, a slide edit will keep the clip’s range of media the same length, but move that clip to the left or right. Doing so will shorten the outgoing clip to its left, while lengthening the incoming clip to its right (or vice versa).
Dynamic Editing
The trim edit tools are indeed an efficient way of editing, and you’ll quickly find yourself saving a lot of time if you make use of these tools, as opposed to painstakingly moving the media clips and increasing the length as you go along.
If you’re interested in dynamic editing in Resolve, I’ve created an easy-to-follow tutorial series that covers the basics of editing in Resolve. You can follow along episode-by-episode by starting with the video underneath.
For more on DaVinci Resolve, check out these articles:
- Fix Out-of-Focus Footage With This Simple Tip
- DaVinci Resolve 17’s System Requirements
- Methods for Debanding Your Footage in DaVinci Resolve
- How to Move a DaVinci Resolve Database to Another Computer
- A Focus on Resolve 17’s New Masking Tool: Magic Mask
Cover mockup image via sdecoret.


