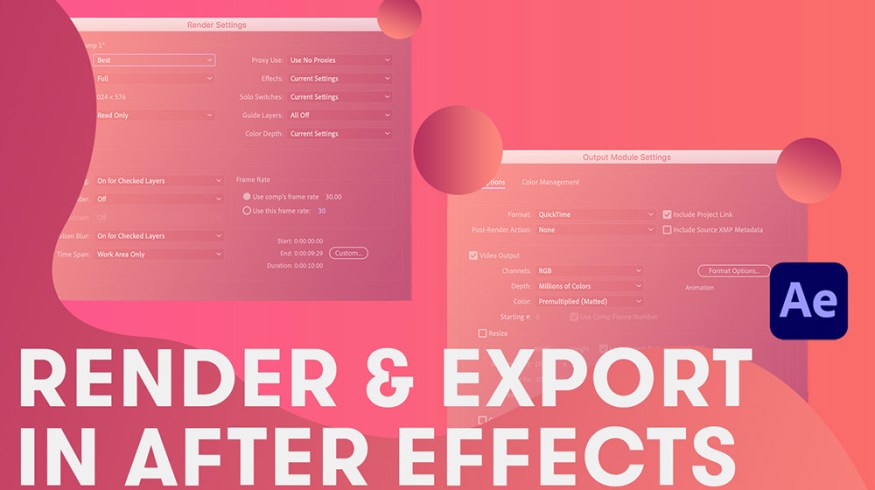
How to Render and Export in After Effects
Wrap your head around this easy-to-follow guide to rendering and exporting your After Effects projects.
Navigating the After Effects learning curve can be a brutal experience. There are still moments when I find myself sitting in front of my computer, just staring into the monitor in a confused, defeated daze, trying to understand why it seems like the program is purposely doing the exact opposite of everything I want it to do. Did Andrew Kramer have days like this? Probably. Because After Effects shows no mercy.
There are countless reasons one can find themselves staring into the After Effects void, especially for people new to the program. For instance — after working on a project for hours and hours, you somehow cross the finish line. It’s finally time to render your masterpiece. And then your jaw goes slack. Your eyes meet the void. Because, doh — you don’t know how to render or export anything out of After Effects.
Don’t fret. We’ve been there too, and now we’re here to help.
The settings you set up for your render are crucial to the quality and final look of your project, so you have to get it right. Don’t panic. Don’t overthink it. Just take a look at the following steps, and rest assured that this process will soon be second nature. Let’s do this.
Rendering, Exporting, and Encoding: Here’s What’s What
Rendering and exporting are terms frequently used fluidly and interchangeably in the industry. Like, here’s a conversation that would never happen:
Me: “Okay, give me a few minutes to render it.”
Them: “Well, no. Can you export it instead?”
From a technical standpoint, they do mean different things. Rendering is commonly used as a general description of the process for exporting and encoding a video.
Exporting refers to the actual process of preparing clips and effects and covers the encoding that turns them into a whole new file.
It might help to think of rendering as an overview of the exporting and encoding process. For what it’s worth, most of the motion designers I know refer to their exports as “renders.” You do you. We’ll know what you mean.
Are Pre-Rendering and Rendering the Same Thing?

Short answer — no. To watch a real-time playback of a composition, After Effects is going to need help from a pre-render. If you’re done working on a certain section that is pre-composed, then you can export that one portion of it so that it plays like a video file.
Doing this takes the stress off your computer which otherwise would have to start rendering effects in real-time when you hit play. Pre-rendered video files will playback at draft quality so that it’s a lighter load on the computer, allowing After Effects to perform significantly better.
What Is This So-Called Render Queue?
The render queue is where you edit the settings for your video and then render it to a single final video file. Think of this window as a waiting room for your compositions. The render queue lets you set up multiple compositions to be rendered with just one click. (There have been projects where I’ve had to export more than 60 compositions.)
In the render queue, you have three sub-menus to go through — Render Settings, Output Module, and Output To.
Most of the time, unless you’re creating a pre-render or proxies, you should have this at Best Settings. After Effects defaults to this setting, but if it’s different for some reason, it’s easy to change. Just click the dropdown arrow to the right of Render Settings and a small menu will pop up. When it does, just click Best Settings.
Most of your changes will be made in the next two sub-menus: Output Module and Output To. In Output Module, you get to choose the format, codec, color depth, channels, and audio output settings. No matter the rig you’re working on, the animation codec and QuickTime Format is the best way to go for 99% of After Effects Projects. It has a well-balanced “quality/file-size/render-time” ratio.
In the channels tab, you can export RGB, Alpha, or RGB + Alpha. If you’re creating graphics to lay over video, you want to pick RGB + Alpha. If you’re making transitions, you go with the alpha channel. If a composition is covered corner to corner with graphics, go with the RGB.
In the Output To sub-menu, you simply choose where your single video file will be exported to on your Mac or PC.
The render queue is intimidating at first because of how many big windows pop up when you click these small blue words. Trust us, it’s only a matter of time before you’re flying through these settings and pumping out fantastic-looking renders.
Typical Render/Export After effects Workflow

- Composition > Add to Render Queue or File > Export > Add to Render Queue
- Double-check that the Render Settings are on Best.
- Go through the output module and change the settings you need to for your specific project.
- Navigate to Output To and choose the folder or hard drive where you want to save your video.
Learning and getting comfortable in the render queue window doesn’t take a lot of time. Most of the time I export a project, I use the same settings. This is because the animation codec and QuickTime format work perfectly for almost every project. Once you’ve spent some time with the render queue, you’ll be comfortable with and efficient at exporting multiple compositions at a time.
Hey, we heard you love After Effects content. Same. Check it out:
- New to After Effects? Here Are 10 Must-Know Keyboard Shortcuts
- Basic Screen Replacements (with Reflections) in Adobe After Effects
- How to Create and Change a Solid Color Layer in After Effects
- Using Motion Graphics Templates for More than Lower Thirds and Titles
- Create Seamless Background Loops in After Effects