Fix It in Post — Four Ways to Save Your Film in Post-Production
Relying on any aspect of post-production to repair your project is a bad idea. But there is a right way to “fix it in post.” Here’s what you need to know.
In this write-up, I’ll take you through four post-production tricks I used on my latest short film to eradicate errors and elevate the production value in nearly every scene.
To avoid spoilers, I recommend taking a look at the film before watching the tutorial!
1. Visual Effects
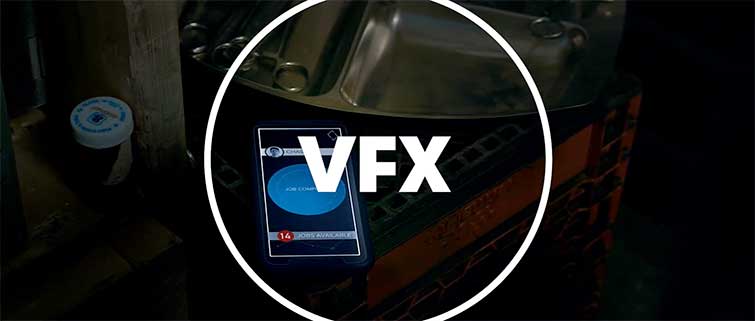
Simple visual effects are significant ways to elevate the atmosphere in your movie, without breaking the bank. I recommend looking at how David Fincher regularly uses this to his advantage in most of his productions.
Visual effects can look like basic flare assets, sky replacements, or (in our case) a stormy sky in the background of our wide establishing shot.
Check out the Shutterstock assets we used here.
2. Sound Effects
It’s no secret that sound effects can make or break a movie. I have plenty of videos dedicated to this very topic.
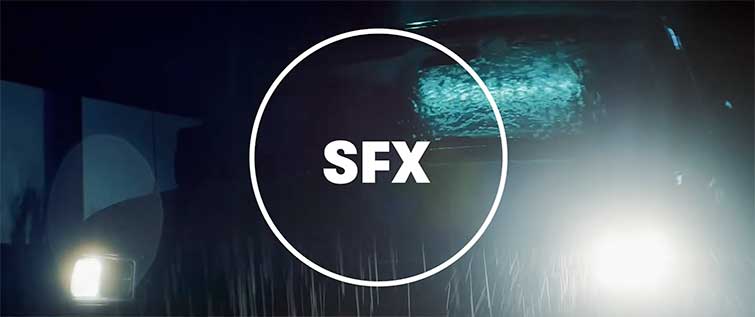
But, something less well-known is that sound design can be a killer tool for solving problems during production. On my short film “Freelancer,” I couldn’t afford a big budget rain bar to create the storm we wrote in the script. So, rather than eliminating the entire effect, we scaled back the practical elements and expanded the auditory. I find that if the shot feels flat while I’m filming it, I’ll experiment with layering juicy sound design under it.
In our storm scene, we had a cheap garden hose and some pesticide sprayers squirting water over our van. It sounded weak and low budget and just didn’t cut it. So, our post sound designer and I decided to layer the scene with multiple sound effects, foley, and music — to pack more of a punch and boost production value. The stormy result was exactly what we were going for!
3. Color Grading
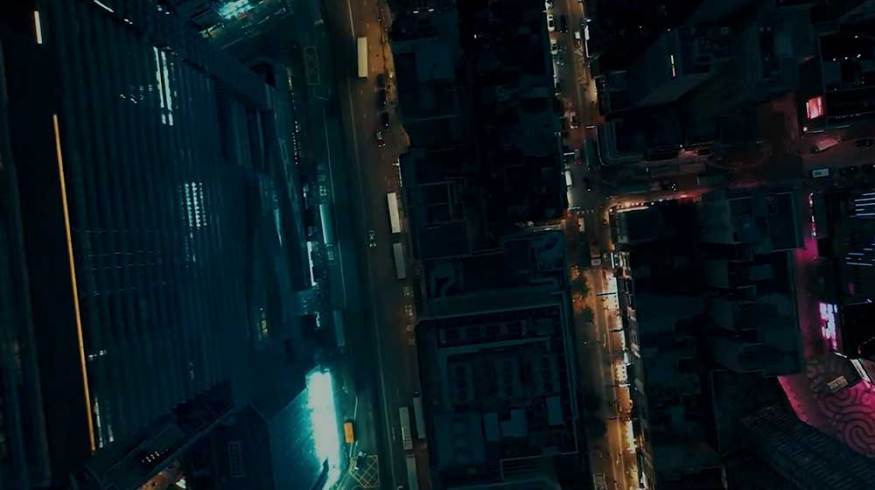
A good color grade can not only make your movie more cinematic, it can also make unusable shots . . . usable. I had an overhead stock footage drone shot that I wanted as the establishing coverage of my world. The only issue: the shot didn’t fit the rest of the film. But, with proper color grading and styling, the overhead shot went from looking like a sunset to a neon nighttime, which fit my project perfectly.
Above all else, the key to fixing it in post is to know how you’re going to fix it before you get there.
And if you’d like more tips from the making of this short film, check this out.
4. Cropping and Scaling
No dolly, no problem. At certain points while filming, I wanted the camera to continuously move through the scene to build tension. Sadly, since I couldn’t afford the price of high-end zoom lenses or the setup time of dolly tracks, I resorted to using digital scale-ins and -outs. We achieved this by filming my shots at a higher resolution (6K-8K) and planning ahead for digital keyframing.
Looking for more post-production tips and tricks? Check these out.


