
Pre-Production Tips: How and Why to Break Down a Script

In this video tutorial, I go over one of the most important parts of pre-production: how to breakdown a script — as well as why it’s so useful.
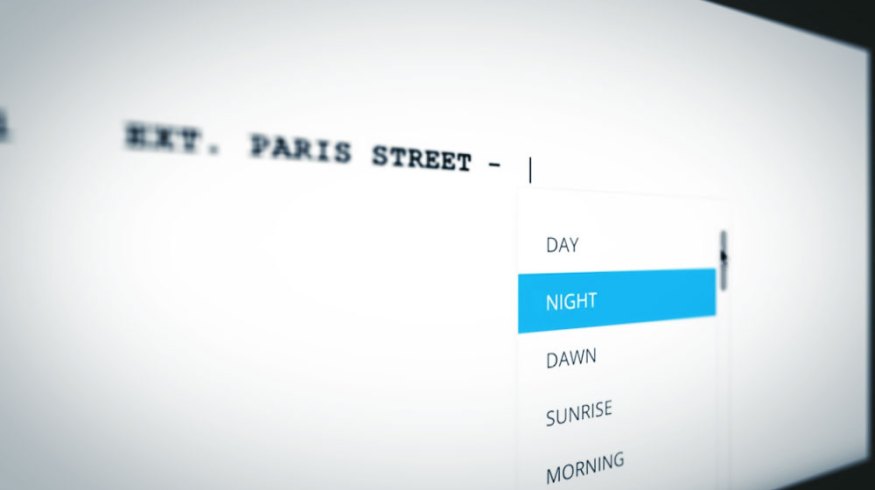
In my last tutorial, I focused on how to format a screenplay. Since that’s done, I’m now ready to break down the script. So, why do we need to do this?
Well, the breakdown helps a film crew prepare for production. With a proper breakdown, a production team can isolate all the necessary elements, put together a shooting schedule, create a shot list, and generate script sides.
You can do this by hand, but remember: it’s 2019 — computers exist. There are many tools available to help facilitate this, but I’ll be using StudioBinder for this tutorial. Now, let’s take a closer look at how to do this.
Line the Script
The first step in breaking down a script is to separate it into filmable scenes. This is called “lining the script,” and it’s quite easy when things are properly formatted. First, I’ll divide scenes via the scene headings or slug lines. Next, I’ll break each page down into eights. Dividing each page by eighths helps me figure out the timing and scheduling of each scene, and the film as a whole. Since one page of a screenplay is generally translated as one minute of screen time, using eighths just provides extra precision.

The beauty of using StudioBinder is that it’ll automatically do this step for you. When I go to the breakdowns section, I can see that each scene is already separated by scene heading and measured by eighths. For example, scene thirteen of my script comes in at 4/8, which is half a page in length.
Isolate the Production Elements
With the script properly broken into scenes and divided by eighths, I’m now ready to isolate all of the production elements. StudioBinder makes this incredibly easy in the breakdowns section via tagging.

To tag an element, I simply need to highlight then select a category. Elements include anything that’s going to be onscreen, including cast members, props, VFX, makeup, set dressing, etc. For scene thirteen, I have a number of elements:
- ELI — cast member
- Sunglasses — costume
- Phone — prop
- JANE — cast member
- Blinking Marker — VFX shot
- MAN — cast member
Each element has its own color code, and I can add categories as needed. If you’re doing this by hand, you’d simply use different highlighters or pens.
Create the Breakdown Summary Sheet
Once I have all of the elements isolated, I can now put together a breakdown sheet. With this step, I’m essentially categorizing and listing out all of the elements from the breakdown for each particular scene. Tagging the elements with colors makes this step extremely easy.

Again, StudioBinder automates this step. It allows me to quickly view all of the elements, print out scene breakdown reports, and even prepare sides for cast and crew members. Check out the simple breakdown of scene thirteen below. All of the elements are now listed and categorized by color, making it clear what’s needed on the shoot date.
When I’m finished, this report will allow me to quickly and easily see everything I need to think about and have prepared, leading up to a shoot day. With my script breakdown in hand, I’m now ready to move on to the next stages of pre-production.
Interested in the track we used to make this video?
- “Sunny Destination” by Vincent Tone
Looking for more on working with scripts? Check out these articles.
- Industry Insights: The Ins and Outs of Working as a Script Supervisor
- Pre-Production Tips: The Basics of Breaking Down a Script
- The Right Way to Give and Receive Feedback on a Script
- Learn How to Speak Filmmaking: Formatting the Screenplay
- Tips for Rewriting Your Screenplay Without Starting Completely Over


