How To Make How-To Videos and YouTube Tutorials
How-To videos are in demand. Learn how to secure clients and take advantage of this growing medium.
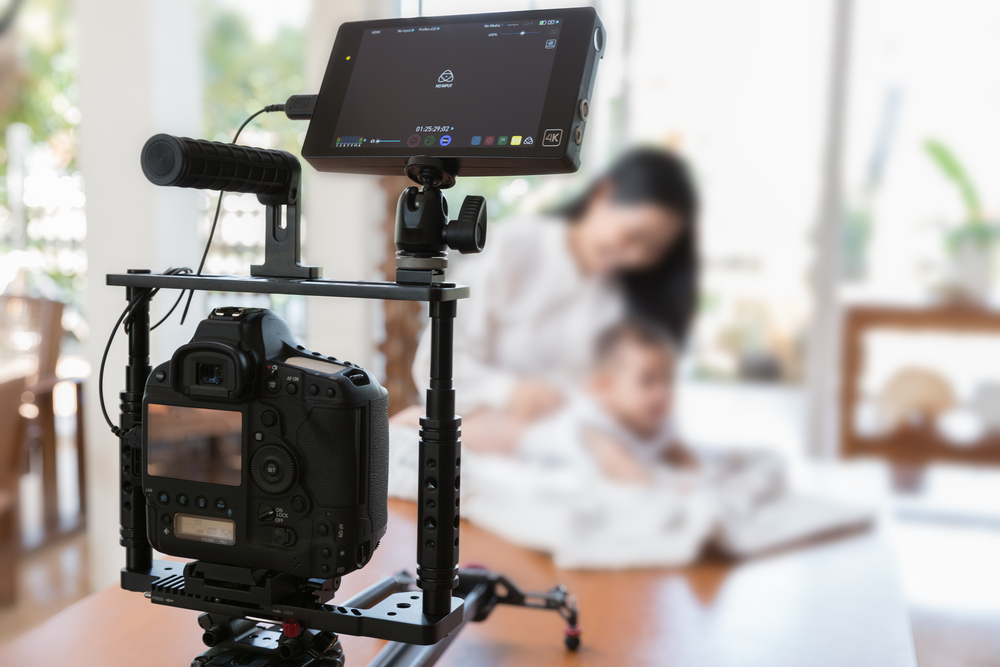
Top image via Seth Doyle.
The how-to video is changing the landscape of online video, and we, as filmmakers, no longer have to limit ourselves to old-school 30-second television ads. Since 2014, searches related to “how to” content on YouTube grew 70% year-over-year.
Social media platforms like YouTube, Instagram, and Facebook have opened the doors to new and engaging types of content — content that builds relationships with our clients (and our client’s clients) and offers true value to our customers.
 Image via Google.
Endlessly engaging and effective at generating and nurturing leads, how-to videos are cheap to produce and offer immense value to our corporate video clients and their customers. Companies like Columbia, Starbucks, and Google are producing value-laden, branded how-to videos for their customers in return for brand loyalty and higher marketing ROIs.
In this post, I’ll walk you through my process for producing a value-laden and entertaining how-to video for your corporate video client (with tips, techniques, and a few free pdfs along the way).
Let’s dive right in.
The Three Types of How-To Videos (and When to Use Them)
The Entertainer
Video via Carmel Gatchalian.
The Entertainer is a top-level video marketing tool. It’s most effective during the interest-building phase of your client’s sales funnel (e.g. “I really enjoyed that video! I’m going to visit the company’s website to learn more”).
Done effectively, the how-to video entertains your audience while also showcasing company culture. Rack up a bunch of views and shares by uploading these to your client’s social media pages.
The Teacher
Video via Huckberry.
The Teacher is most effective during the learning phase of your client’s sales funnel, and many companies (like Columbia) will offer entire how-to video libraries that cover concepts related to their products.
The teacher can describe a process, a simple task, or even more theoretical subjects. Vimeo’s Video School offers several how-to videos related to film production that take this approach.
The Process(er)
Video via KORDUROY.
The Process(er) does exactly what you might think. It walks your audience through a step-by-step process. It’s most effective at educating your client’s target market on subjects that relate to the client’s products or services.
Of the three types of how-to videos, the process(er) offers the most tangible value to the viewer (e.g. “I didn’t know how to do X. Now I know how to do X.”)
This guide will focus on how to create this type of how-to video.
So, let’s get to it.
Step 1: Determine If Your Video Client Will Benefit

Image via Shutterstock.
Before approaching your client about producing a how-to video, take a moment to evaluate whether or not they will benefit from it. The size of the business and the industry doesn’t matter, but things like target market and social media activity do. For example, consider the following client scenarios. Which company would benefit most from a targeted, engaging how-to video?
- Client #1: ACME Plywood Company
- Target market: wholesale lumber distributors
- Social media/web presence: no social media presence, dated website shares only company contact information
- Client #2: Jill’s Collegetown Coffee Cafe
- Target market: all ages, with an emphasis on nearby 18-30 year-old college students
- Social media/web presence: 2-3 posts/week on Instagram and Facebook, sleek website that is mobile responsive
In this example, Client #2 would benefit more from a how-to video than Client #1, due to Client #2’s active social media and web presence. Any client who actively promotes their brand on social media platforms is a good candidate for a how-to video.
Furthermore, how-to content works best as a complement to existing and well-defined sales funnels. In their market research with Oracle Marketing Cloud, Vidyard — a video marketing company — found that best-in companies engage their clients with video throughout their entire sales funnel. This approach to video marketing mimics in-person interaction and guides a potential buyer through the purchasing experience.
Step 2: Brainstorm How-To Ideas with Your Client’s Target Market in Mind

Image via Shutterstock.
Brainstorming an idea for your client’s how-to video can be a lot of fun. When you sit down to discuss this with your client, bring a list of potential ideas to the table. Click here for a list of 41 Awesome Ideas for How-to Videos.
Step 3: Learn the How-To Process Yourself and Write It Down
At this point, you and your client have decided on a topic (or perhaps several) for a how-to video. The next step is to create a process document that includes step-by-step instructions on “how to do X.” Think of this as a written guide for how to complete the process. A novice should be able to follow the steps and successfully complete the process.
Video via My New Roots.
Take the preceding video, “How to Make Nut Milk,” for example.
- Step 1: Pick a Nut. Here’s a list of commonly used nuts:
- Almonds
- Macadamia
- Brazil
- Cashews
- Pecans
- Sesame Seeds
- Hemp Seeds
- Step 2: Measure out 1 cup of nuts/seeds.
- Step 3: Cover with water.
- Step 4: Soak for 8 hours.
- Step 5: Drain and rinse.
- Step 6: Add to a blender and add 4 cups of water. Blend.
- Step 7: Line a jug with a nut milk bag or cheesecloth.
- Step 8: Pour the milk into the jug.
- Step 9: Squeeze the milk from the cheesecloth.
- Step 10: Pour into a clean bottle and cap the lid. Refrigerate for 3-4 days.
Step 4: Use the How-To Process Document to Create a Shot List

Image via Shutterstock.
After you’ve documented the how-to process, you’ll need to create a shot list that illustrates the primary action of each step. This is the difference between telling the audience how to do something, and showing them how to do it.
Click here for the shot list for “How to Make Nut Milk.”
A few rules to follow when creating a shot list for a how-to video:
- Focus on the action (the subject should take up 60-80% of the screen area).
- Film in a well-lit area (natural light through nearby windows will work 90% of the time).
- Vary your shots between overheads, close-ups, and medium shots. The rule of thumb here is to get close to the action.
- (Optional) Integrate your Text Overlays into your shot list to save time in post-production. Most how-to videos include onscreen text that helps the viewer understand the process. However, in some cases onscreen text may not be necessary.
Step 5: Acquire Props and Find a Suitable Location and Onscreen Talent

Image via Shutterstock.
After you develop your shot list, it’s important to get started right away.
Begin pulling together the three elements you’ll need to complete your shoot. Other than your equipment, you’ll need the following:
- Props are the items your viewer needs to complete the process. If the how-to process requires specific tools, ingredients, or implements, add a sequence to your shot list that highlights each tool or prop, as you can see here in How to Make a Mint Julep.
- Your filming location depends on the subject of your how-to video. If the location is crucial to the completion of your process, it could limit your options. For instance, if you’re filming a video on How-To Check Your Tire Pressure, or if your client wants a video on How to Pack the Car for a Camping Trip, your location will require access to a vehicle (e.g. garage, driveway, parking lot, etc.).
- The Talent is the person carrying out the action on camera. You’ll need to find someone — a friend, relative, your client (or even yourself) — to provide instruction in your how-to video.
Step 6: Start Filming As Soon As Possible — Use Your Shot List As a Guide

Image via Shutterstock.
Your equipment kit should be light — there’s no need for huge studio lights, for example. Ninety percent of my how-to content uses natural light, and the other ten percent uses a single LED.
At a minimum, your equipment kit should include the following:
- A camera and power source
- Zoom lens (my Canon 24-70mm works great)
- Tripod
- External monitor
- LED light or reflector with stands and sandbags
Use this Production Checklist to make sure you’re ready to go.
Set up each shot and film according to your shot list. Keep a notepad and pencil nearby to jot down your favorite takes. Backup your footage, and begin post-production.
Step 7: Edit Your How-To Video According to Your How-To Process Document

Image via Shutterstock.
Use your how-to process document and shot list as a guide during post-production. To simplify the editing process, you could slate each shot using the following slate structure:
- Line 1: Title of production (e.g. How to Make Nutmilk).
- Line 2: Step of the process (e.g. Step 8: Pour the milk into the jug).
- Line 3: Take # (e.g. Take 1, take 2, take 3, etc.).
Add onscreen text to highlight the critical points of the how-to process. Rule of thumb: less is more. Remember that many viewers will be watching this on their mobile devices, so be sure to account for that by increasing the font size and testing a draft on your mobile phone.
Add music to create a complete viewing experience. Keep your target audience in mind — what might they find entertaining? Your music should match the tone and quality of your footage.
Step 8: Deliver the Finished Product to Your Client and Wrap the Project
Here are the export settings that I use for delivering most of my how-to videos:
- Codec: H.264
- Resolution: 1920 x 1080
- VBR, 2 pass
- Target Bitrate: 12
- Render at maximum depth
- Render at maximum quality
Once you and your client are pleased with the final result, export a master copy and provide them a final as well. Have a brief meeting to discuss what platforms you’d like to use to share the video.
That’s it. How-to videos are a new and often untapped medium that businesses can take advantage of to stand out. Give your own production company or freelance video business an edge by offering this service to your clients.
Do you have tips for producing how-to videos? Let us know in the comments.


