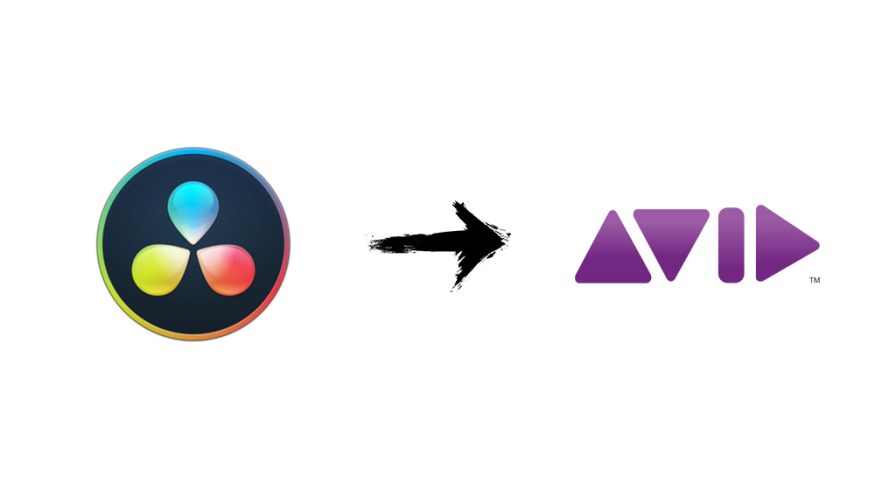
Creating and Ingesting Proxies in AVID Using DaVinci Resolve
In this step-by-step tutorial, we’ll cover the best practices for using DaVinci Resolve to sync, color grade, and transcode proxies for ingest into AVID.
Note: we recorded this tutorial using DaVinci Resolve 16.1 and AVID Media Composer 2018.12.3.
The DaVinci Resolve to AVID round trip is an industry-standard workflow used by many professional DITs, assistant editors, and post houses. This tutorial is ideal for assistant editors who are beginning an assembly of a show while production is still underway. This process uses DaVinci Resolve to create master clips that you can ingest in AVID, without consolidating or transcoding your media. This is because the proxies you’ll create in DaVinci Resolve are in the MXF OP-Atom codec, which allows you to drop them into your Avid MediaFiles folder and begin editing immediately.
1. Receive Shuttle Drive — Create Backups
Depending on the size of the production and your specific role, you may or may not be responsible for creating backups of the RAW files recorded for that particular day. Check with the unit production manager or the dailies house to confirm whether or not someone is in charge of creating backups of the RAW files. If this critical responsibility falls to you, make sure you can create three separate backups of all recorded RAW files. At the end of production, you should keep all three of these drives physically separate.
Do not begin proxy creation until you’ve created at least one backup.

It’s critical to create a backup before you begin proxy creation.
2. Set up a Project in DaVinci Resolve
Press SHIFT + 9 on a Mac to bring up Resolve’s Project Settings > General Options > Conform Options.
Check the boxes: Assist using reel names from the: Source clip filename. This step is critical in making sure that the relinking process runs smoothly.
3. Bring Media into Resolve
Within the Media Panel, navigate to that day’s footage.
Right-click that day’s media folder and select: Add Folders and Subfolders into Media Pool (Create Bins).
4. Sync the Media
Ideally, the media folder you just ingested contains a folder with all recorded sound rolls and folders for each camera roll. If the sound mixer and 1st AC synced their timecode, Resolve’s Autosync feature makes syncing media a breeze.
With all media folders selected (sound and footage), right-click and select Autosync Audio > Based on Timecode.
Note: Earlier versions of DaVinci Resolve would assume 2-channel audio is stereo and 6-channel audio is 5.1, instead of multichannel mono. To fix this, select and right-click all 2-channel and 6-channel audio clips. Navigate to Clip Attributes… > Audio and select Mono from the dropdown menu. For more information on resolving this issue, check out this link.
5. Verify the Sync
Check each clip to make sure the Timecode Autosync was successful. Otherwise, Resolve has a Waveform sync feature that’ll work in most situations. A last resort is to manually sync your clips using the slate.
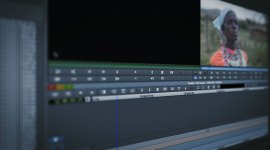
6. Create Timelines for Each Camera Roll
Navigate to one of the day’s camera rolls. All of the clips within this folder should be synced with their respective audio files.
Select all of the clips within the open camera roll folder, right-click, and select Create New Timeline Using Selected Clips.
Name the timeline and specify the number of audio tracks. You should set this to the maximum number of tracks that any single clip has. For instance, if one of your clips has eight audio tracks, you should set this value at eight. If all of your clips only have four tracks, then you should set this at four, etc.
Select Create.
7. Add a LUT to the Proxies
Most editors prefer working with a LUT or base grade applied to their proxies. You can apply a Log Conversion LUT or a custom LUT that the DIT has provided.
To do so, navigate to the Color tab, select all clips, right-click, and navigate to the desired LUT via the LUT menu.
8. Export an ALE
With the timeline thumbnail selected, right-click and navigate to Timelines > Export > ALE. Select Save.

How to export an ALE.
9. Export
Under the Deliver tab in Resolve, set the following options for the Export:
- Specify a location on your editing drive for the proxies to write to.
- Make sure to export Individual Clips by specifying as such at the top of the Export Setting window.
- IMPORTANT: Under the Video tab, select MXF OP-Atom from the Format dropdown list. If you miss this step, you won’t be able to ingest the proxies directly into AVID.
- Select your desired codec (DNxHD or DNxHR will work for most cases).
- Choose your desired compression. In most cases, the 145/120/115 8-bit compression offers the best balance of quality and performance.
- Under the Audio tab, select the Linear PCM audio codec, and set your channel selection to Same as Source.
- Under the File tab, set the Filename Uses setting to Source Name.
Select Add to Render Queue and Start Render.
10. Ingest the Proxies into AVID
With AVID closed, add the newly created proxies to the Avid MediaFiles > MXF > 1 folder.
After the proxies have been added to the Avid MediaFiles folder > 1 folder:
- Rename the folder to the recording date of the media.
- Delete the two database files that are located inside this media folder (AVID will regenerate these on startup).
Open AVID.
Select File > Import … and navigate to the newly populated Avid MediaFiles folder that houses your proxies.
Finally, select the newly created .mdb database file, and select Import.
The proxies will then pull directly into your AVID project, ready for editing.
Interested in the tracks we used to make this video?
- “Celebration Day” by Make Music
- “Start Small” by Alex Kizenkov
- “Chill Your Life” by FASSounds
- “Cheerful Life” by FASSounds
- “Never Say Goodbye” by DeKibo
- “Feel My Vibe” by Ulas Pakkan
Looking for more information on working with DaVinci Resolve?