
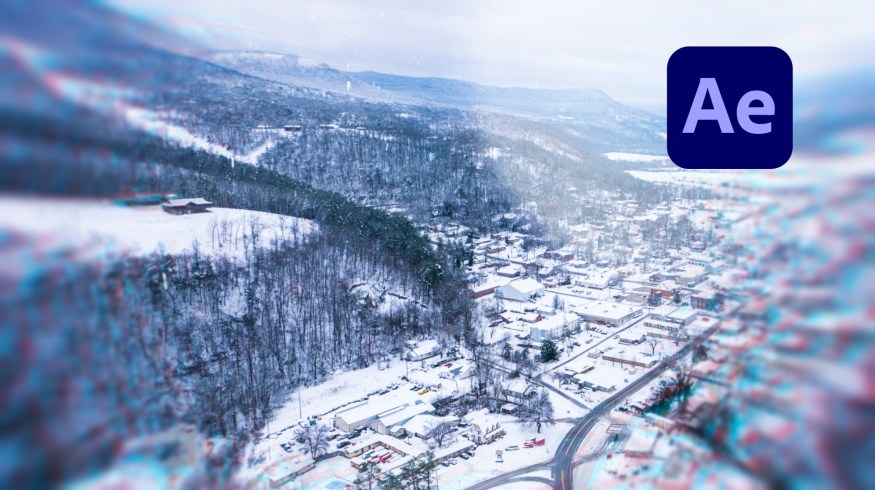
How to Make Still Images Look More Dynamic in After Effects
In this tutorial, learn four ways to make images look more dynamic for your next video using After Effects.
When you need to edit an image into a video, it can sometimes look a little “low budget” to only show a static image on screen. An easy method most creators use is the “Ken Burns” effect, which is simply animating the scale of an image to slowly zoom into it.
However, this effect still isn’t that interesting. In this video tutorial, we are going to show you four ways you can make images look more dynamic and interesting for your next video edit!
Use 3D Texture Layers
The first method we’ll look at is animating subtle textures over your images.
First, add your photo into your composition and make it a 3D Layer. Next, add in a texture image above your photo and make it a 3D layer as well. (The texture I’m using is from our 25 Glass Textures Freebie Pack!)
Now, create a new Camera and move the texture layer in 3D space closer to the camera layer. You may need to go to the Custom Camera View to see this easier.
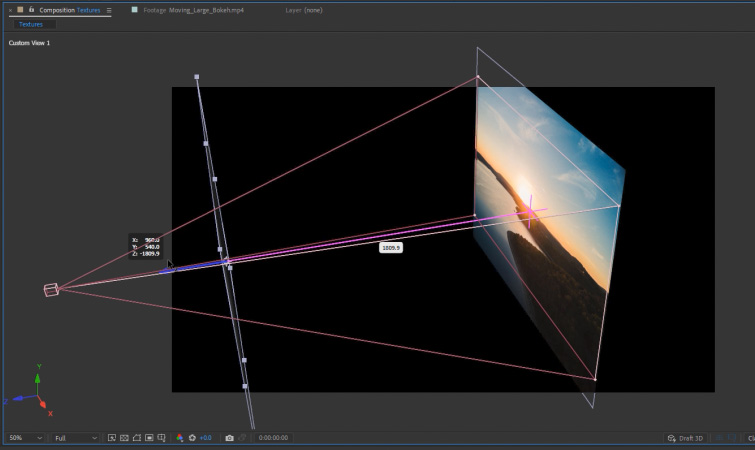
All you need to do now is keyframe the Z-Position of the Camera to move it forward. When you do that, you will see some nice parallax from the 3D texture layer and the 3D photo layer. This creates a nice sense of depth on the animation.
If you want to learn even more tips on this technique, check out our tutorial: How to Animate Glass Textures on Videos in After Effects.
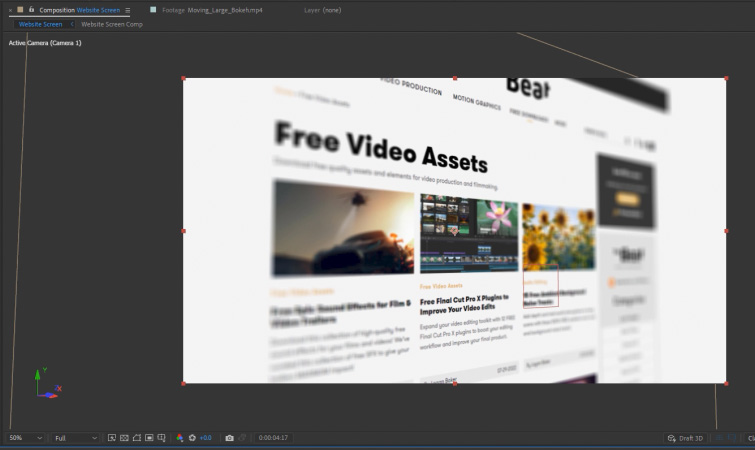
3D Screen Animation
Another popular look is emulating the look of a screen, which is great for screenshots of things like websites.
First, make your screenshot image a 3D layer and create a new Camera. (Make sure it is a two-node camera.)
Next, position your camera at an angle—close to the part of the screenshot image you would like to focus on.
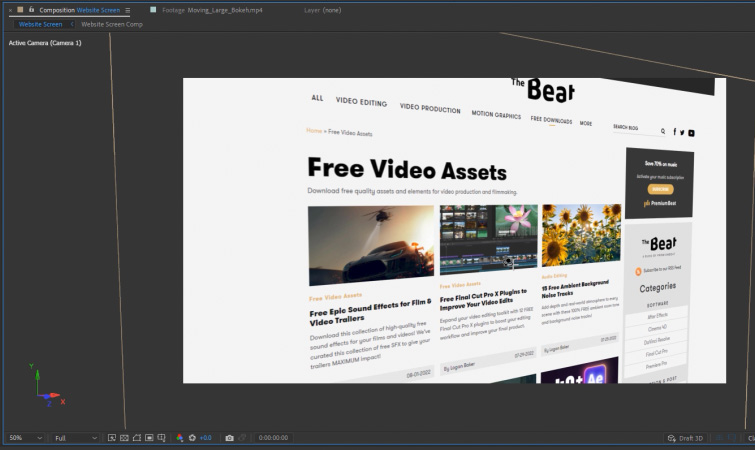
Now, create a new Null Object and make it a 3D layer. Next, parent the Camera to the Null Object. The Null Object is now effectively going to act as the position controller for the Camera.
Then, just keyframe the Y-Rotation of the Null Object to create your animation. (I recommend making the keyframes Easy-Ease keyframes and use the Graph Editor to smooth them even more.)
As a final touch, you can enable Depth of Field on the 3D Camera. Adjust the Focus Distance so that the animation ends on the area you want to be in focus.
If you are interested in creating more screen animations like this, check out our Free Sleek Computer Screen Template for Premiere Pro.
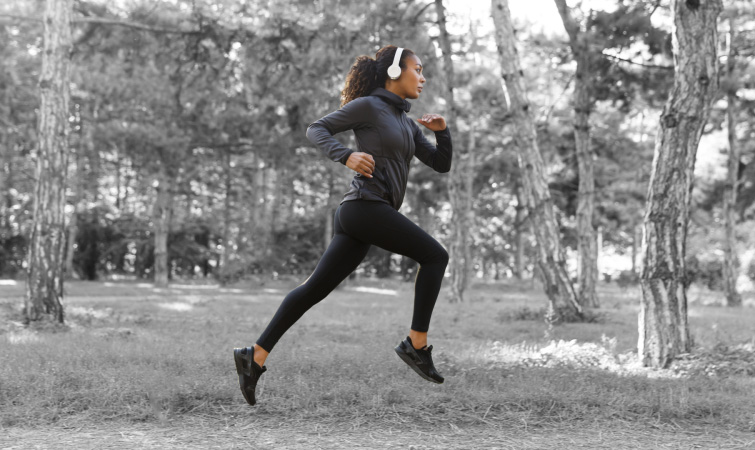
Use Masks
Another way you can make images more dynamic is by masking out the subject of your photos. This will allow you to create subtle animations using the Scale and Position properties of the layer.
You can also experiment with things like making the background areas black & white, to draw more focus on the subject.
If you are looking for more ways to creatively animate a photo, check out our full tutorial: Techniques on How to Animate a 2D Photo in After Effects.
Using Overlays
Finally, another easy way to make your images look more dynamic is by combining them with animating overlays. This extra bit of movement helps give still images more depth and allows them to mesh better within a video edit.

Simply add your overlay above the image in your composition and set the overlay to the appropriate blending mode. (Usually Screen, Add, or Multiply.)
PremiumBeat has a ton of overlays available on our Free Downloads page. Everything from Snow & Ice, God Rays, Lens Flares, and more!
Interested in the royalty-free tracks we used to make the top video? Give them another listen:
- “Ice Tea” by Mountaineer
- “A Chill Rain” by Luciano Music Co.
- “Behind Neon Sky” by Artlss
- “Gelato” by Sunny Tones


