
Get Better Results Using LUTs with Lumetri Color in Premiere Pro
In this video tutorial, learn how to get the most out of your LUTs by using the Lumetri Color Panel in Adobe Premiere Pro — plus, free LUTs!
Using LUTs is a great way to get started color-grading video footage. However, you may notice that LUTs frequently yield mixed results when you first apply them. There can be a few reasons for this. We’ll explore them in this video tutorial, and we’ll also go into the differences between Correction LUTs and Creative LUTs — and how to export your own custom LUTs in Premiere Pro.
So, let’s get started! (Be sure to download the project file, which includes free LUTs!)
Download the project file.
These elements are free to use in any personal or commercial projects. By downloading, you agree not to resell or redistribute these free assets.
What Is a LUT?
First, let me offer a simple explanation of how LUTs work (it stands for “Look Up Table.”) I like to think of LUTs as universal color presets. LUTs shift the color information when you apply them to footage or photos — to yield superior color accuracy. LUTs are cross-compatible with different video applications, cameras, and even external monitors.
Correction LUTs
This is often the most confusing aspect of working with LUTs for new users. Without getting too technical, there are generally two types of LUTs: Correction LUTs accurately convert color information — usually from one picture profile to another (such as LOG to Rec. 709, which is more of a “standard” picture profile that is easier to color-grade with).

Creative LUTs
Creative LUTs yield more stylistic looks, and they can vary quite a bit. (They also may not be as color accurate, but this is ok, because generally you use them to craft a final look.) In most cases, you apply creative LUTs to already color-corrected footage in a Rec. 709 picture profile. (However, some Creative LUTs are designed for direction application to LOG footage.)

How to Get Better Results with LUTs
The results you get from a creative LUT will depend on the footage that you’re working with. If your original footage isn’t properly white-balanced or exposed, the final results may not be what you hoped for. By adjusting a few settings in Lumetri Color, however, you should be able to dial in the original look you wanted.
A common mistake is to apply a creative LUT, then apply additional color effects on top of the LUT to correct the look. Your results will be much better if you apply the LUT in the Creative section of Lumetri Color, then revert back to the Basic Correction section to adjust the overall appearance.

Settings to Adjust
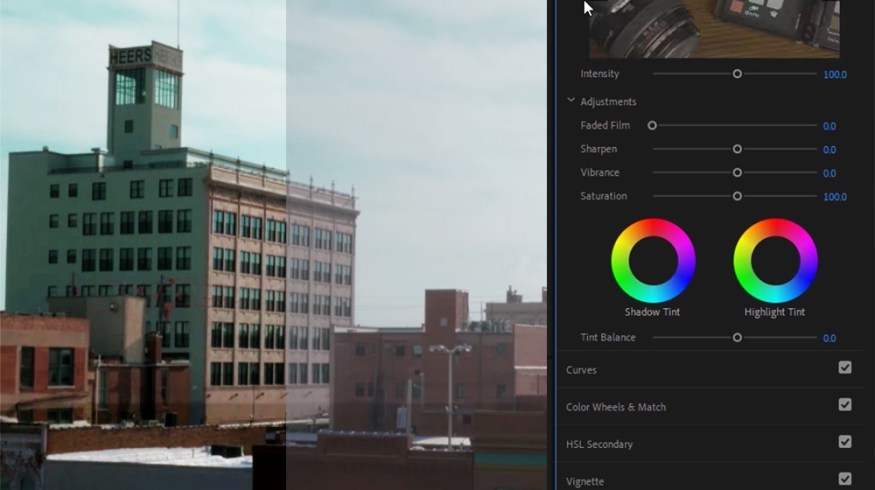
The best Basic Correction settings to adjust in Lumetri Color, after you have applied a Creative LUT, are White Balance, Tint, and Exposure. I also recommend experimenting with Vibrance and Saturation in the Creative Section of Lumetri Color.

Export Your Own LUTs
Finally, you can easily export your own LUTs based off of your Lumetri Color settings. First make sure you’re working in the Color workspace in Premiere Pro. On the Lumetri Color Panel, at the top, you’ll see a menu button next to the Lumetri Color text. (The menu button looks like three dashed lines.) Click that menu, and you will then see options to export a .cube LUT. You can then re-import that LUT into Premiere Pro, or use it with any other application that uses LUTs in the .cube format. (.cube is one of the most universal LUT formats.)

Interested in the tracks we used to make this video?
- “Night Fly” by Cruen
- “Breakthrough Road” by Make Music
- “The Runaway” by Cymatix
- “Hotel Paradise” by Cymatix
- “Forward & Beyond” by Cymatix
Looking for more video tutorials? Check these out.
- 5 Things Every Filmmaker Should Know Before Making a Feature Film
- Video Tutorial: Using Audio to Drive Your Motion Graphics
- Video Tutorial: Improving Your Time-lapse Workflow for the GH5
- Video Tutorial: Create a Callout Graphic in Adobe After Effects
- Video Tutorial: How to Add Image Overlays to Premiere Pro Exports


