Video Editing Tip: Replacing Clips in Premiere Pro
Making changes doesn’t have to be disruptive to your video editing workflow! Here are three ways to quickly replace clips in Premiere Pro.
Adobe Premiere Pro has several functions for replacing shots in your project, while transferring keyframes and clip attributes between shots. Use these techniques to speed up your video editing workflow!
Replacing a Clip in a Premiere Pro Sequence
Say you have a clip in a sequence that you need to replace but you want to keep the filters/motion effects/keyframes intact. The following technique is often used to replace one cutaway shot with another — a quick way to swap shots while keeping clip attributes.
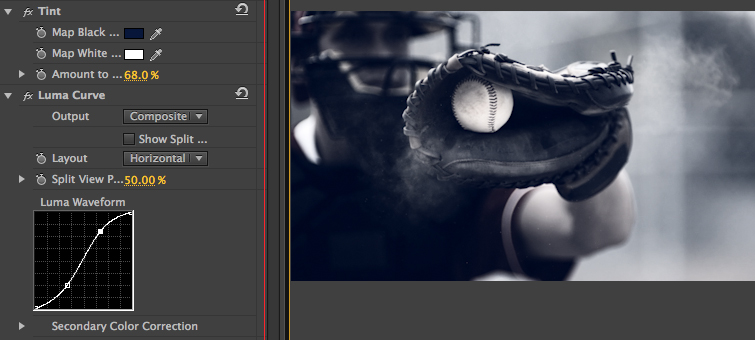
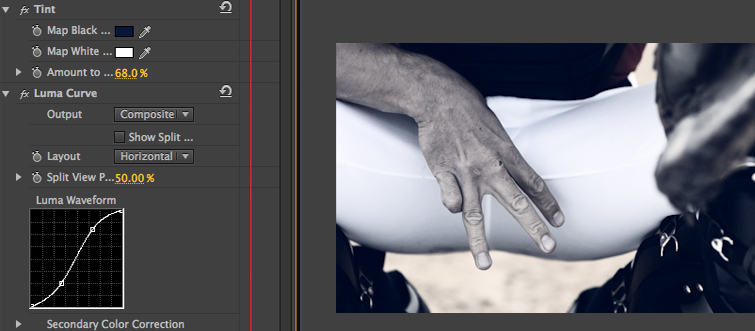
In my example, I have created a stylized look and a “push-in move” (animated scale) that I want to keep.


Set an In point for the clip in the Project panel, or Premiere Pro will use the first frame of the clip.
Hold Alt (for Windows) or Option (for Mac) and then drag the clip from the Source or Project panel onto the clip in the Sequence. Once the clip is highlighted, let go of the mouse. The clip is replaced with the attributes intact.
An alternative to dragging the clip is to select the replacement clip in the Project panel. With the clip selected in Icon view, you can use hover scrub to find the desired In point and press I to set an In. Select the clip in the sequence to be replaced, right-click, and then select Replace With Clip > From Bin.
The Premiere Pro color grading attributes are transferred from the clip above to the clip below. Very cool timesaver.


Using Replace Edit to Match Source Frame
If you want to replace a shot in Premiere Pro with a similar take, you may want to try this approach. Replace Edit looks at where the playhead is in the Source Monitor and in the sequence, but ignores the In and Out points.
In my example, I want to replace one dancer with another on a similar move. This would also work for dialogue by using the same word in both takes as the sync point.
Put the playhead in the sequence over a word or action, and find the same place in a different take. Right-click on the clip in the Sequence and choose Replace With Clip > From Source Monitor, Match Frame. The clip is replaced with the attributes intact.

Replacing a Clip in the Project
In this last scenario, say you have a clip that you want replace in multiple sequences. This is a common situation where your client gives you an updated file, or maybe you are replacing a temporary placeholder clip.
Select the clip in the Premiere Pro project, right-click and choose Replace Footage. The new clip replaces the old one in all sequences. The clip is replaced with the attributes intact.

Remember — PremiumBeat’s got you covered when it comes to Premiere Pro and video editing tricks and techniques!
Got any Premiere Pro tip to share? We want to hear from you in the comments below!


