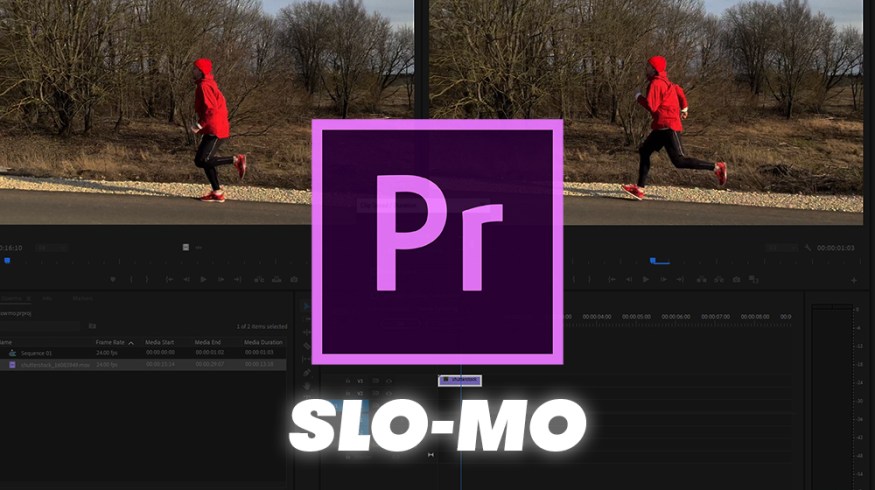
Creating Beautiful Slow Motion in Adobe Premiere Pro

Slow-motion video can be beautiful, if executed correctly. Here, we take a look at creating slow-motion from 60fps video in Premiere Pro.
Don’t make the mistake of slowing down standard frame rate video for slow motion. It’ll give your footage a choppy look, and it doesn’t present well.
Instead, to make smooth slow-mo, you’ll need to shoot your footage at a high frame rate, and then play back your footage at a lower frame rate in your video editing app. Most DSLRs and mirrorless cameras can shoot 720p or even 1080p at 60 frames-per-second (fps). If you don’t have a camera that can shoot up to 60fps, check out our list of the most affordable options. Shooting at 60fps allows you to play back your footage at a slower fps (like 24fps), while still maintaining a streamlined, cinematic look.
In this walkthrough, we’ll show you how to create a similar effect by converting 60fps footage to 24fps in Premiere Pro. These are just the foundation slow motion features in Premiere, so once you get comfortable with the frame rate interpretation and time remapping settings, take a look at the video below that goes into using keyframes in your timeline to speed ramp your footage.
1. Slow Down in Your Timeline

This one is simple and straightforward. Create a 24fps sequence.

Place a 60fps clip in your 24p timeline. Right-click the clip, and make sure frame blending is OFF.

Right-click the clip and go to “Speed/Duration” (⌘R).

Set your speed to 40% (40% is going to be the lowest you can go without making your footage choppy). If you’re working in a frame rate other than 24 fps, you’ll have to determine your speed by dividing your destination frame rate by your clip’s frame rate (e.g. 24/60=.4).

Now, your footage is in smooth slow-motion. You’ll notice that every frame plays back and there is no frame blending. Beautiful!
2. Re-Interpret Frame Rate
This is the way I usually conform 60fps clips into slo-mo. (This is also a good way to make multiple clips slo-mo in one simple step.) This will make the selected clips in your bin slow-motion, so if you want to keep your original 100% speed clips in your project, you’ll want to duplicate them before doing this.

Select the clips in your bin that you want to make slo-mo.

Right-click and select “Modify > Interpret Footage.”

Select “Assume this frame rate” and set the value to your timeline’s frame rate.
Done. Now, Premiere will reorganize and stretch the existing frames in your 60fps clip to conform to a 24fps sequence.
By implementing these simple techniques, using 60fps video to create slow-motion in Premiere Pro is easy.
Looking for more video production tips and tricks? Check out these articles.