Speed Up Your Sequences with The Jump Cut

Jump cuts are an effective way to speed up a montage or a sequence in Adobe Premiere Pro — without deleting any key moments.
The jump cut is a great way to move through a sequence without playing back everything you’ve actually recorded. They come in handy for music videos, event coverage, or other projects that can benefit from some extra movement on the screen. In this video tutorial, we’ll take a look at how to create an effective jump cut sequence — as well as where and when to use it.
Step 1
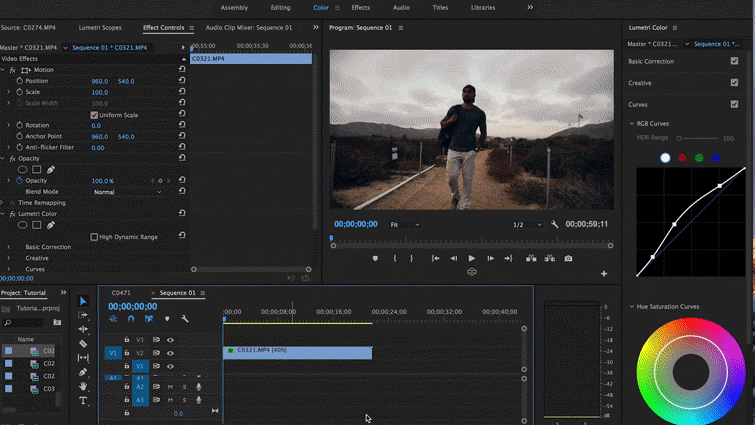
Find the shot to which you want to jump cut then drop the entire clip into your timeline.
Step 2
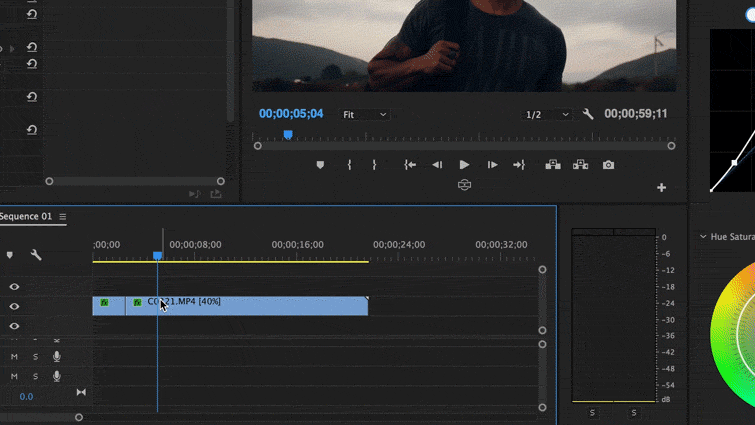
Find several key moments you like in the shot, then splice them into 2-3-second chunks.
Step 3

Ripple delete (Shift-Delete) parts you don’t want. I call this trimming the fat.
Step 4
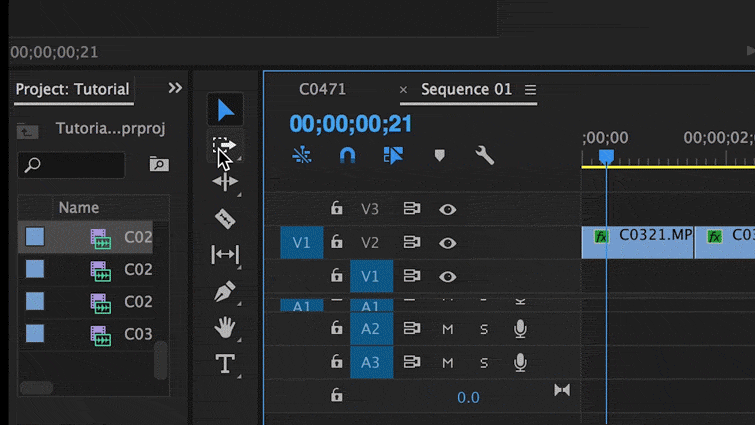
Play out your sequence. You can use the Slip tool (S) to make fine-tuned adjustments on your clip.
Looking for more video tutorials? Check out these links: