Traditional Camera Moves Made Easy With DJI Drones

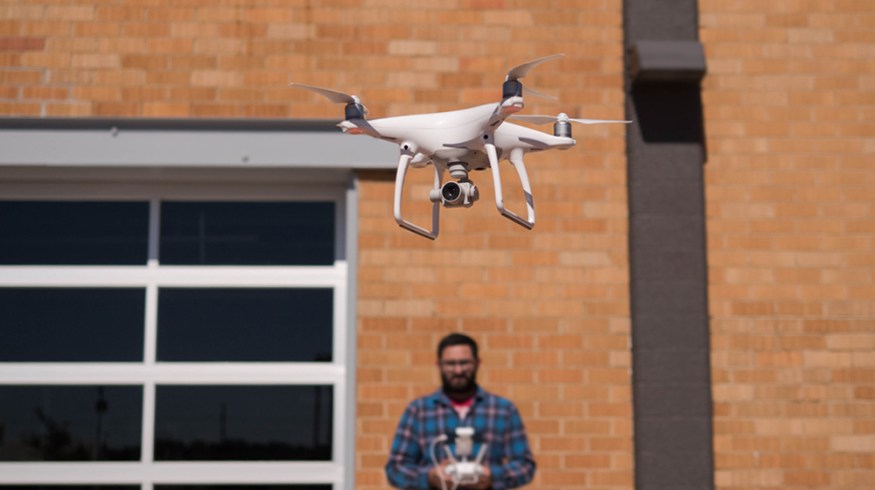
Get more out of your DJI drone footage with these optimal settings and tricks for shooting with intelligent flight modes.
The following tips come from my experience shooting with a Phantom 4. These techniques also work for other DJI drones with intelligent flight modes like the Phantom 3, the new Mavic, and (to an extent) the Inspire 1.
1. Smoother Dolly Shots and Tracking Shots Using Course Lock

Using DJI’s Course Lock intelligent flight mode is the easiest way to capture some exceptional tracking shots and dolly shots. This mode, well, locks your drone’s course. The best way to describe this is to compare it to dolly tracks. Setting the Course Lock is the same as putting a dolly on a set of straight tracks. The camera can now only move along the tracks. If you are moving straight forward on the course, you are dollying in on your subject. If you turn the camera to the left or right, the drone still moves along the same path allowing you to capture a tracking shot.
Once you lock on a direction, the drone will only move horizontally along the same path. This allows you to just push forward or backward with the right control stick to move the drone. Since it’s locked to the course, you can then move the left control stick left or right to adjust the yaw (the direction the drone’s camera faces).
Pro Tip: To help keep your subject in frame, turn on the grid view in the DJI app and keep your subject in the same general area while the drone moves.
How to Set Up Course Lock on the DJI Phantom series
Step One: In the Camera mode of the DJI Go app, tap on the Flight Mode button. (Note: The drone must be in the air to access this button.)

Step Two: Swipe to the second page, then select Course Lock.

Step Three: Rotate the Phantom and face the camera in the direction you want to course lock onto. Tap Apply and then tap Hide.

Step Four: Use the right control stick to move the drone along the course path — pushing the stick up moves it forward along the course lock, no matter which direction the drone faces. Use the left control stick to adjust the yaw and the camera’s position.
2. Realistic P.O.V. Without Even Flying
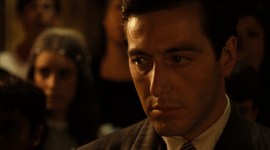
Drones are having an increased presence in major Hollywood pictures. In the 2015 film Chappie, drones were used to capture POV shots for the robotic main character, even during action sequences in which Chappie jumped through a window.
We did some POV flying, the POV of one of the robot characters. It looked like a thermal night vision, and reminds me of the Predator. He’s chasing one of the characters and goes flying through the window at full speed. You can’t do that on a helicopter. You could do that on a cable cam — but it goes straight, and it takes time to set up and it doesn’t have that feel or movement and speed. – John Gore, Chappie Drone Pilot
You can easily capture a POV with a drone at an extremely low altitude, one that matches the height of your subject. If you main character is a six-foot-tall person, you would want to hover at slightly under six feet and maintain the same altitude during the entire shot.
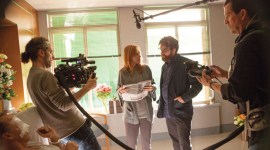
The trick to capturing a realistic POV is to make sure the camera isn’t too perfectly smooth, a slight jolt or movement up and down helps sell the shot. That’s why I just walk with the drone in my hands. It also allows you to easily maneuver through areas that may be a little tricky to fly through.
Pro Tip: Remove the propellors, just to give the camera operator the ease of mind of not cutting up your face.

Just because you have a drone doesn’t mean it has to be in flight to shoot. This is particularly easy with the Phantom series, as you can just grab onto the drone’s legs. For more of a bounce, use only one hand to hold the drone.
The best results come from positioning the camera right in front of your eyes.
3. Slower Jib Shots
You may experience your drone taking off at tremendous speeds, preventing you from getting a nice slow jib shot. You can easily adjust the aircraft’s settings to help get a slower crane shot. Here’s how.
Step One: In the DJI app, tap on the icon in the top right corner.

Step Two: Under the drone’s MC Settings, click on Advanced Settings.

Step Three: Tap on EXP.

Step Four: Under EXP, you will see the Throttle speed (in both Normal and Sport Modes). To take off slower, lower the speed by either typing in the number box or drag on the S-curve graph. Find the best speed for your shot.

For this example, we will drop it all the way to .20.

You have now adjusted the overall throttle speed. Now when you lightly press up on the left control stick, the drone will move up at a slower speed. You can also adjust the Rudder and directional speeds if you need additional camera movement in your shot.
This also works in the opposite manner. Just crank up the Throttle speed for faster movements.
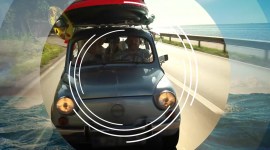
4. Aerial Surveillance and Free Drone Overlay
This is certainly the easiest move to capture with a drone, but with some editing you can really sell your footage. Grab a few seconds of footage with the camera pointing straight down. Try not to move too fast, as a slower shot will register better for the audience.
Step One: Pull the footage into you NLE and then place our free drone camera overlay on top of your clip. (Link below)

Step Two: Scale the overlay to the size of your sequence.

Step Three: Change the Blend Mode. In this example I used the Screen mode in Premiere Pro.

Step Four: Color grade the footage to your liking. In this example, I lowered the Saturation and added a green Tint — all while adjusting the shadows, exposure, and highlights.

You can download our free drone overlay (and four other camera overlays) by following the link below.