| 1 |
Create a new composition with a solid black circle. |
| 2 |
Set keyframes for the ellipses to scale from 0 to 400 in half a second. |
| 3 |
Duplicate the ellipses and set the max scale to 450 instead of 400. Add an easy ease keyframe and and smooth out the last keyframe. Offset the larger ellipses by a couple keyframes. |
| 4 |
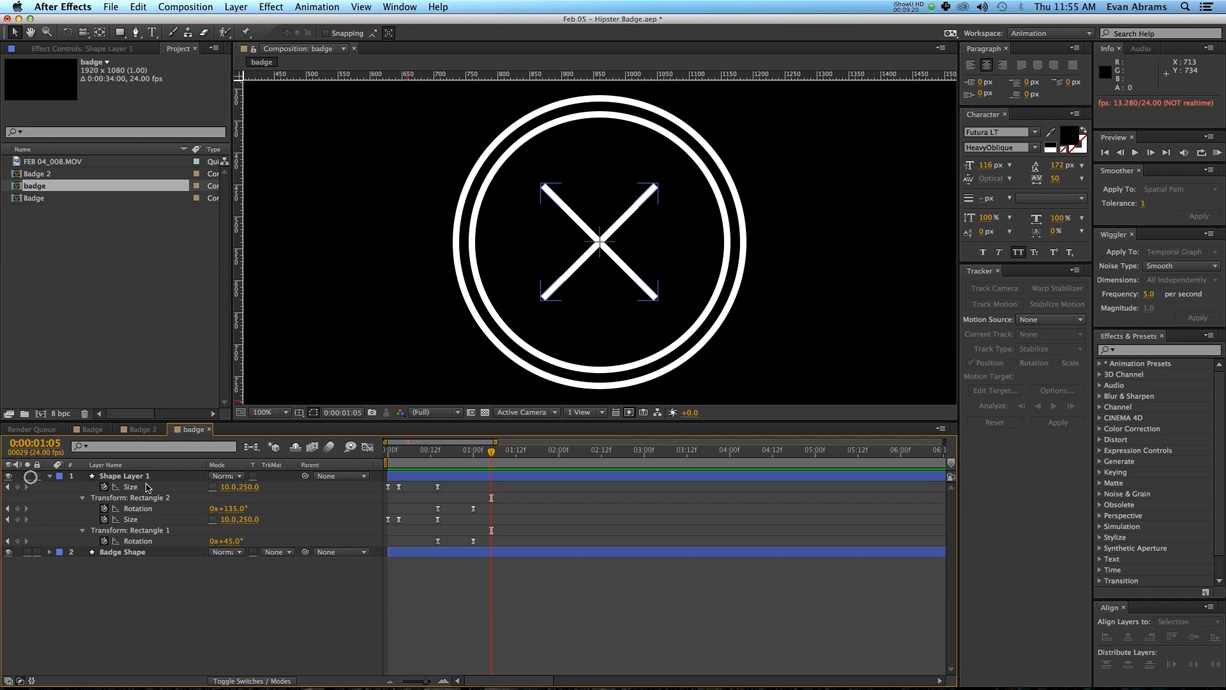
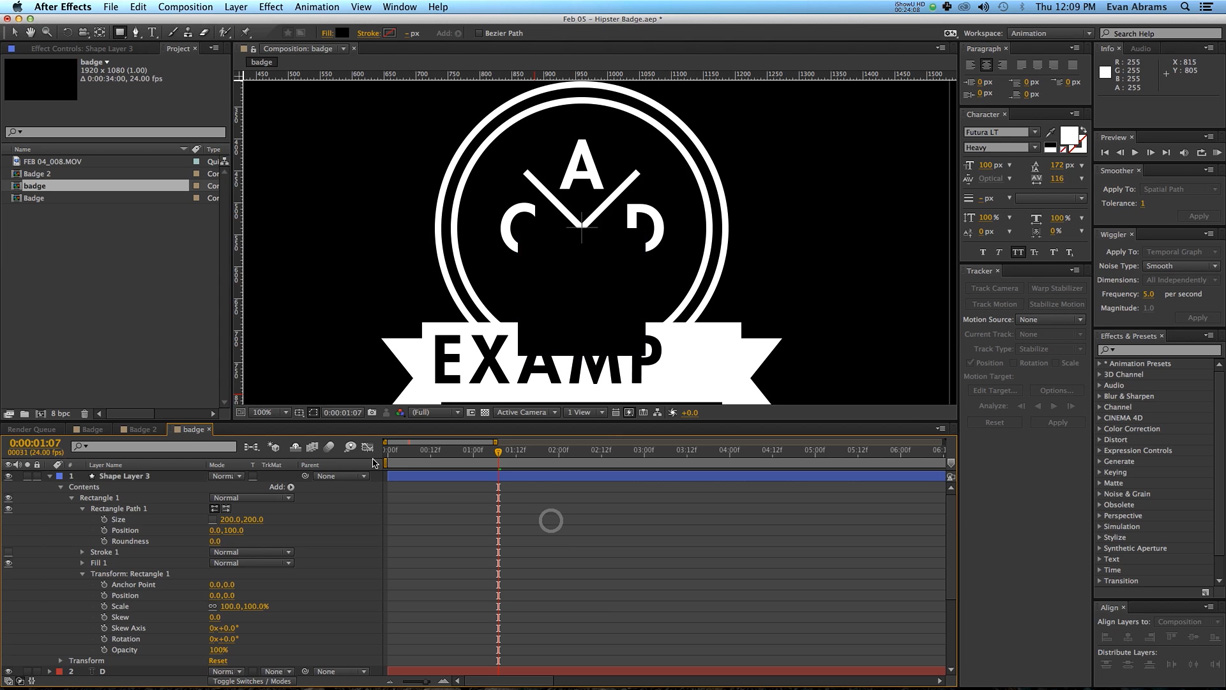
Create a new rectangle in a group. Delete the stroke and add in only a white fill. Scale the rectangle to being 10 pixels wide and 250 px tall. |
| 5 |
Set keyframes for the rectangle to scale from 0. |
| 6 |
Set the rotation of the rectangle to animate to 45 degrees. |
| 7 |
Duplicate the rectangle and rotate to form a cross. Create a new rectangle shape layer. Position it at the bottom of the badge and have it horizontally scale from 0. |
| 8 |
Add a feathered black shape using the pen tool in the background of the Matte Layer to enhance the depth of field. |
| 9 |
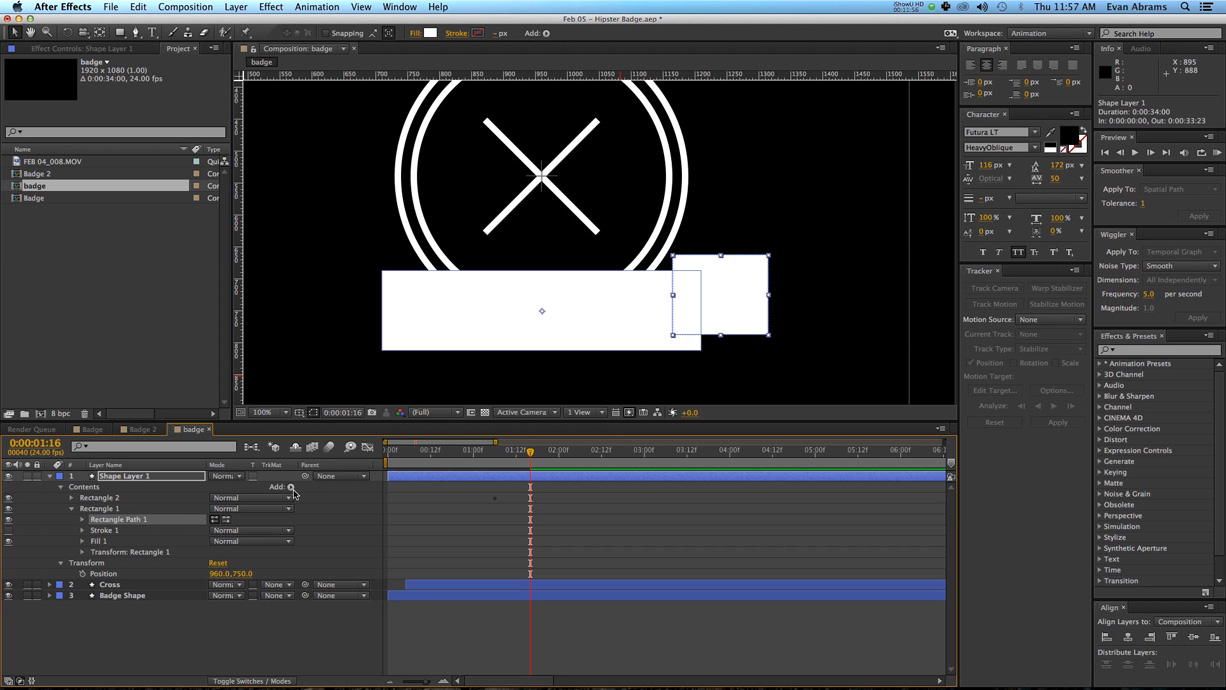
Duplicate the rectangle. Scale down and move it to the right side of the badge. |
| 10 |
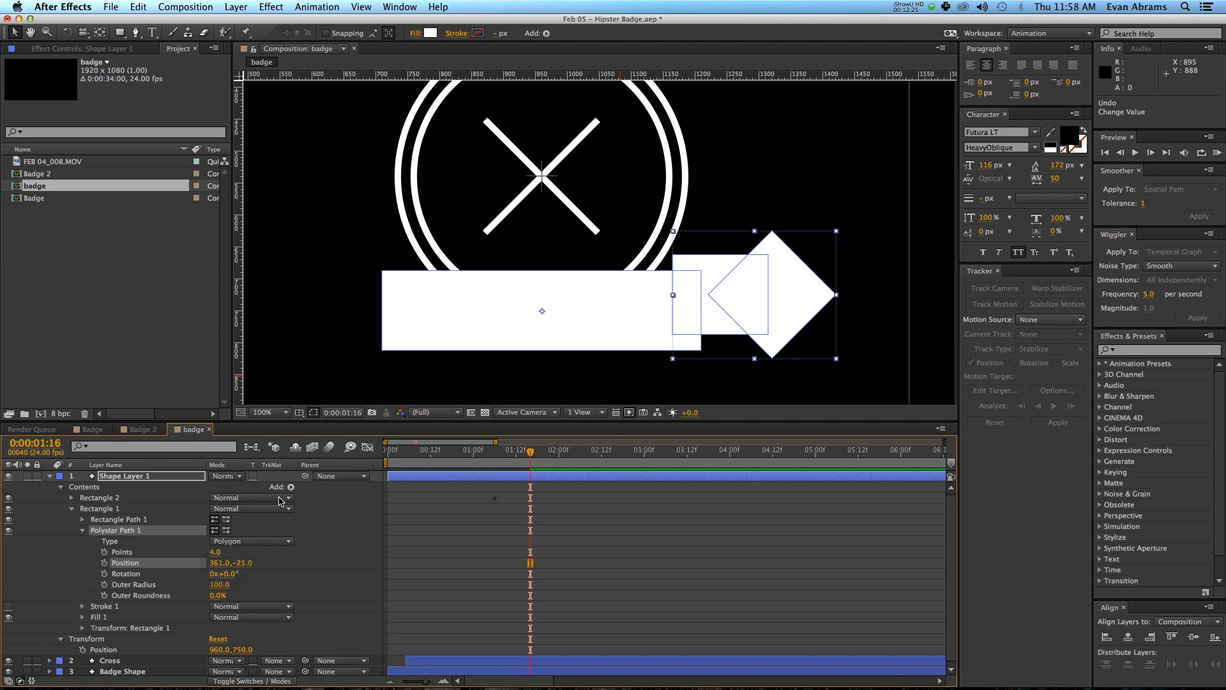
Create a new polystar. |
| 11 |
Change the polystar to polygon and set the points to 4, creating a diamond. Position the diamond over the smaller rectangle. |
| 12 |
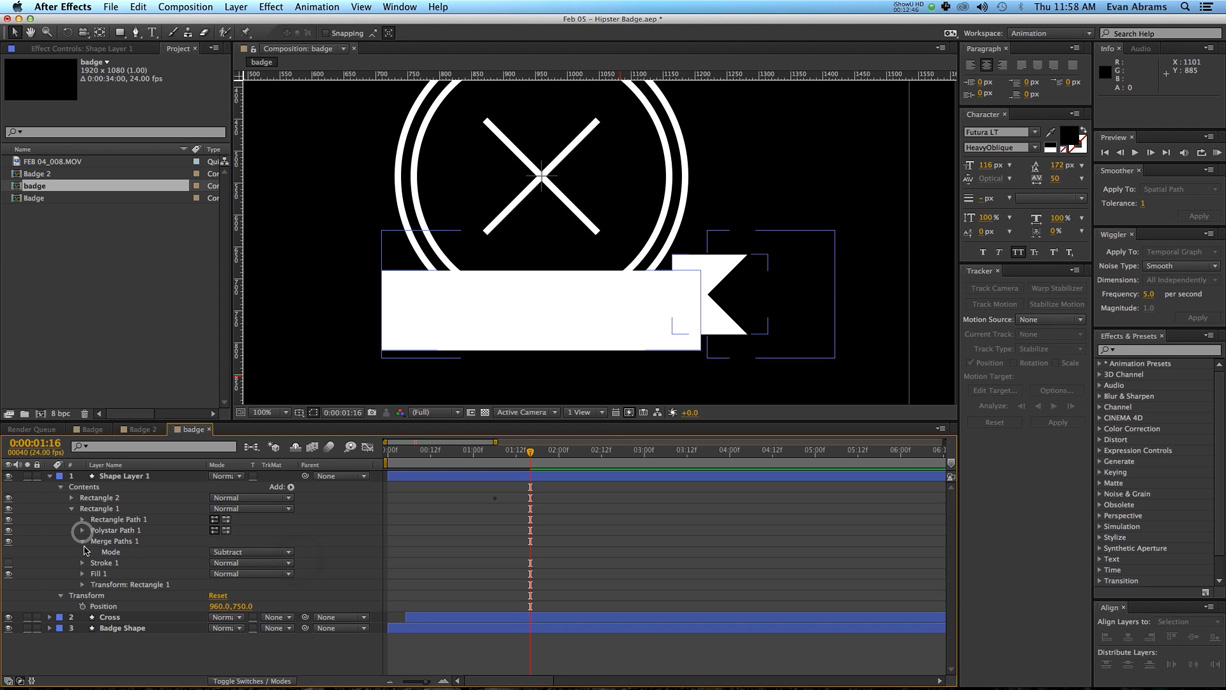
Add a merge path to the second rectangle group. Set the merge paths to subtract to create a cut off banner. |
| 13 |
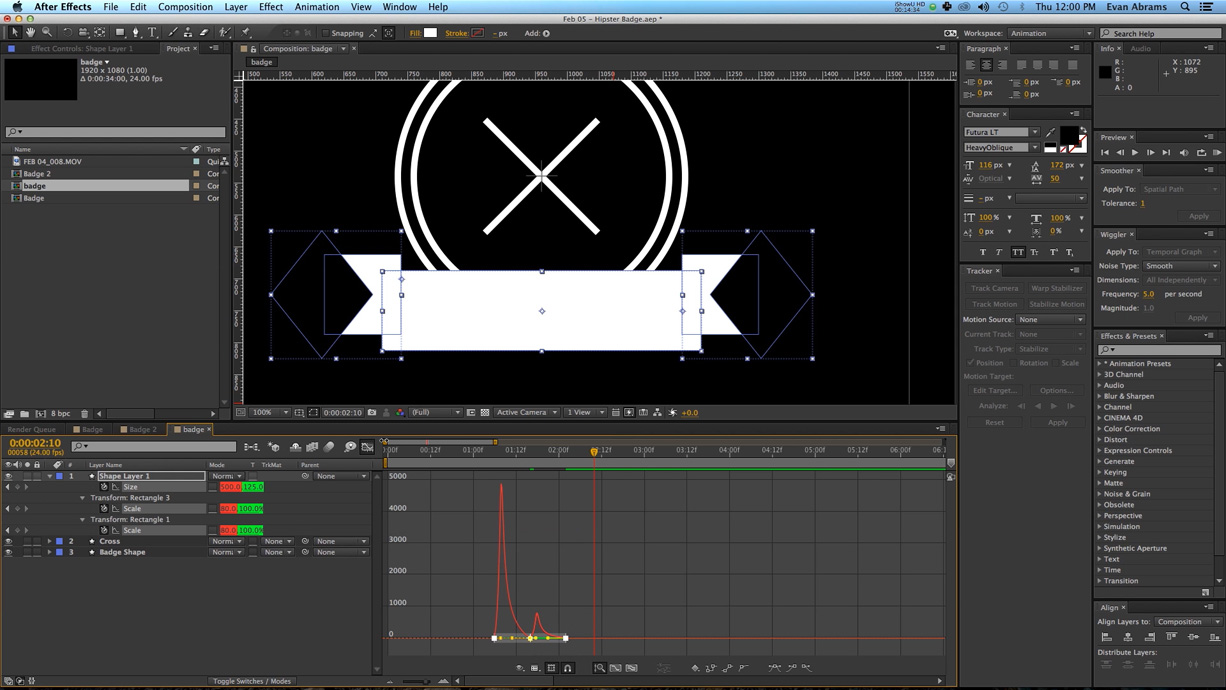
Set the scale of the rectangle group to scale up over a half second. |
| 14 |
Duplicate the cut off badge group and move it to the other side of the banner. |
| 15 |
Easy ease all the keyframes to create a mountainous hump. |
| 16 |
Create a new text layer and add in your desired text. Make sure it’s a hipster font like Futura! |
| 17 |
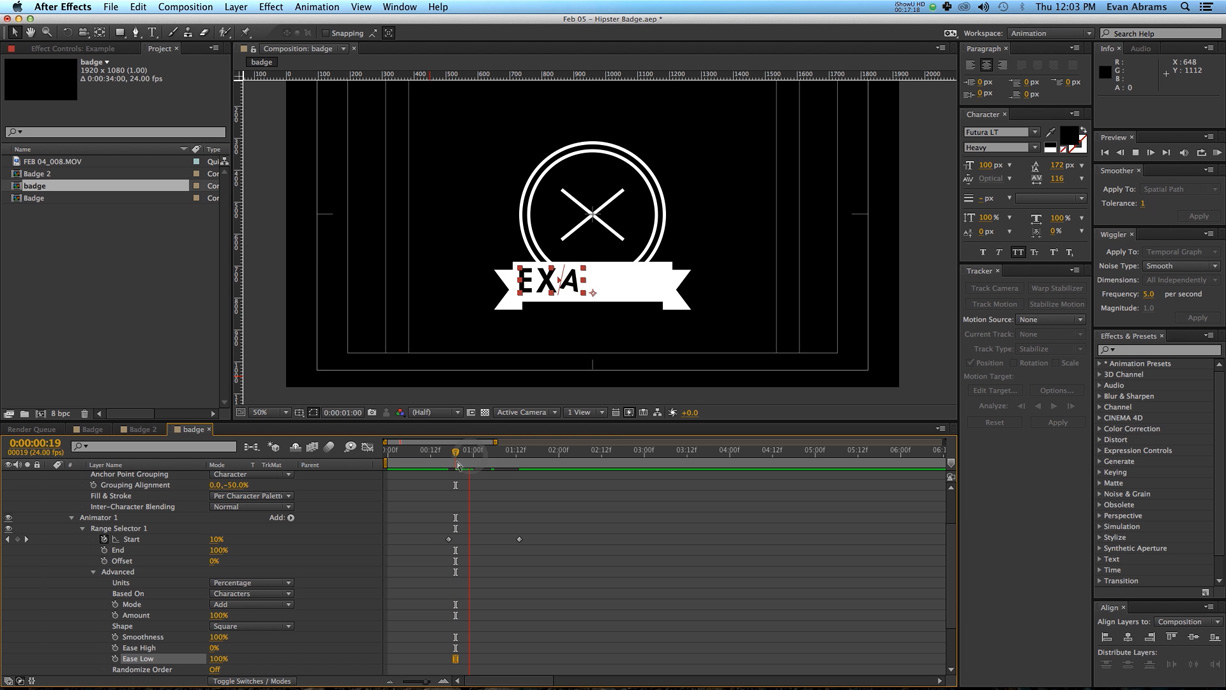
Animate the scale of the text using the animate parameters…add rotation too. |
| 18 |
Have the text scale from 0 and rotate from 90. |
| 19 |
Set the grouping alignment to 50. |
| 20 |
Set the ease low parameter to 10. |
| 21 |
Duplicate your text and scale down. Change the text to cite when your company was established. |
| 22 |
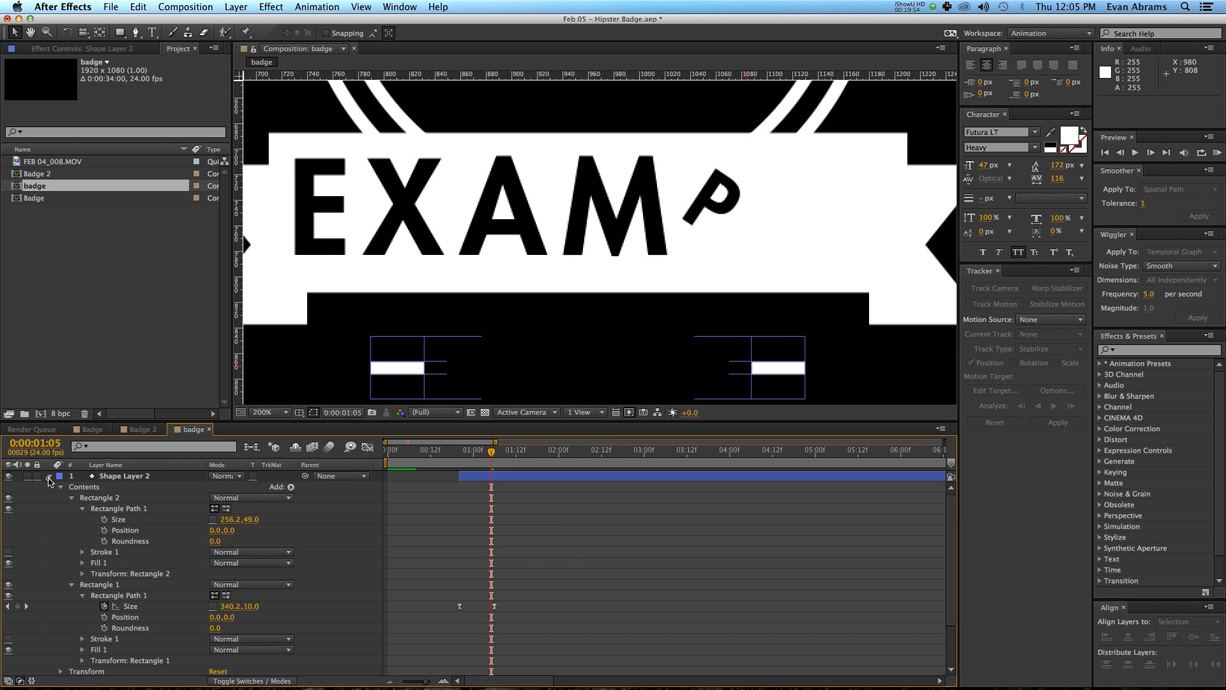
Create a small rectangle for the hyphen. Have it scale horizontally from 0. |
| 23 |
Create a new black rectangle to cover the text area. |
| 24 |
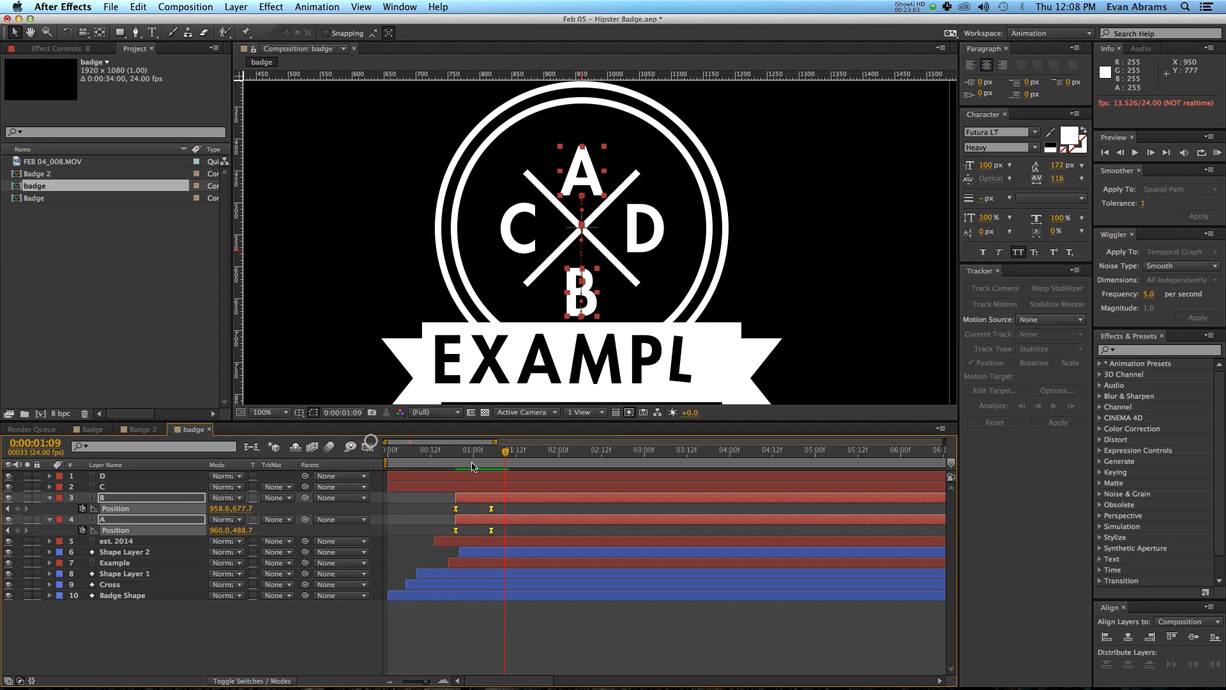
Add 4 letters to the middle of the “cross”. |
| 25 |
Move each letter to the gaps in the crosses. |
| 26 |
Set the position of the top and bottom letters to come on as the cross expands. |
| 27 |
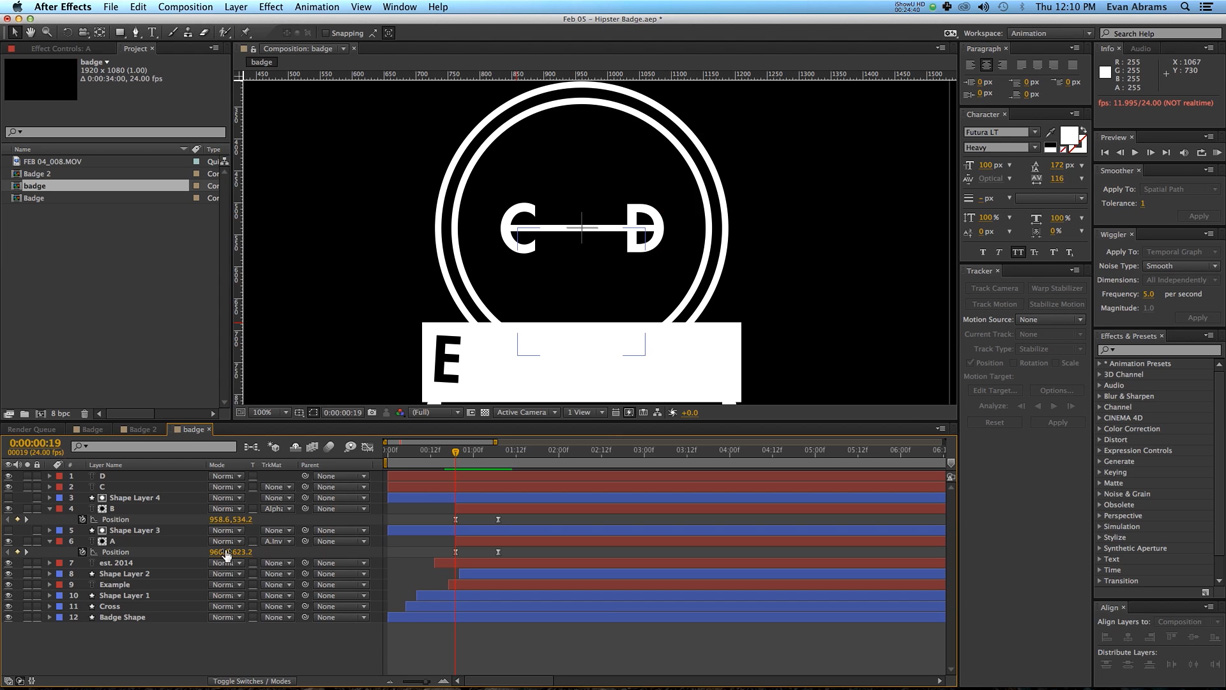
Create a new black rectangle over the “B” slot. |
| 28 |
Duplicate the black square and position it over the A and B spot. Position both rectangles above A and B. Add an alpha and alpha invert the respective letters “A” and “B”. |
| 29 |
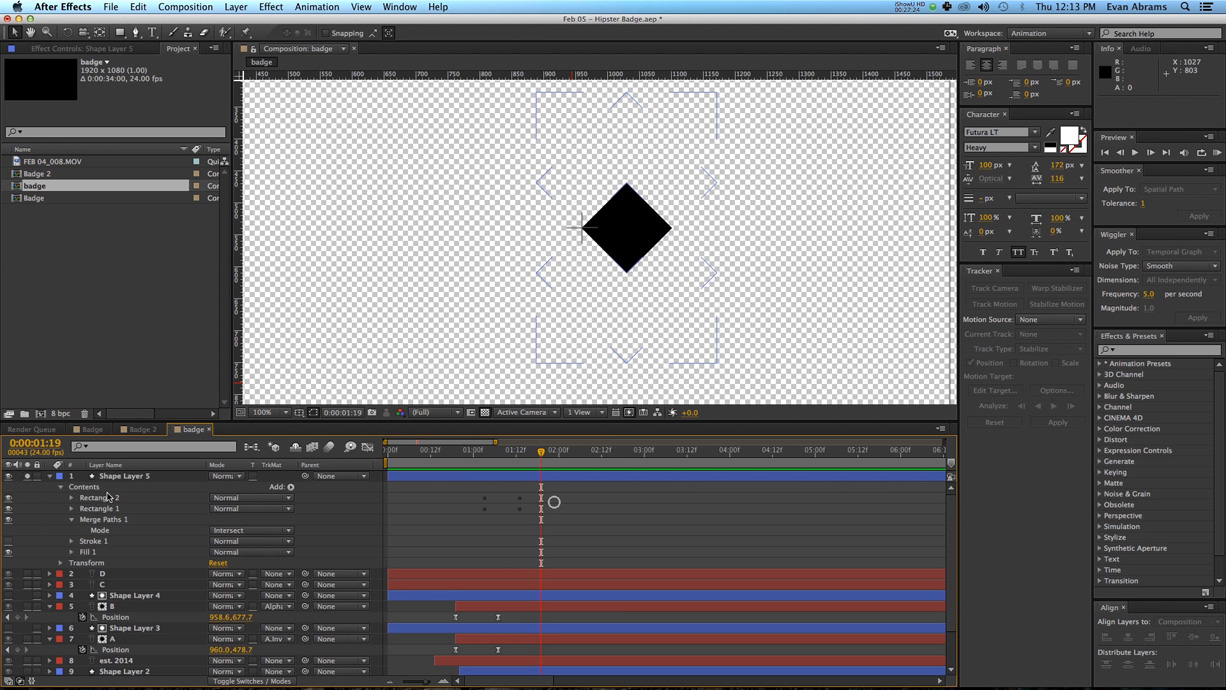
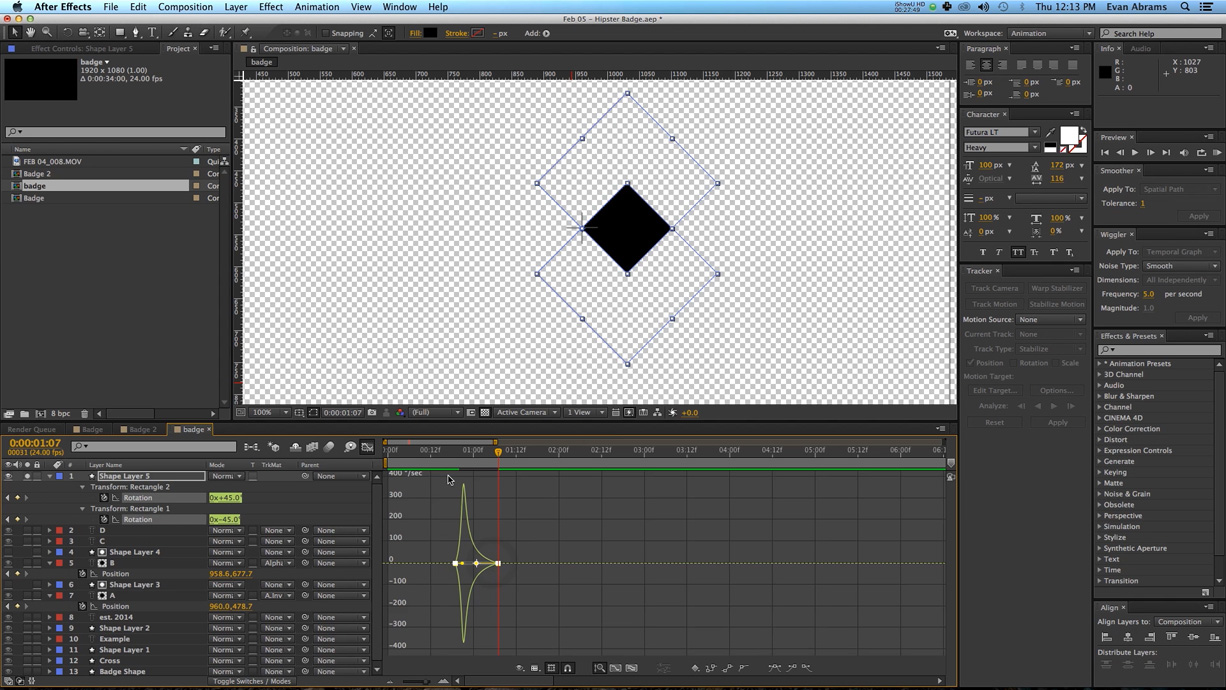
Duplicate the black rectangles and set rotation parameters – each an inverse of one another to create an overlapping diamond shape. Delete the stroke and fills, then add a merge paths effect set to intersect. |
| 30 |
Easy ease the rotation keyframes. |
| 31 |
Set the rectangle as the alpha matt of “D”. Duplicate and rotate and set it as the alpha matte of “C”. |
| 32 |
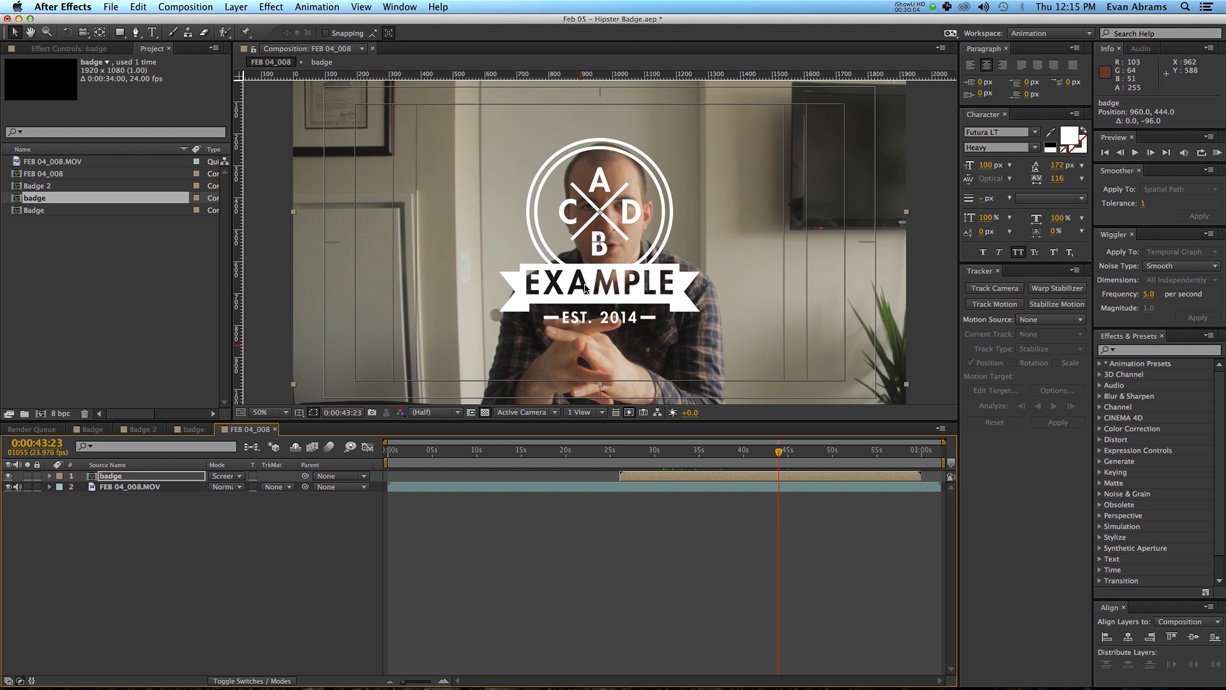
You can composite the composition by setting the composition’s transfer mode to screen. |
| 33 |
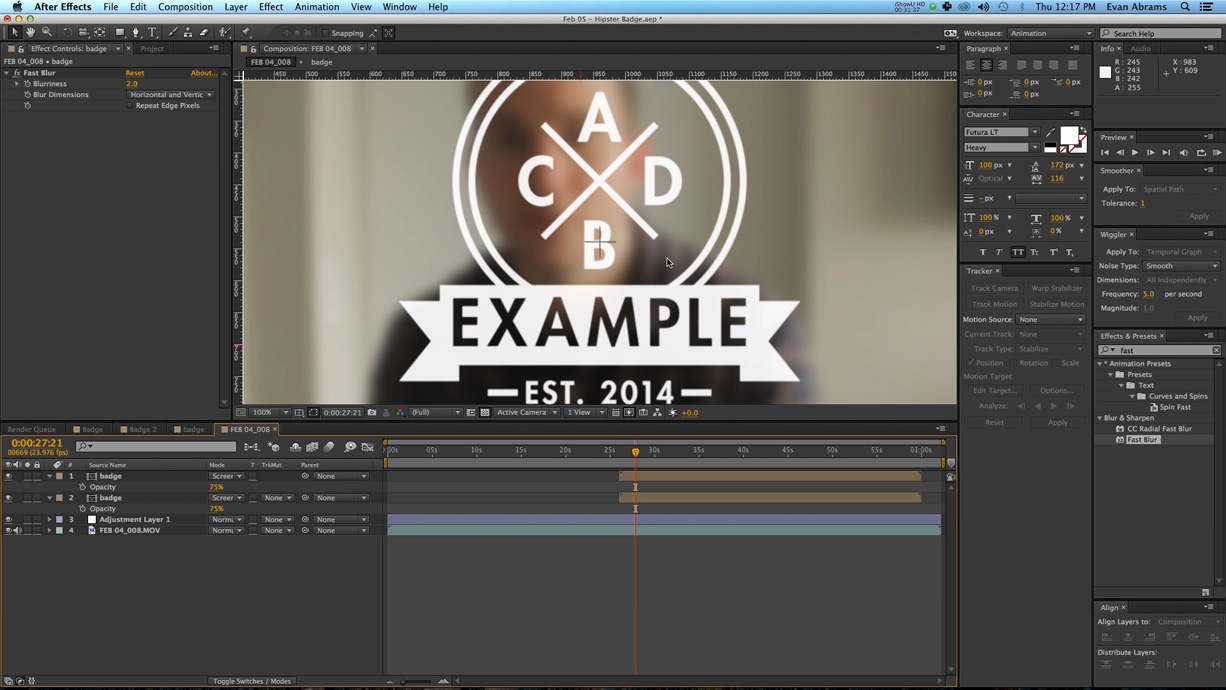
Use an adjustment layer with a fast blur to blur out the background. |
| 34 |
Blur the badge by 1 pixel, duplicate and blur again by 2 pixels. Set the opacity of both to 75. |


