How to Zoom in Premiere Pro for Simple Transitions
Using zoom makes static subjects come to life, and helps smooth transitions. Throw a little “Ken Burns” flavor into your video with the help of the zoom.
The zoom effect could be argued as one of the most used effects within Premiere. I’m constantly using the zoom to either crop into a clip, or to add a little motion to an otherwise stationary clip. Today, we are going to do a little guided tour around creating the zoom effect in Premiere, and then I’ll show you how to incorporate that zoom into a transition. Let’s get started!
Step 1: Add Your Clip to the Timeline
To create a zoom effect in Premiere Pro, we’ll be using keyframes for the zoom and position parameters.
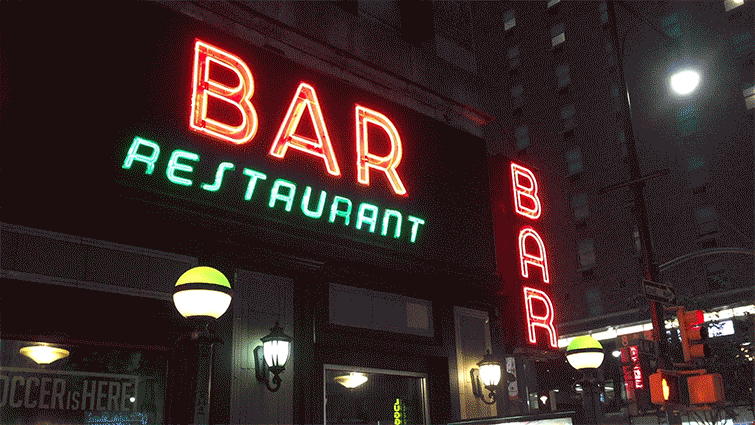
First, let’s start by adding our image or footage to the Premiere Pro timeline.
Step 2: Adding Keyframes to Scale and Position
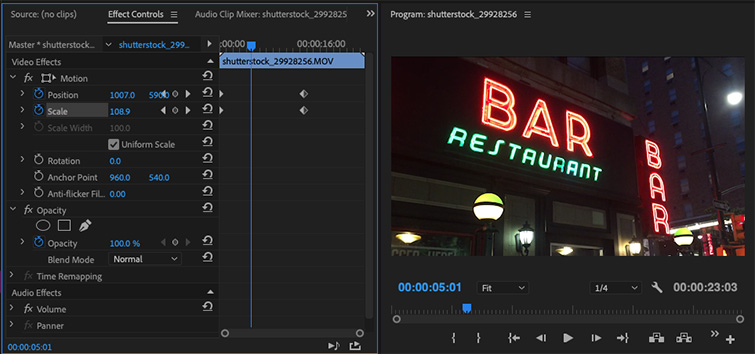
Next, with the clip selected, we’ll navigate to the very FIRST frame of the clip. This will be where our FIRST keyframe is placed. In our effects controls window, click the stopwatch icon next to the SCALE and POSITION parameters. You just added your first keyframe for the scale and position of the clip.
Step 3: Creating & Polishing the Zoom
After you click and enable the stopwatch for a parameter, Premiere will automatically add keyframes when a parameter is adjusted. So, all we have to do now is navigate to the LAST frame of the clip and adjust our scale and position parameters.
As soon as you adjust the parameter, a new keyframe is automatically added at the current time. Make sure that you create the position to where you want the final shot to be, as Premiere will automatically interpret the motion into a zoom between the two keyframes.
I usually scale up just a little bit and adjust my position to zoom into the main subject of the image.
If you want to smooth out the ending of the zoom, you can always add the Ease in or Ease Out tool to give the ending of the clip a little bit more slide.
To do this, right click the end keyframe and select either Ease in or Ease Out, depending on if you are going in or out of a clip.
Step 4: Saving the Zoom as a Preset
For bonus points, you can save this zoom effect as a preset to use quickly later on any other clip.
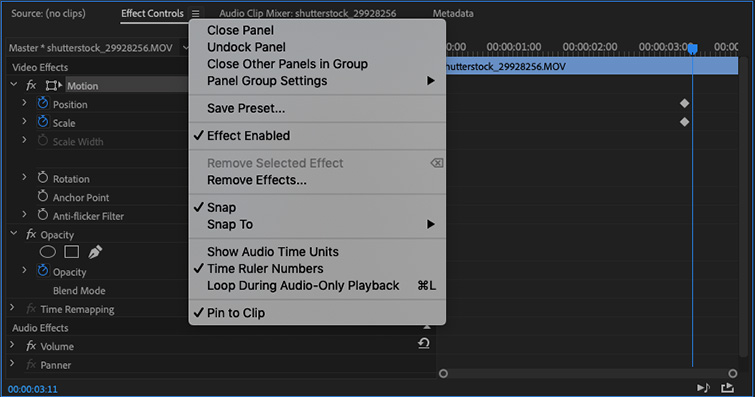
In the “Effect Controls” window, with “Motion” selected, click on the panel menu at the top right. Click “Save Preset.” Make sure that you choose “Scale” as the type of preset. This will rove the animation for the entire duration of the clip. Name the preset something relative, like “Ken Burns effect” or “scale up 100-120%.
Click the panel menu in your “Effect Controls” window, click “Save Preset” and then name your preset.
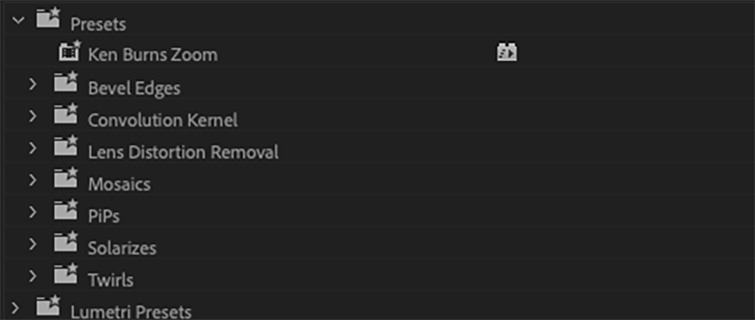
Now, whenever you need to throw the zoom effect onto a clip in a hurry again, just look in your presets folder in your effects window.
Keep in mind, you can also reverse the effect we just did, and have the image zoom out. This is good for revealing certain things in the image over time. You can also add keyframes for other things to make it more interesting, such as rotation. In Premiere Pro, like most video editing applications, you can even get really creative and add keyframes to things like color effects, blurs, etc.
The Zoom Transition
One really popular use of the zoom within Premiere is creating a transition between two clips by utilizing the zoom tool. It’s used all over vlogs and social media as a way to show off your latest vacation footage. Creative Ryan has a really simple tutorial on this subject that we are going to use as our example.
All you have to do is take the two clips that you want to transition between, and add the Transform effect to both of them. On the first clip, set a key frame at both the end of the clip, and about three or four frames before the ending. On the very end keyframe, scale up your Transform effect, and increase the shutter angle to 360. Make sure to also unclick “Use Composition’s Shutter Angle,” which will add the motion blur that you are looking for in this type of transition.
To match the first clip’s zoom, do the same thing to the second clip, but in reverse. Add the zoom to the beginning of the clip, and have it return to normal settings after a few keyframes. Bam! You’ve got yourself a neat little zoom transition to use on your next killer vacation video.
Want more tips on using Premiere Pro? Check these out.


