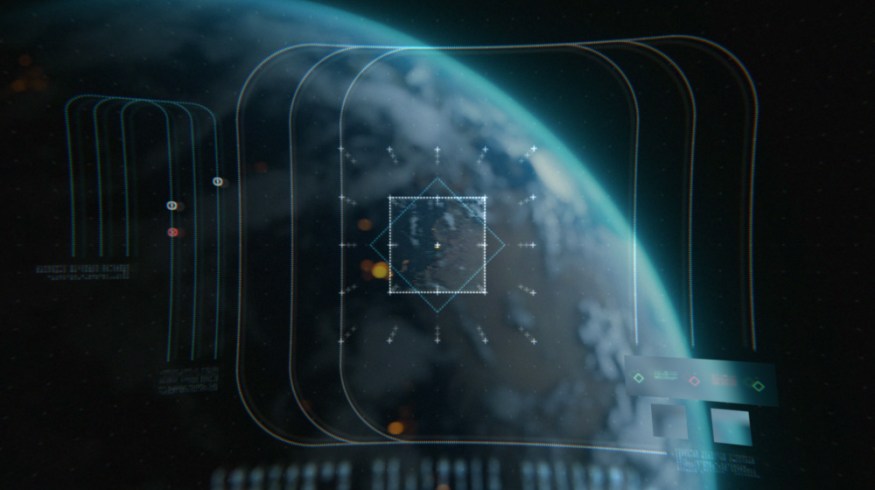
10 Practical Tips for Creating Sci-Fi HUDs in After Effects
Use these compositing tips to create slick sci-fi Heads-up Displays in After Effects. Tutorial includes free project files!
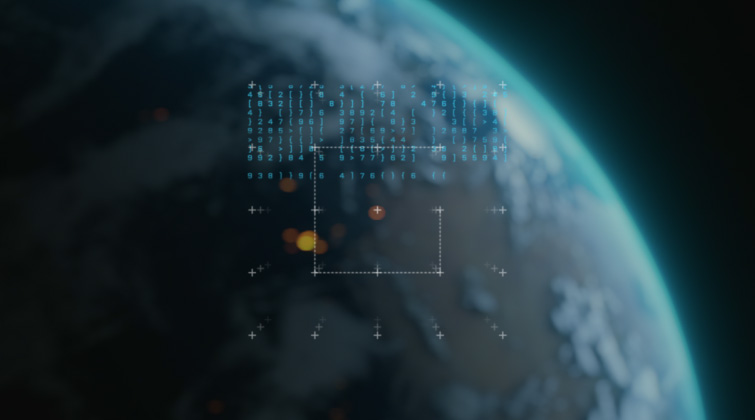
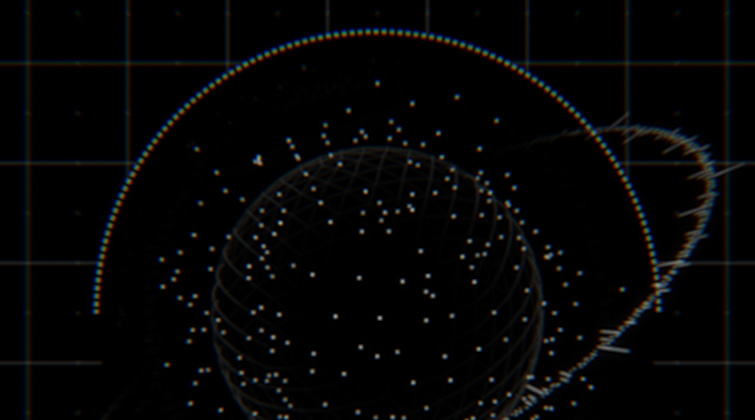
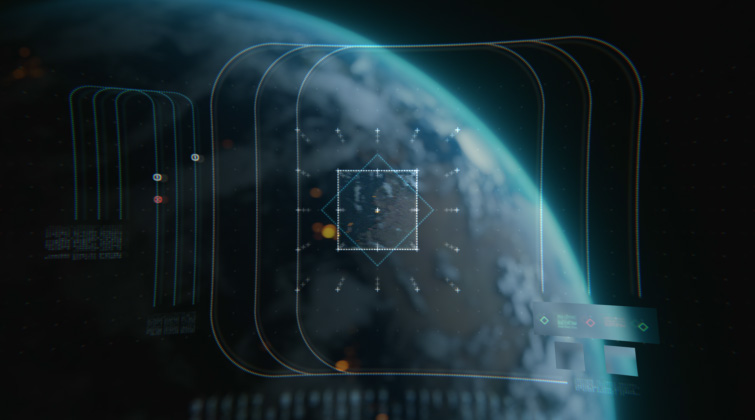
Let’s make some superpowered, space-age HUDs! These blockbuster effects are surprisingly easy to nail, and they’re a sure-fire way to add instant production value to your film and video projects.
The following tips are going to work best when used in combination with each other, working in tandem to give your HUD elements a better look and feel. A lot of them are really simple effects, but collectively, they can make a big difference.
This tutorial comes with a free project file containing two HUD scenes and free elements from Shutterstock’s Interface HUD pack. Download them now, dive into the tutorial, and make some movie magic.
DOWNLOAD THE FREE HUD PACK
1. CC Ball Action
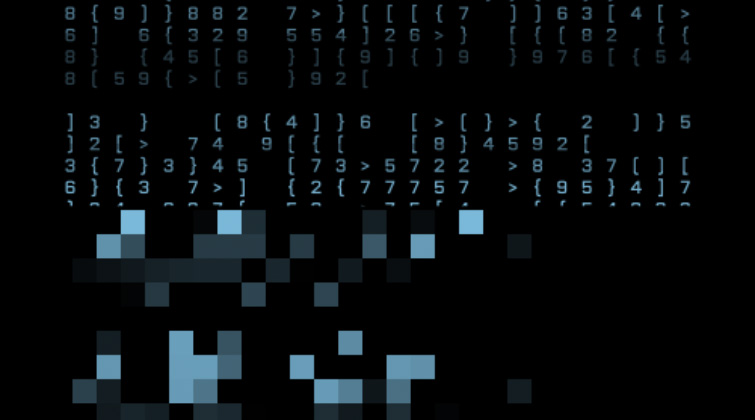
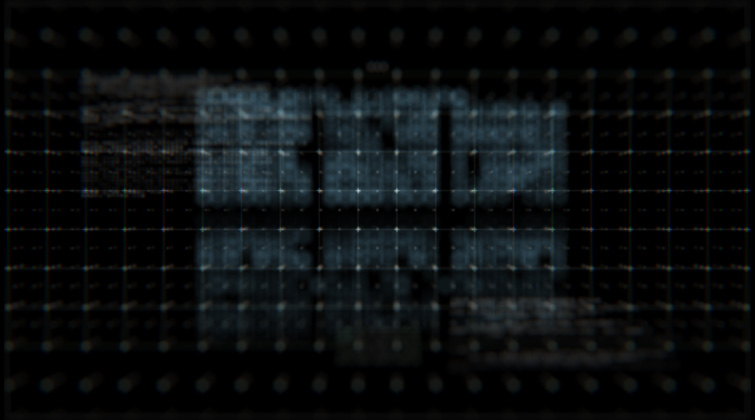
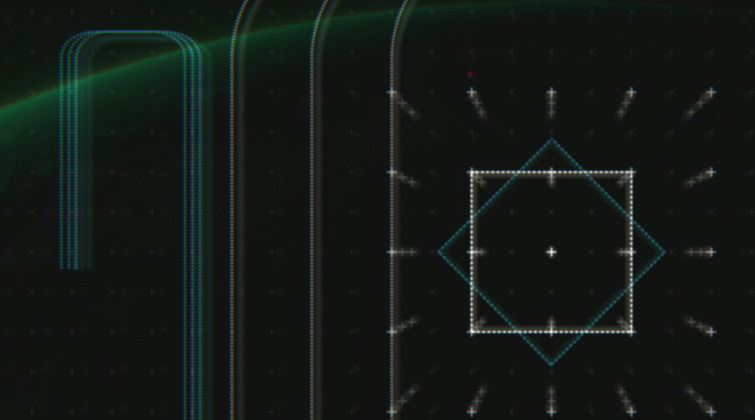
The first tip is using the CC Ball Action effect to give elements a pixel look. If your element is on an alpha channel, add a black Solid Layer behind it. Then, add an Adjustment Layer at the top and apply CC Ball Action to it. In the CC Ball Action settings, adjust the Grid Spacing and Ball Size to achieve your final look.
2. CC Block Load
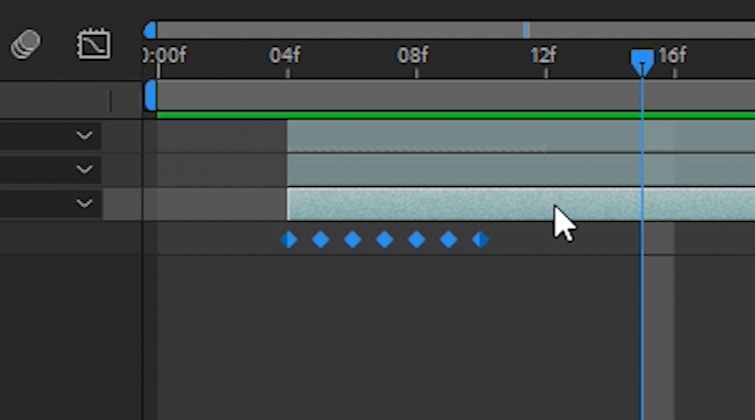
Use the CC Block Load effect to add a quick “loading” animation. Apply the effect to your footage, then un-check the Start Cleared setting. Now, keyframe the Completion setting to emulate the loading appearance.
3. Blur, Opacity, and Blending Modes
Blur, opacity, and blending modes are all important layer attributes. Try out different blending modes on your HUD layers to see how they look with the background footage.
Add and Screen blending modes are always popular with HUDs. Use varying opacity levels on layers, depending on their importance on screen. This is a subtle way to direct viewers’ attention to more important areas of the HUD.
Finally, pre-compose all of your HUD elements together and apply a Gaussian Blur. Set the Blurriness setting to a low value between two and four. This will take the “crispy edge” off of the elements, helping them blend naturally with your footage.
4. Chromatic Aberration
There are many ways to add chromatic aberration with no plugins in After Effects. However, there’s a free plugin that I highly recommend — Quick Chromatic Aberration 2 from Plugin Everything. Once you have the plugin installed, add an Adjustment Layer above your footage and apply the effect. Adjust the Scale setting to achieve your desired look. I recommend something subtle, such as a scale of 100.30 percent.
5. Flicker Presets
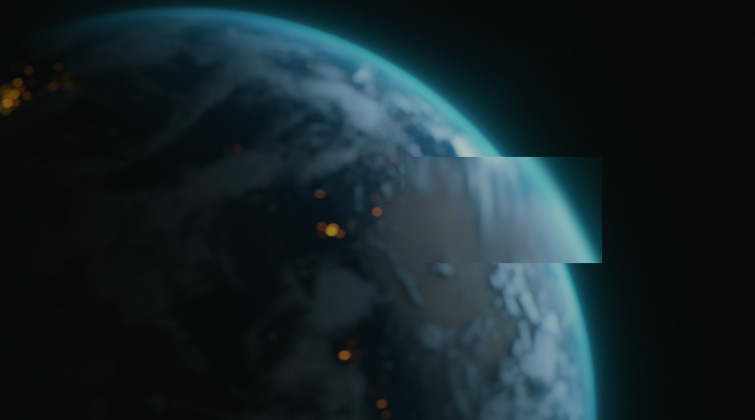
A lot of times when you have elements animate on or off screen, you’ll probably keyframe some opacity flickering. If you create a flicker animation that you really like, you can create a User Preset for it. First, open the Effects & Presets panel in After Effects. Then, drag your mouse and highlight all of the opacity keyframes for your flicker animation. In the bottom-right corner of the Effects & Presets panel, click on the the square post-it note icon. This will allow you to name and save your animation as a User Preset. You can then drag and drop that opacity animation on any layers, whenever you need it.
6. Glass Displacement
The Transform effect is a quick way to create some “glass” displacement on your HUD. Create a Solid Layer to act as your image matte. (Size this the same size you want the glass to be.) Then, add an Adjustment Layer below the Solid Layer. Set the Adjustment Layer Track Matte setting to Alpha Matte. Apply the Transform effect to the Adjustment Layer. Increase the Scale setting on the Transform effect to create some displacement. You can also add effects like Gaussian Blur and Quick Chromatic Aberration 2 to create other glass looks.
7. Camera Lens Blur
If you have any HUD elements that are not the central focus, apply the Camera Lens Blur effect to them to get a nice bokeh look. After applying the Camera Lens Blur effect, adjust the Blur Radius. If your element looks faded or transparent after adjusting the Blur Radius, I recommend duplicating your element a few times to bring back some opacity. Set the duplicated layers to Add or Screen blending modes to increase the brightness and contrast, if needed.
8. Ghosting/Mirroring
This effect is really simple, but adds a nice reflection to the look of the interface. First, pre-compose all of your HUD layers. Then, duplicate your HUD pre-composition. On the bottom HUD composition copy, make the composition a 3D layer. Then, move it forward on the Z-axis, around 50-100 pixels. Next, lower the opacity of the bottom HUD copy to around 15-30 percent. You can also apply a Gaussian Blur to the bottom copy to muddy the reflection a bit.
9. Optics Compensation
Use the Optics Compensation effect to stretch everything out and give your HUD a first-person look. Add an Adjustment Layer above your footage, then apply the Optics Compensation effect to it. In the effect settings, check on Reverse Lens Distortion. Then, set the Field of View to a value around 70.
If you don’t want the effect to affect the bottom background layer, copy the created Optics Compensation effect. Then, paste it directly on the background layer and check off Reverse Lens Distortion. Your background footage should then revert back to its original appearance.
10. Random Text/Numbers
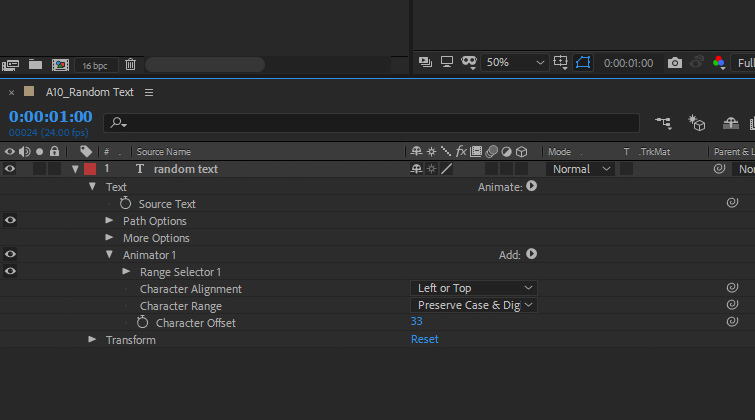
Now, there are many ways to create random text and numbers in After Effects. I want to share two simple ways that (if you’re a beginner) should help get you started. For random text, create a Text Layer and type in some random characters. Then, toggle down the Text Settings. Click on Animate and select Character Offset. Then, just keyframe the Character Offset. Turn on Full Unicode in the Character Range for even more text characters.
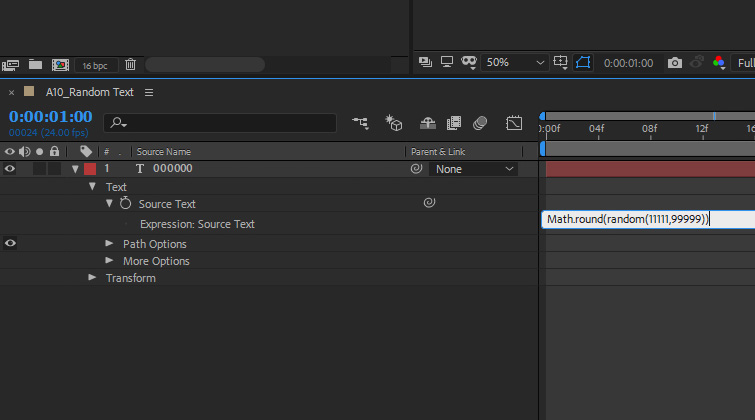
For random numbers, create a Text Layer. Then, under the Text settings, Alt+click on the Stopwatch Icon for Source Text (Ctrl+click on Mac). Paste in the following expression:
Math.round(random(11111,99999))
Make sure you type in the expression correctly, because the expression is case sensitive. (Use a capital “M” on “Math”.)
Bonus Tip
Finally, as a bonus tip, you can add some nice static/distortion grain to your footage using the Add Grain effect. Create an Adjustment Layer above your footage, then apply the Add Grain effect. Change the Viewing Mode setting to Final Output. You can then look through the various built-in presets and make setting adjustments to finalize your look.
Interested in the royalty-free tracks we used to make this video? Give them another listen:
- “Ocean Tranquility” by Cymatix
- “Lo Fi Waves” by Origami Pigeon
- “Rainy Days” by Cymatix
- “Influencers” by FASSounds
And finally, here are a few more fast and easy After Effects techniques you can add to your back of tricks in only minutes:

