
5 Things I Learned From My First Time Shooting 16mm Footage

From loading the camera to adapting old Canon lenses, here’s what you need to know about shooting on Kodak motion picture film.
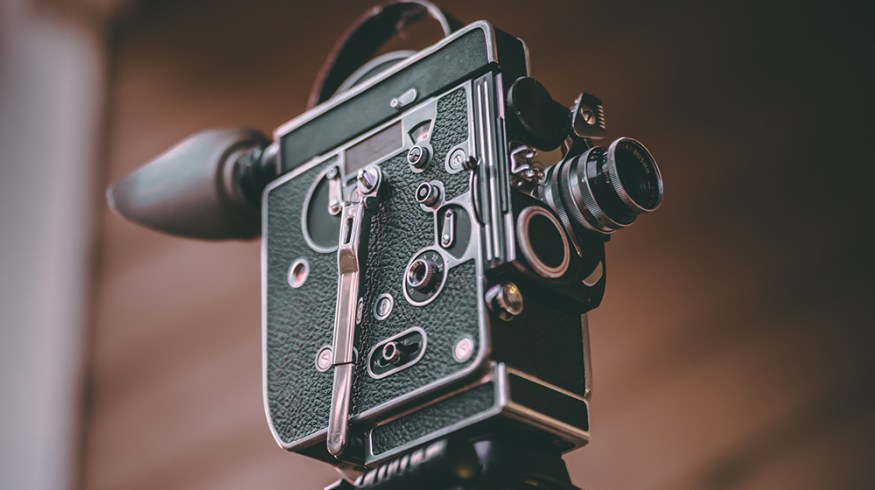
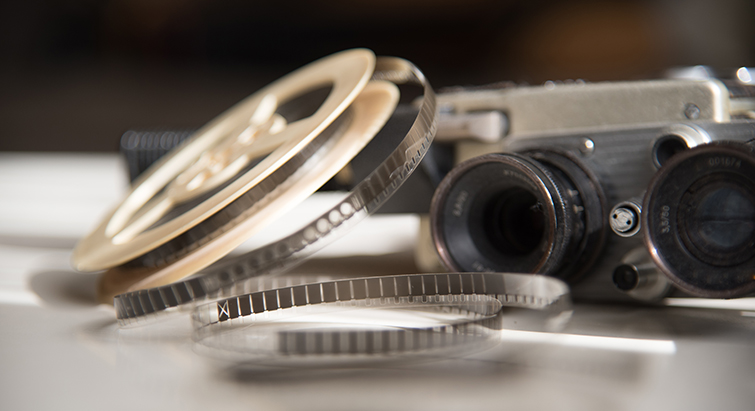
This past summer I found myself with the opportunity to get my hands on an old Bolex 16mm film camera. Before I agreed with myself that I’d actually try the dang thing, I looked up how much 16mm film was, as well as how much processing and scanning would end up costing me. In the end, it didn’t seem near as expensive as I thought it would be and I knew I would use it once or twice a year, maybe. So, what the heck. Here’s some of the test footage I shot.
So, as you can see, its not terrible, but its also nothing mind blowing. After hitting export on this video I can comfortably say I learned a few things about filmmaking, and 16mm specifically. I didn’t document these step-by-steps for shooting, but I’m going to talk about and list all the resources I employed throughout this journey.
Loading the Roll into Your Camera
The first obvious step in the process of shooting film is loading the film into your camera. Now, like you (I’m assuming if you’re reading this post) I had no idea how to load the film in because, well, it looks like a complicated puzzle when opening the side of the camera. So, naturally I Googled how to do it and sure enough, I found a perfect, step-by-step video on how to do this with the H16 Bolex Reflex 16mm camera similar to the one I had. This channel is an amazing resource for learning about film photography as well as technological insights into film motion picture cameras.
Adapting Old Lenses
The lens that came with the Bolex was a Cosmicar television zoom lens. Its a small lens that I think had a focal range of like 16mm-70mm. These aren’t terrible lenses and the footage I shot with the lens didn’t look too bad. However, I wanted to see if I could use one of my old Canon FD lenses that I had laying around. The lens mount on the Bolex is called a “C-mount.” Turns out, you can buy an adapter (C-FD) for a pretty affordable price. I originally noticed the FD could be adapted due to the video above being in my recommended feed on YouTube.
Finding a Lab
The most intimidating step in this whole thing was finding an affordable, reliable lab that had good reviews without completely bankrupting me. I landed on a lab in Boston, MA called Cinelab. Their prices were decent and their ordering system was pretty straightforward.
You have the option to receive your “scans” (footage) in a variety of formats and quality. I wasn’t entirely sure that the Bolex was actually working and there were no light seals. But, I knew I wanted to put the footage on YouTube and I wanted to see how good the footage could look. So, I decided to split the difference between 1080p and 4K and ordered a 2K Log scan.
Metering Your Shot
Unlike standard digital cameras that allow you to meter and judge the exposure of your image in a variety of ways, I knew I’d have to either use my phone light meter app, or the little Sekonic meter I use for photography. I chose both.
Metering wasn’t all that hard, really. I just set the shutter to 1/50th because I wanted 24fps footage, and then my ISO at “250” because I was shooting Kodak 250D film stock. The only left to really check was my aperture. The app I used is called Pocket Light Meter and I think it cost like $10USD, but its totally worth it.
The reason I’m writing about this is because of the sense of comfort I felt after metering each shot. There were numerous ways to mess up the footage; light getting in, missing focus, development mishaps, or even just the film back popping off. But, missing exposure wasn’t going to be one of them. This led me to feel more secure in exposing like this with my digital work. Why haven’t I always been metering like this?
Tungsten vs Daylight
When you’re buying your film stock online, you’re faced with (mostly) two options; Tungsten-balanced film, or Daylight-balanced film. These stocks are going to determine the lighting, time of day, type of light, and generally every other aspect of what you’re shooting.
So, normally where you just change the white balance of your camera, here, you’re stuck with that particular stock in the Bolex. Instead, you have to adapt by putting filters on your lens that balance this. For example, if you’re shooting with Kodak 500T (500 ISO, Tungsten balanced) in the middle of the day, you’d typically get a super blue-ish hue to your image. You can correct this by screwing on an Orange daylight filter. This corrects the white balance of the footage.
Even though you can do this in post-production now, this will help retain some of the original color and texture that comes with exposing the proper colors right to the celluloid. If you want to look at Kodak’s own test footage reel for their 500T 5219 stock, check it out below.
Obviously I’m not an expert on 16mm and won’t be for a while. However, I had a lot of fun shooting the little video and hope to make another one soon. If anything, this revived my love for filmmaking in a way I needed, especially in 2020. So, don’t be afraid to try it out if you ever get the opportunity to get your hands on of these cameras.
For additional gear tips, tricks, and advice, check out these articles:
- How and Why to Cycle Through Video and Camera Gear
- Should You Sell Your Camera Gear During Uncertain Times?
- The Best Gear for Creating Your Next TikTok Video
- The Best Tripods and Tripod Systems for Video Professionals in 2020
- 11 Practical Filmmaking Pro Tips on How to Film Yourself
Cover image via Zhuolin Hong.


