
How to Create Real 3D Terrain in Blender (Without Plugins)

Use real world map data to create stunning 3D terrain. Here’s a step-by-step tutorial to get you started. Video included.
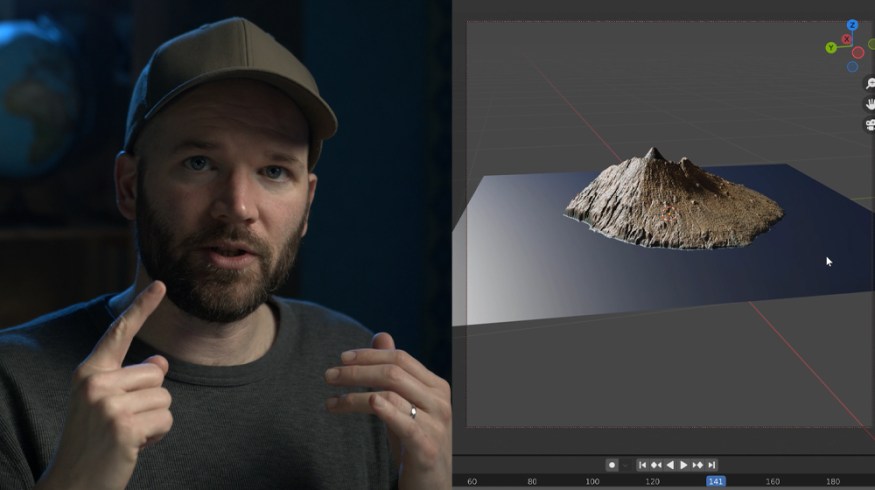
In my last video, I talked about the struggles of my first thirty days learning Blender. My main goal was to create some 3D terrain using real-world heightmap data by the end of these thirty days.

I ended up getting some pretty good results. In today’s video, I’m going to break down step-by-step how I created that terrain.
While I recommend watching the video as it’s laid out in a step-by-step follow-along process, you can find the abbreviated steps below for a quick recap of the tutorial, if you get stuck.
Step 1. Get the Map Data
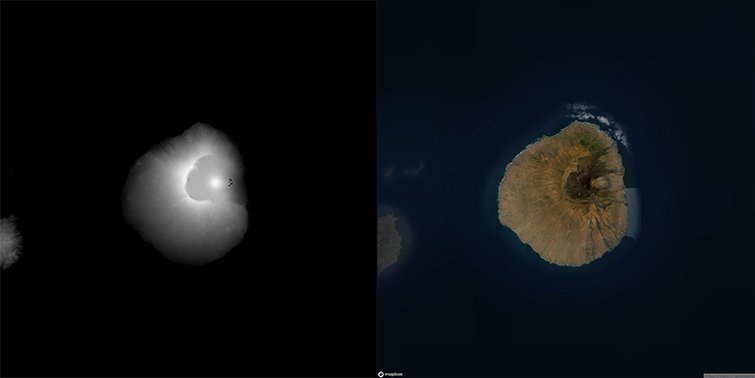
For the first step, I need to get some real-world map data. I’m specifically looking for a grayscale heightmap. Once in Blender, I can use the luminance values of my heightmap to drive the vertical displacement of my terrain. The problem is finding these heightmaps.
Depending on the location, you can find map data from various places. However, many of these sites are overly technical, requiring knowledge of satellite names and confusing geography terms to find the imagery you want.

I found this tool on GitHub to be the most user-friendly for us non-geography folk. This site was built to generate heightmaps for a game called Cities: Skylines. It allows you to download the heightmap and the corresponding map image easily. Unfortunately, you can only select a maximum area of 70km.
Step 2. Clean up the Imagery (Optional)
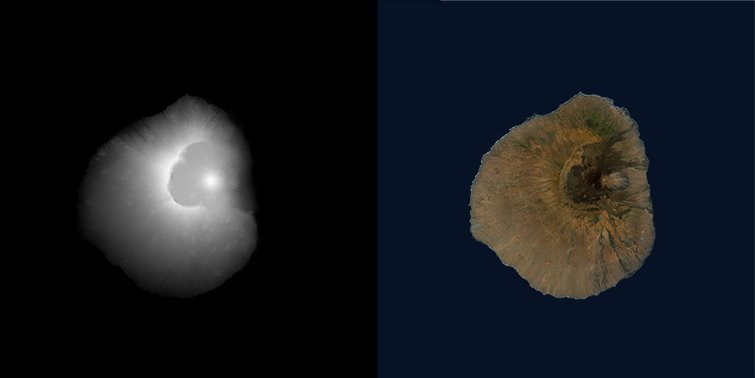
Once downloaded, my heightmap and map image need a little touching up. My height map has some black spots that need patching and cropping out some of the surrounding islands.
Again, Blender will be using the luminance values of my heightmap to control the displacement, so it’s essential to fix up any problem areas.
I also want to clean up the edges of the coastline of my map image because the satellite imagery is just a little rough around the edges. I can see some clouds and tiling, which can easily be removed in Photoshop.
The critical thing to remember is not to change the size of either image. They need to fit when compositing the two elements in Blender.
With my map data downloaded and cleaned up, I’m ready to jump into Blender.
Step 3. Setup a Mesh
First, I’ll delete the default cube and create a new Mesh > Plane.
Next, I’ll switch to Edit mode and right+click > Subdivide the plane. I’ll type in 50 for the Number of Cuts in the Subdivide panel at the bottom-left.

Subdividing the mesh adds more vertices, which will give me a more detailed terrain map. The problem here is that it’s a balance of performance vs. quality. The more I subdivide, the higher the resolution, but the slower the performance. Depending on your system, you’ll want to play with this number.
Step 4. Add the Map Image
With my mesh ready to go, I’ll switch back to Object mode and then change the display mode to Material Preview.
First I’ll go to the Material Properties tab with the plane selected and create a new material.

I’ll select the circle next to Base Color and grab Image Texture. Now, I can navigate and open up my map image. Voila, directly my image is placed on the plane mesh.
It’s time to displace this bad boy with my heightmap.
Step 5. Displace the Terrain
Next, I’ll navigate the Modifier tab and add a new Displace modifier to the plane. I’ll click on the New button to add a unique texture.
I’ll set the Type to Image or Movie in the Texture properties tab and then open up the heightmap.
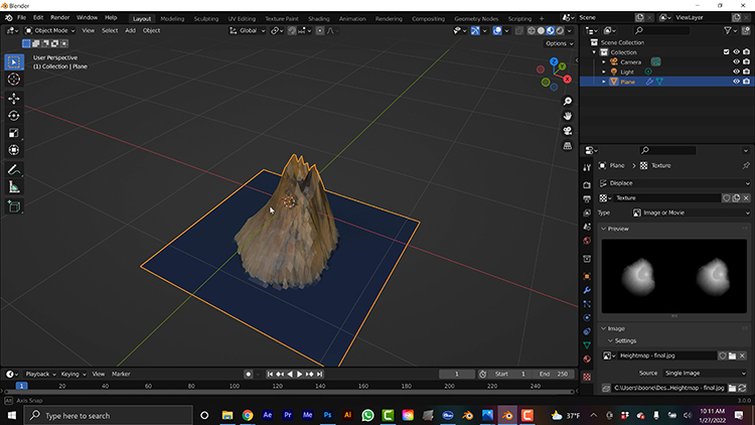
Now, my mesh has some depth to it—low poly and overly high depth, but depth nonetheless. Go back to the Displace modifier and play with the Strength and Midlevel parameters until you get a look that you’re happy with. 0.2 strength looks suitable for my map.
While the height looks good, it still looks way too low resolution for me. For this, I’ll add a Subdivision Surface modifier and place it above the Displace. I’ll switch the modifier to Simple and crank up both Viewport and Render settings to 4.

Now we’re getting somewhere.
Step 6. Lighting
I grabbed my default light and switched it from Point to Area in the Object properties panel to get some nice shadows. Then, I simply repositioned it next to my plane and adjusted the brightness until I was happy with the look of the shadow.

This is about as far as my current skills can take me. I’ve played around with Render settings, HDRIs, and World shaders, but honestly, it’s still information overload at the moment. One step at a time, folks.
If you’d like to check out more about working with terrain, there’s a GIS plugin available that does fast work of creating realistic 3D terrain. Stayed tuned to PremiumBeat, as I’ll show you how to use that tool in an upcoming video.
A few more 3D tips and tricks for you:


