
How to Animate Glass Textures on Videos in After Effects
In this video tutorial, learn tips and tricks for animating textures on your videos in After Effects. Includes free glass textures!
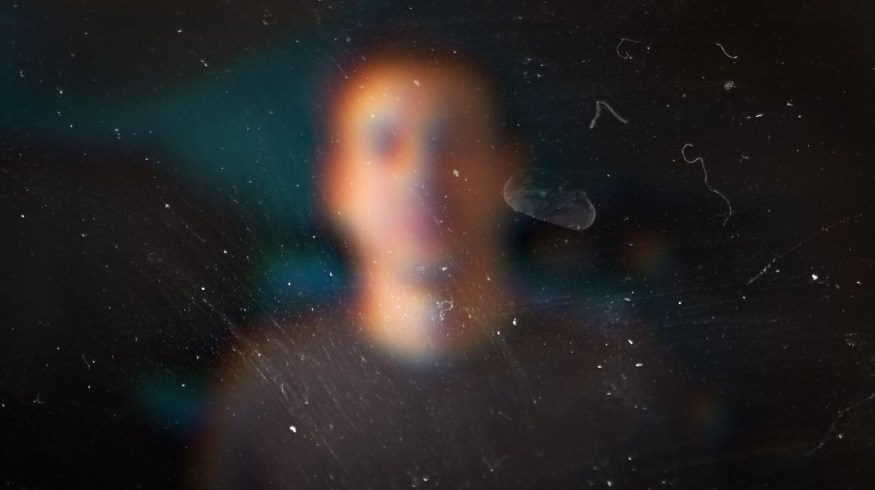
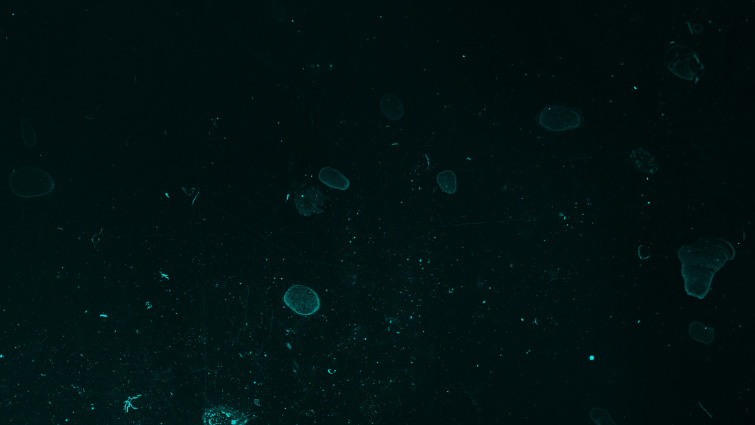
Animating glass textures over the footage is one of my favorite ways to make a shot more visually interesting. In this tutorial, we will cover a lightning round of different ways you can animate glass textures in After Effects. Be sure to download our 25 Free Glass Textures if you want to follow along!
Texture Basics
There are two effects that will make working with the glass textures much easier. The first is the Tint effect. You can use the Tint effect to make textures black & white or colorize the textures by changing the “Map White To” color in the effect settings.
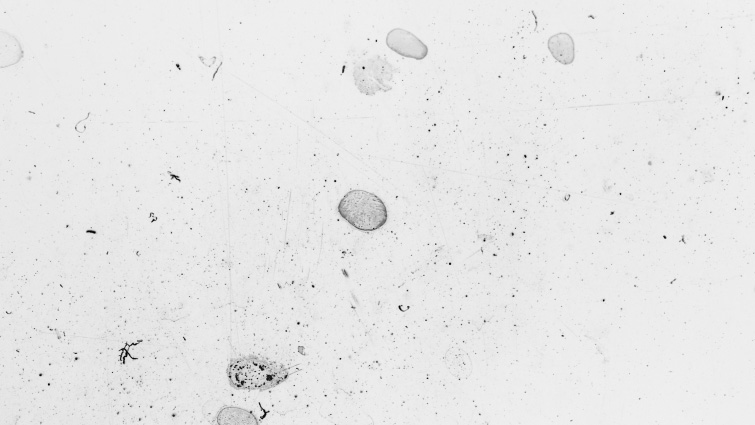
The next effect you’ll likely use frequently is the Invert effect. This effect inverts the texture’s colors, so instead of a white texture on a black background, you’ll get a black texture on a white background.
Rack Focus Effect
One of my favorite effects to create is a faux rack focus effect. To do this, place a glass texture layer above your footage layer. Set the glass texture to a Screen blending mode. (Or Multiply depending on the texture you are using.) Then apply the Gaussian Blur effect to your footage and set the Blurriness to 60. Create a Keyframe for the Blurriness value. Then move down two frames and set the Blurriness to 0.
Then on the glass texture layer, do the inverse. Apply the Gaussian Blur effect and set the Blurriness to 0. Create a Keyframe for the Blurriness value at the same time you did previously. Then move down two frames and set the Blurriness value to 60. The keyframes should look like this:

If done correctly, you should now see the rack focus effect. The focus should appear to quickly change from a close-up glass texture, to the background footage.
You can enhance the look of the blurred layers even more by adding some color fringing using the free plugin Quick Chromatic Aberration 3.
Making the Glass Textures 3D
The best way to animate glass textures on your footage is by making them 3D. To do this, make your footage and glass texture 3D Layers in your After Effects composition. (You’ll need to set the glass texture to a Screen or Multiply blending mode.) Then create a 3D Camera. When creating the 3D Camera, ensure Type is set to One-Node Camera. This will be much easier to animate with for simple movements.

Now move the glass texture position in 3D space 50% closer to the 3D Camera. Essentially, it should be roughly halfway between the 3D Camera and your 3D footage layer.
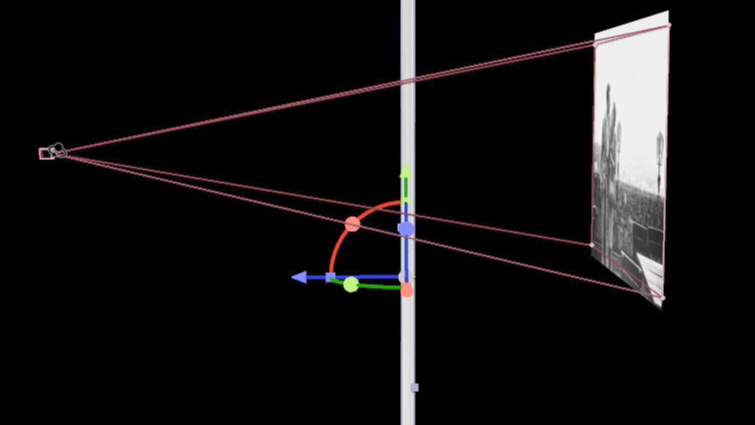
Now you can animate the position of the 3D Camera, either side to side or forward toward your footage. When you do, you will see some excellent parallax movement between your footage and the glass texture layer.
3D Camera Tracker
Another similar method you can do is 3D Camera Track your footage. (This works best on subtle camera movements, ideally moving slowly.) After you track your footage with the 3D Camera Tracker effect, select the setting to Create Camera. Now you can add glass texture layers into your composition and make them 3D Layers. Set them to your preferred blending mode, then reposition them in the scene.
Shallow Depth of Field
You can also create some cool shallow depth of field effects with 3D glass textures. Make your glass texture a 3D Layer. Then create a 3D Camera. This time make sure the Type is set to Two-Node Camera. (This just makes the camera easier to animate for this type of shot.) Now in the Camera Options, turn on Depth of Field. Then dial in Focus Distance, Aperture, and Blur Level to suit your taste.
Silhouette Logos
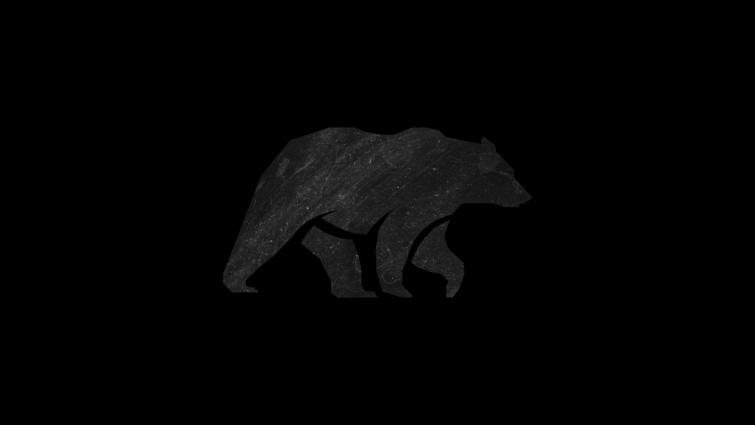
Finally, another fun thing to do is silhouette glass textures onto logos or icons. This opens the door for a lot more animation possibilities. To do this, add a glass texture under your logo layer the composition timeline. (The logo will need to have a transparent alpha channel.) Then set the Track Matte for the glass texture to Alpha Matte. You will now see the glass texture matted to your logo.
Download Free Glass Textures
If you haven’t already, download these 25 FREE glass textures!
Create More Glass Effects
If you are looking to create more glass effects, check out our tutorial on How to Create Glass and Ice Text in After Effects. You can combine the techniques from this tutorial, along with the 25 Free Glass Textures, to create your unique glass looks!
Interested in the royalty-free tracks we used to make this video? Give them another listen:
- “Vapor Wave” by Mountaineer
- “Neverland” by Haxxy
- “LoFi Memories” by Ben Beiny
- “Miami Nights” by Ben Beiny


