How to Actually Bring Your Storyboards to Life

Let’s go over some tips and tricks for turning your rough sketches into practical and helpful guides that you can creatively follow.
I still very distinctly remember the first time I saw a real-life, well-made storyboard for a project used on set. It was like looking at a graphic novel of the exact film we were trying to shoot. And, honestly, it felt like cheating.
Because in my experience, and in so many other film and video professionals as they start, the concept of creating a shot, and stringing together a scene, feels very abstract. Like, there’s no set path or vision usually.
However, with a storyboard, it’s all laid out for you. And while you don’t have to use storyboards for your projects, the ones that are laid out with production actually in mind are going to be your real-life production cheat codes.
So, to help bring your storyboards to life, here are a few tips for using your storyboards properly in your production workflows.
Start with Your Framing
Before we dive in too deep, we need to go over some essential guides for storyboarding. We’ll go into some more specific tips for turning these storyboards into actual production workflows below, but here are some basic explainers for getting started with storyboarding:
- Storyboarding Like A Pro
- Storyboarding Your Film: Tips for Your Next Project
- The Benefits of Storyboarding Your Next Film
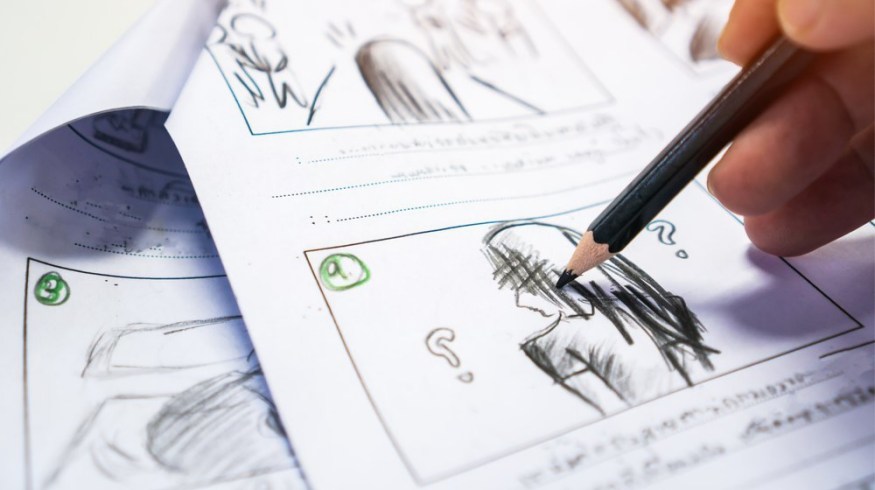
As you can see, storyboards can run the gamut from rough sketches to beautifully composed graphic novels. However, one of their main purposes is to provide framing regardless of quality. A storyboard panel is meant to convey shot size and framing.
So much so that if you really want to use your storyboards with intentionality, you should even include notes in your panel to clarify if your frame is meant to be a wide shot, a medium shot, a close-up shot, etc.
Adding in Direction and Motion
Your next actionable goal for bringing your storyboards to life is to, well, give your panels action. Just because you’re drawing sketches in static 2D doesn’t mean you can’t use all the tools in your sketch arsenal to provide context for action and movement.
If your shot is meant to have characters in motion, provide that by giving arrows for character movement or providing “ghosts” of characters (lighter sketches of characters) at different spots within the frame to show where they will travel to.
There’s also the concern of showing how your camera might be put into action, which you can show by giving big arrows around your panel to establish if the camera is meant to be dolling in or out (or left or right). You can also show pans and tilts with curved arrows in those directions.
Don’t Forget Transitions Between Shots
Another fantastic (and essential) storyboard trick is to provide context for transitions between shots. And, if you think about it, storyboards are the perfect way to provide these details in ways that a script or shot list cannot.
Since, in an ideal workflow, each panel of your storyboard should represent every shot of your film, you can easily discern how each panel leads into the next one. For example, if you want a fade-to-black after a scene-ending shot, you can indicate that after the frame (or even include a black panel).
If you want to cross-dissolve between two shots, you can also write in notation between the exact two shots you want to dissolve (and you can even include a half-dissolved shot in a panel of its own to showcase how you’d like this to look).
How Do You Add Color?
An actual next-level element for your storyboards that you don’t always see is the inclusion of color. While this isn’t a necessity as pencil sketches usually work just fine, it’s a game-changer if you want to start developing your color palette and aesthetic early.
Remember, colors play a huge part in film (and how audiences interpret them), so the earlier you can begin tinkering with what colors you want—and where—for your different shots and scenes, the better.
Use as a Guide, But Make Your Films Your Own
Finally, while the best storyboards are genuinely the ones with the most detailed and thought-out information, we want to be clear that even on the most professional of shoots, things change between the pre-production process and the actual production process.
There will be location changes, actor/crew replacements, or other general issues that will need to be solved on-the-fly. So, no matter how well laid out your storyboards and shooting schedules might be, you’ll need to be prepared to adjust.
A final last trick I’ve seen used on set in the past is to keep your storyboards flexible by removing them from the sizeable page-by-page format with panels locked in at certain parts, and instead go with a binder approach where each panel gets its own page.
Or, you could always go with one of the many digital storyboard apps on the market and move things around with the simple click of a button. It’s up to you!
If you’d like to learn more production tips and tricks, check out these additional blog articles:
- Favorite Focal Lengths of Famous Directors
- Denis Villeneuve and Clever Workarounds Filmmakers Use on Set
- 7 Basic Editing Tips for Creating TikTok Videos on the Fly
- The Power of Movement: The Best Gimbals for a Small Budget
- Virtual Production: How It Will Affect You
Cover image via smolaw.