Recreate the Camera Rotation Transition from the “Atlanta” Trailer

Learn how you can recreate the mesmerizing “ground-to-ground” transition from the “Atlanta” trailer in Adobe Premiere Pro.
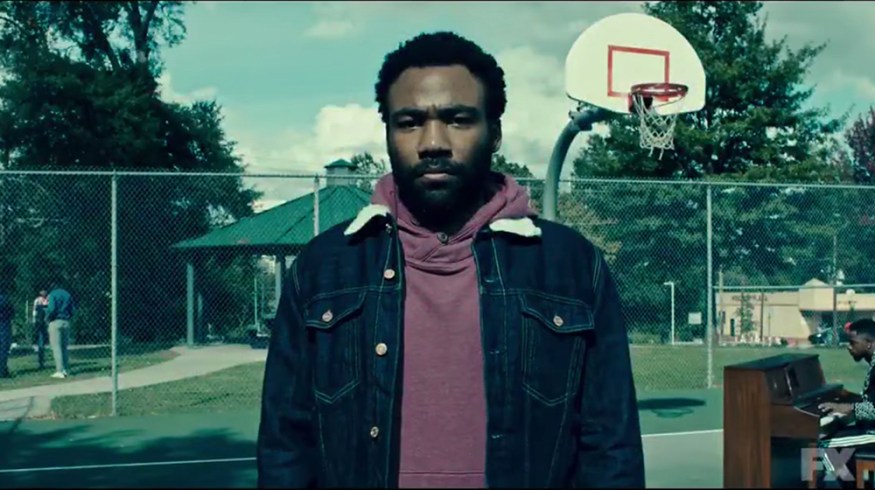
Cover image via FX Networks.
If you’ve been keeping up with FX’s new hit show Atlanta, you’ve probably seen the insane trailer that they released a couple of weeks ago — the one wherein Donald Glover transitions from location to location through the ground. Our friends over at Cinecom.net have recently made an easy-to-follow tutorial that explains how to pull off this shot. Adding the “breaking through the ground” effect might take a bit more effort, but here’s a way to recreate that trailer for your next project.
Get Location Shots

Begin by scouting out some locations that seem interesting to you and have some relevance to your video. Find a place that is visually appealing, such as a tunnel or a park.
To achieve the 180-degree shot, take a tripod and remove one of the legs so you have 2 points of contact with the ground. If you try using a monopod, you will probably get some shake to your footage that will ruin the illusion, so try your best to find a . . . um . . . bipod.
With your camera attached to the bipod, start the shot from the ground, and tilt your camera 180 degrees in a parabolic motion. Try to keep the timing of the shots consistent so your edit will sync up well. If you have the actor on hand, get some reference shots with them in it so you can match their color profile in post.
Green Screen Your Subject

Set up your green screen and get your subject to kneel in front of it. To avoid having to move the camera with the subject, you can grab a light and move it with the subject to create the effect that the camera is moving with him. This keeps a consistent light on your subject so the image does not change with the movement. Make sure to filter your light to match your location shots. If you shot in a location with blue light, use a blue filter, and if you shot in a location with orange light, use an orange filter.
Putting It All Together

Open Premiere, and import all of your clips. Go ahead and take the green screen footage of your subject and place it into your timeline. Erase the borders using a mask, then key out the green screen using Ultra Key.
From here, it will look like it’s coming together; you just have to start remapping the timing of the videos to match. To achieve this, right-click your video in the timeline and select Time Remapping > Speed. Speed up the beginning and end of the clip using keyframes, and experiment a bit to get it just right.

To make the video look more realistic, you need to add a shadow. To do this, create a new color matte, and mask it out onto the subject. Feather it out, and lower the opacity so you get rid of any harsh lines.
Make sure to move the anchor point to the bottom of the frame and keyframe a rotation so it rotates with the subject. Add some cross dissolves to the ends, and you’ve got yourself a realistic shadow.
Now apply all of those techniques to the other clips, and put them together on the timeline. It’ll come close to the real thing!
Looking for more filmmaking tips and tricks? Check out these articles.