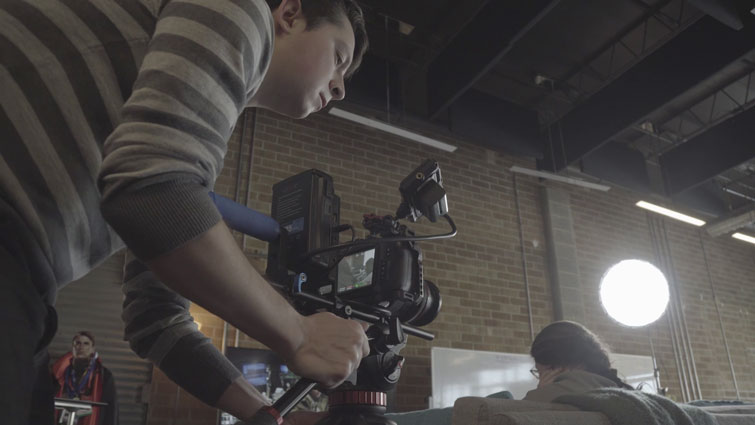
Video Tutorial: How to Create Cinematic One-Light Setups
Don’t let the limitations and constraints of the filmmaking process deter you. You can still get a great-looking, cinematic image with a single light.
Dealing with limitations is just part of the filmmaking process. You might find yourself in a situation where you only have a single light to film a scene. This could be due to time limits, limited crew, or — most likely — budget constraints. We’ve all been there!
Here are some easy solutions . . .
Interview Setup
Let’s start things off with a standard interview setup. Overhead, room lights obviously aren’t going to cut it. So, let’s shut those off from the start.
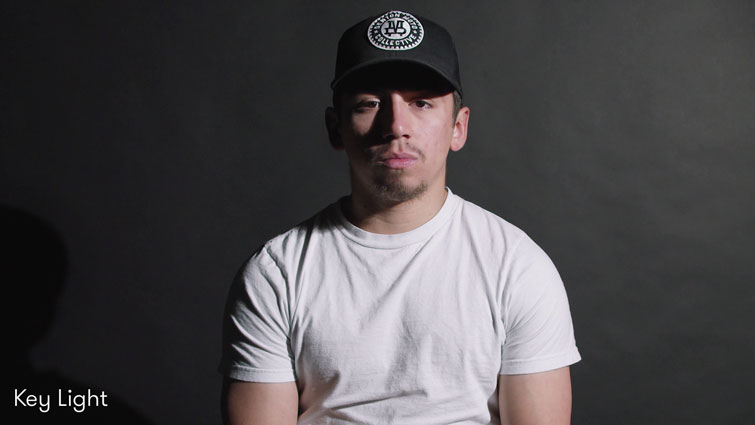
First step is to bringing in our one light. This is your “key light.” I like to position this at about thirty-five to forty-five degrees in front of and just above our subject. This will cast some nice shadows on the subject’s face, giving the shot depth, texture, and drama.
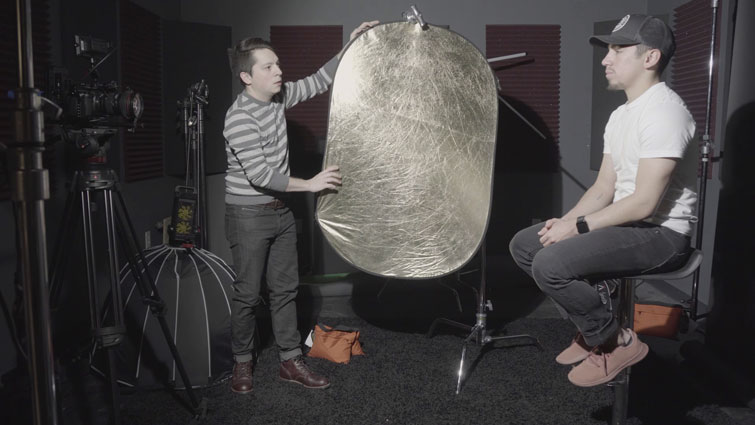
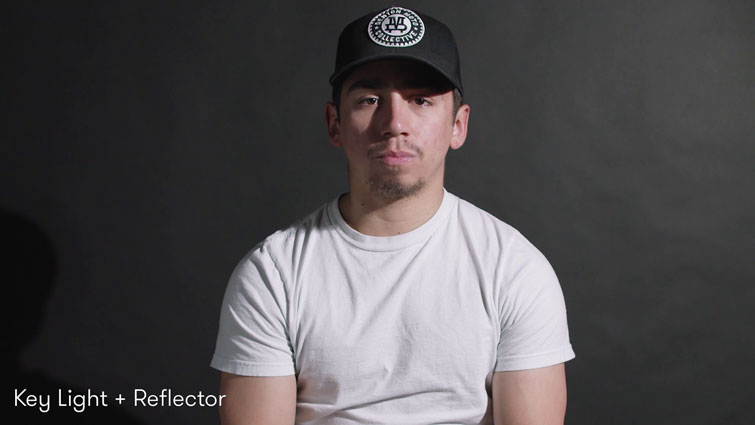
This is a great starting point, but now we’ll want to start shaping the light. One of my favorite tools is the five-in-one reflector. They’re cheap ($15-$25), versatile, and easy to take with you on every shoot. We’ll position this reflector on the opposite side of the key light and bounce the light back onto the subject. This fills in some of the harsh shadows we had and now acts as a “fill light.” Now, we effectively have a two-light setup.
If your source light is strong enough, you can set up another reflector behind your subject. This will reflect light onto the back of your subject, creating some separation from the background.
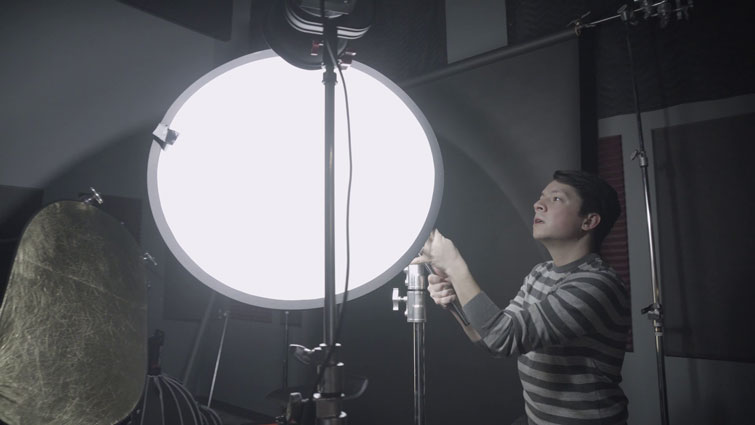
The last step is to control the quality of light. The quality of light depends on how hard or soft the shadows are. To soften the light, we’ll apply some diffusion, or sheer material, in front of our source. You can do this with the five-in-one reflector as well! We’ll break this down to its diffusion side and mount it on a stand in front of our light. Now, we have nice, soft light cast onto our subject and a great-looking image.
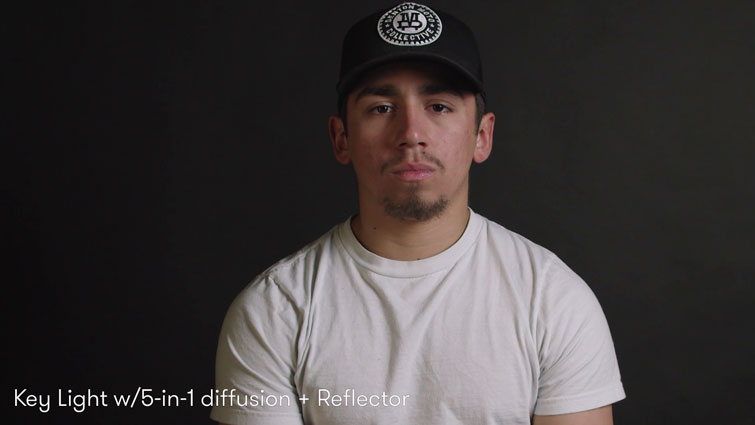
The combination of diffusing and reflecting your light source results in a perfectly balanced image.
Dialogue Scene
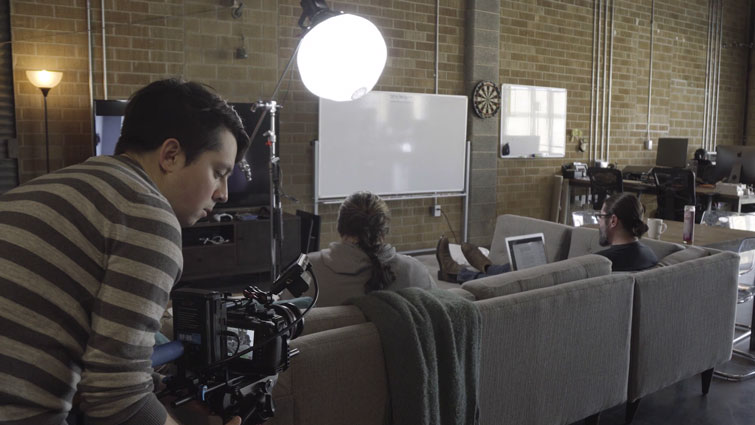
Cinematic one-light setups don’t end with interview shots. You can use them in acting scenes as well. Here are a few ways you can light a standard, over-the-shoulder dialogue scene with a single key light.
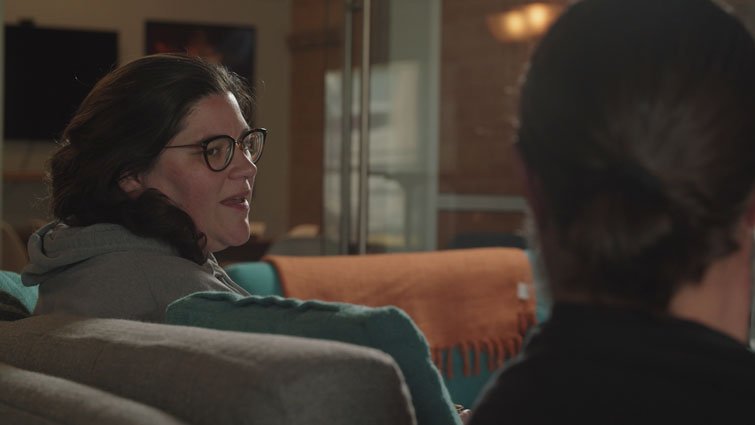
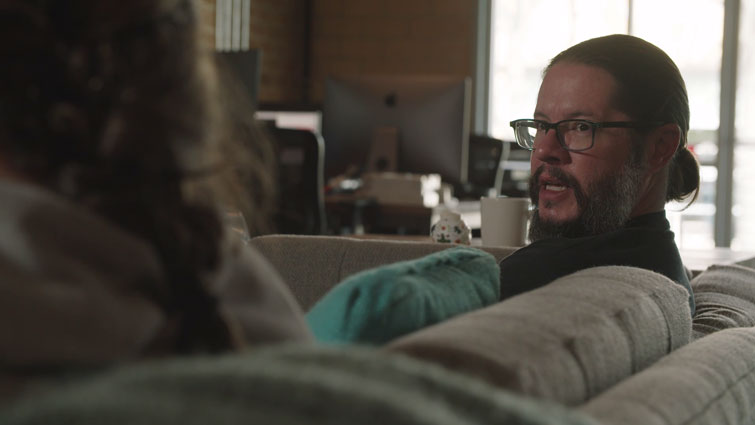
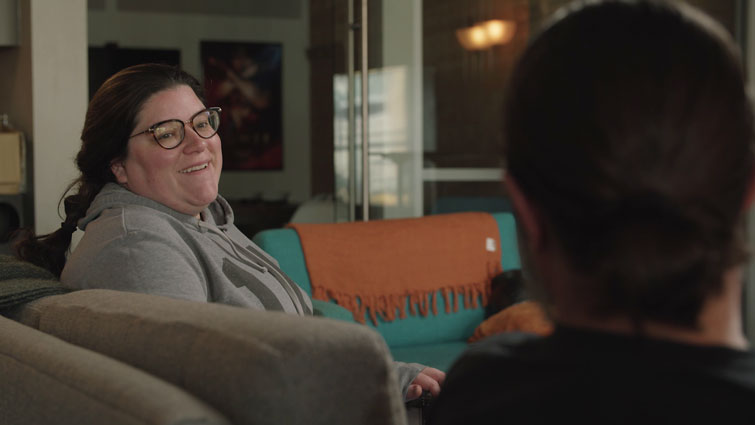
For our first setup, we’ll take our key light and position it about forty-five degrees behind Subject A. This creates what is called a backlight. The light is coming from behind the subject and lighting the front of her face — just a little. The bonus is that the key light can light both of our characters — one with backlight and one with a forty-five degree front light. If you have to shoot a scene quickly, this is the way to go. You’re lighting two characters with a single light at the same time.
If you like the backlight look, and you have a bit of extra time, swing that key light around when shooting Subject B. Now, you have both subjects backlit, making the scene look as though you shot it with multiple lights.
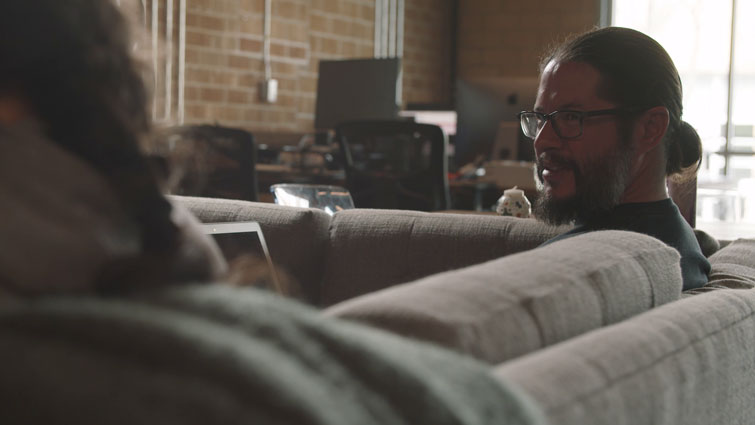
Lastly, we’re going to add a lantern modifier onto our key light. The lantern spreads soft, even light in all directions and can look very motivated in the right scene. I’ve positioned this just in front and above both of our subjects. Now, both characters are receiving the same soft, even light — at the same time.
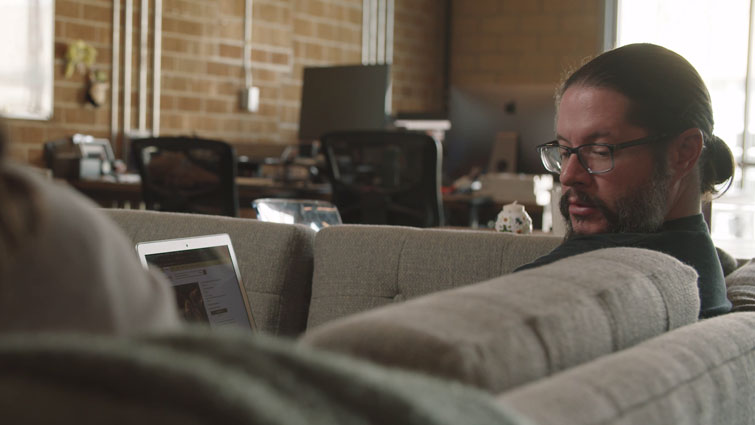
The end result is a beautifully lit image.
So those are a few common situations you might find yourself in, where a single source light can still get you a great-looking image. And remember: you can use these tips and tricks in tons of different situations — not just the situations detailed above.
Interested in the tracks we used to make this video?
- “Minimal Hop” by Tiny Music
- “UX Paradise” by Tiny Music
- “Lo-Fi Dreams” by Trending Music
- “Fried VHS” by Tiny Music
Looking for more on lighting? Check out these posts.

