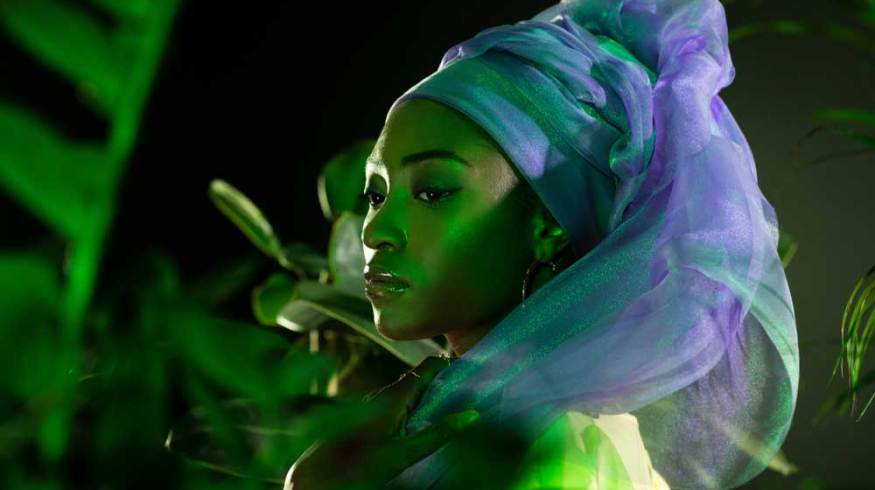
Tips for Lighting Different Skin Tones in the Same Shot
Lighting talent is hard enough, but when you have to take into account different skin tones, you need a thorough understanding of how to control light.
If the talents’ skin tones are different, but not radically so, you can usually get away with placing the darker skinned person closer to the key light, keeping the light close to the talent. Because of the inverse square law, exposure falls off quickly when it’s near a source of light, then more slowly as it gets further away.
If the darker skin is closer, it’ll get more light and should even out exposure. If this isn’t possible, or the difference between the skin tones is much greater, you may need to bring in flags and extra lights.
Zones of Light
By bringing in a flag or cutter close to the actor so that more of the key hits the darker skinned actor than the lighter skinned actor, you effectively create two zones of lighting — one brighter than the other. The actors will need to stay on their marks, if they’re to be correctly lit.
Negative Lighting
If you’re outdoors, or utilizing some other source of bright light, you can use exposure for the darker skin, and use scrims or negative fill to take light away from the brighter skin. This is a trick also used by corporate headshot photographers who want to stop white shirts from being overexposed. They put a double net scrim (which takes away a stop of light) on its own C-stand (or light stand), and use it to shade the bright area. If the scrim is close enough to the light, it won’t create a visible shadow in the shot.
Fill
Image by KeyStock.
It’s tempting to think that once you have your key correctly flagged and aimed, you’re good to go. But unless you’re using front light, you’ll also need to worry about your ratios. It’s no good to light just one side of your talent’s face. You also need to light the darker side so that it doesn’t fall off into dark shadow.
The fill light doesn’t need to be as big as the key, it just needs to be more controlled. I’ve had the most success using a 1×1 or 2×1 with a 45 degree grid. This means you can aim it at just the location you want, and it should fill only the area you need lighter. You may have to pan the light away so that no light is hitting the lighter skin, and you may also need to add more negative fill off camera so that the light, once it’s lit your desired area, doesn’t bounce everywhere and bring up the levels over the whole room.
Moving Shots
Moving shots are more challenging, not just for this particular lighting scenario. You can devise a system of lights and flags that’ll work for every position the character moves through, or have a grip carry something like a follow fill light with the camera, so that you bring up levels over the entire camera move. This can also be done with negative fill, similar to the flag grips that often follow Steadicam operators, to stop the wind disrupting the balance of the camera.
Post Lighting
One more solution used in the digital age is to relight the talent in post. You can draw a power window around the darker skinned actors and bring up the levels in post. This is a last resort since colors can often be muddy or less than optimal, and you need to make sure your scene, and the file, have adequate dynamic range to manipulate in post, but it can really save you in a pinch.
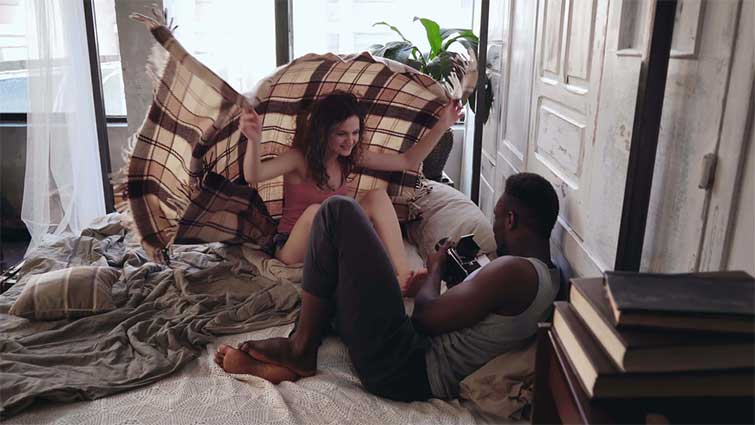
Top image via LightField Studios.
Looking for more tips on film lighting? Check these out.

