Recreating the Look of Oscar-Nominated Film “The Lighthouse”
With the Academy Awards approaching, we decided to honor the Oscar-nominated film The Lighthouse by recreating a scene from the movie.
With the 92nd Academy Awards just a few days away, I originally envisioned a gigantic production, involving three different nominated films. I wanted to cover montages with Marriage Story, post color grading with Joker, plus the cinematography behind The Lighthouse. While conducting my research, one of the projects started to pull away from the rest, my focus narrowed, the idea of post color grading Joker faded away, and I decided this tutorial would simply spotlight The Lighthouse.
Breaking down all of the cinematic elements that created the visual style of The Lighthouse is no easy task. So, the best place to start is with the hardware.
Filming The Lighthouse
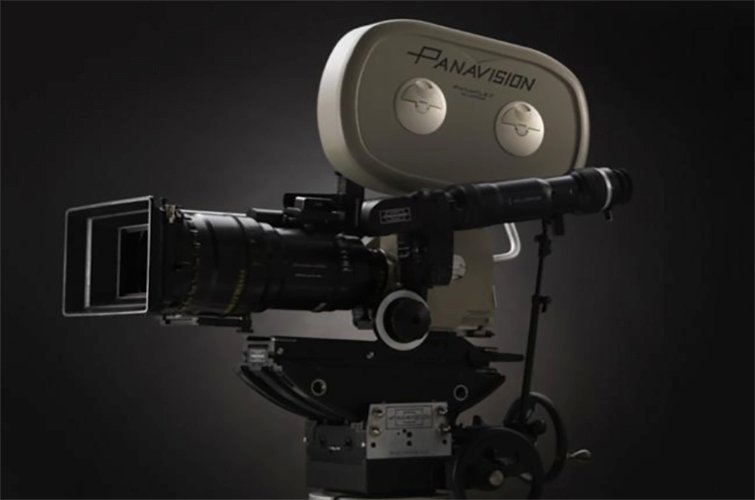
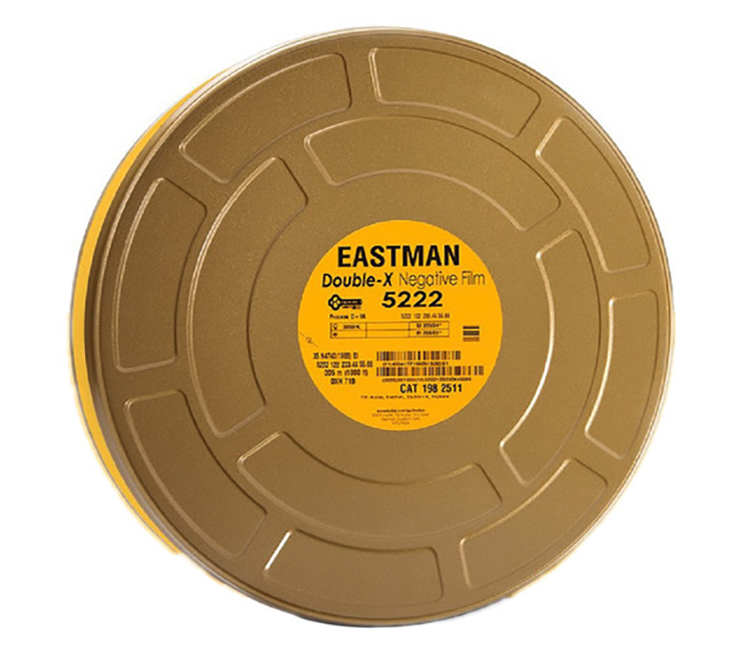
Director Robert Eggers and Cinematographer Jarin Blaschke knew from the beginning this movie needed to be shot on film. So, they chose the Panavision Panaflex Millennium XL2 camera, which they outfitted with vintage Baltar lenses from the 1930s. They also used black-and-white Eastman Double-X 5222, with a custom short pass filter to film on. This is extremely important to note, not only for my video, but also when it comes to how they approached lighting the film. This film stock has an extremely low sensitivity to light, which we’ll discuss next.
Lighting The Lighthouse
The Lighthouse features intimate nighttime interior shots, dimly lit by lanterns. However, the process of achieving this atmosphere was the complete opposite.
The lantern featured in the dining room scenes actually had LED bulbs that went all the way up to 800 watts, due to the low sensitivity to light on the custom film stock. However, for my recreations, I was shooting on my Black Magic Pocket Cinema Camera 4K, with the power to digitally manipulate the footage in post. So, I was able to use practical lights — like lamps and lanterns — to pull off the aesthetic featured in the film.
Aspect Ratio
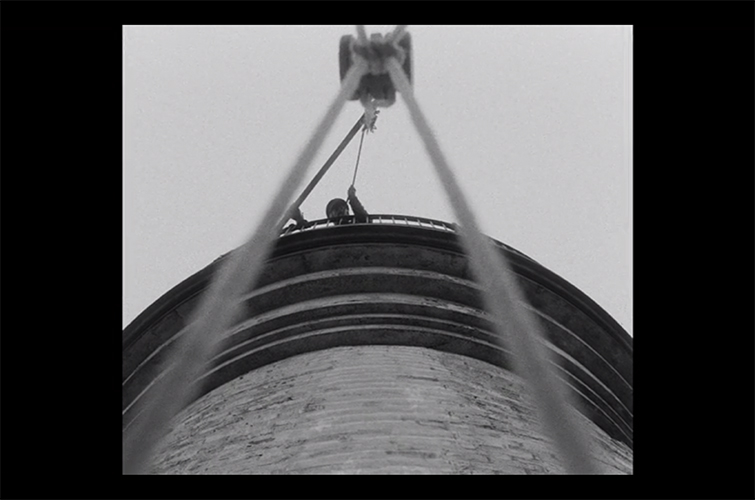
The aspect ratio used in The Lighthouse was 1.19:1 — sometimes known as the Movietone ratio — which is extremely close to being completely square. This aspect ratio was used mostly from 1926-1932, approximately the same time the movie industry was transitioning to films with sound. The choice behind using this aspect ratio is one of the many tools Eggers and Blaschke used to transport the viewer back in time, truly immersing the audience in the film.
Recreating The Lighthouse Look
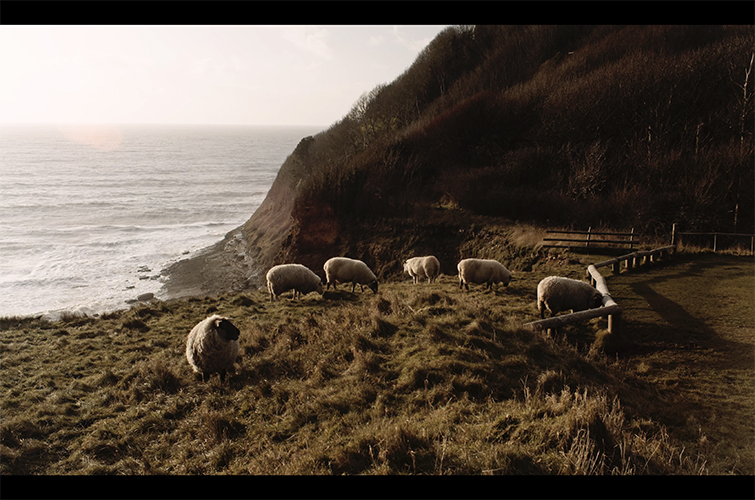
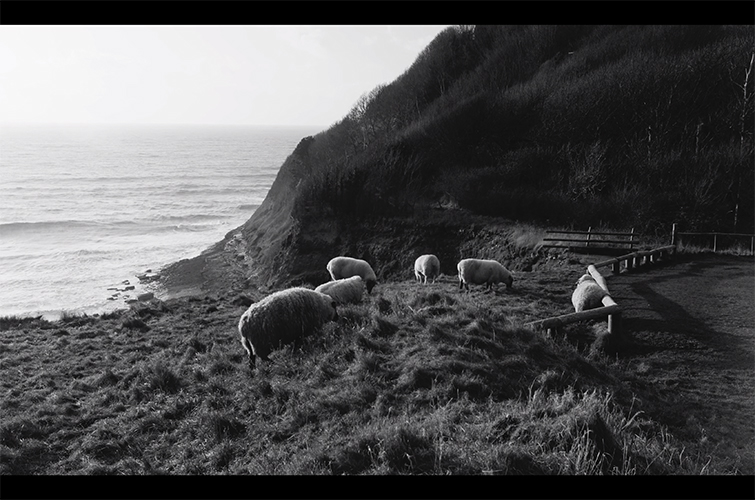
First off, I needed to achieve a nice black-and-white image digitally that’d be comparable to the look they had with their vintage gear. My first step was actually shooting in color, as I’ve learned that it allows for more options when finding that black and white look you want. By shooting in color, you can raise the levels or decrease the levels of certain colors, and it’ll affect the final look of the black-and-white footage. If you raise the red levels in post, it’ll lessen the whites — or daylight — in your shots. This, in turn, provides you with a nice, darker contrast. To visually explain this, here we have this landscape in color.
Now, here it is with the saturation taken out.
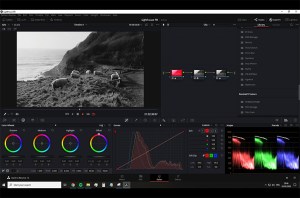
Here’s the look if we raised the red levels in the footage. Notice the difference in the shadows, and the contrast on the hillside?
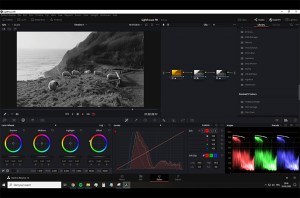
Now, this is the look if we raised the yellows, instead. The daylight is brighter and whiter than what we saw with the red levels turned up on the footage.
This actually comes from the old practice of using Red, Orange, Yellow, or Blue filters on cameras when shooting black-and-white to achieve different looks for their footage. With it now being 2020, we can use color to affect our images by simply manipulating the color sliders in post.
For the recreations, I used a LED camping lamp and an oil-based hurricane lamp with an actual flame. I also wanted to try one version where I washed the talent in red light, just to see if it’d add anything worthwhile to my black-and-white footage. I used the dining room scenes, which were a major set piece in the film, for my recreations and pulled some shots from the film for comparison.
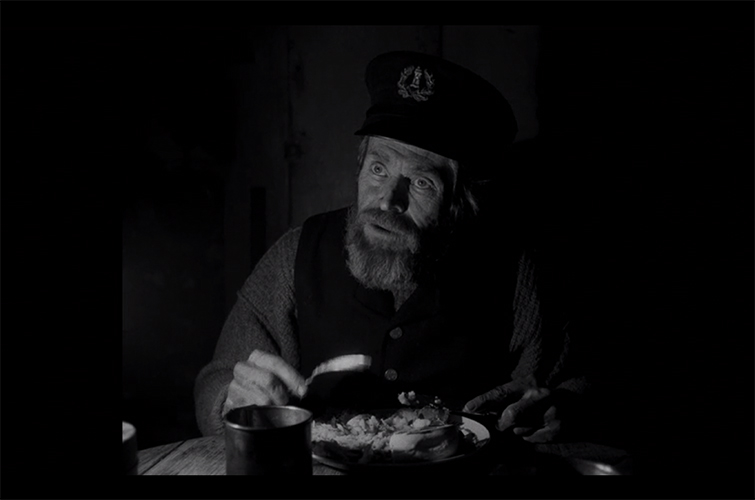
Here’s Willem Dafoe, as Thomas Wake, in the film.
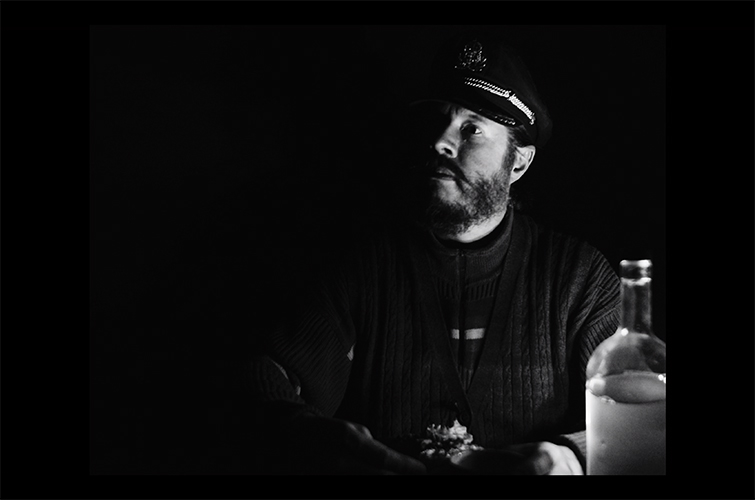
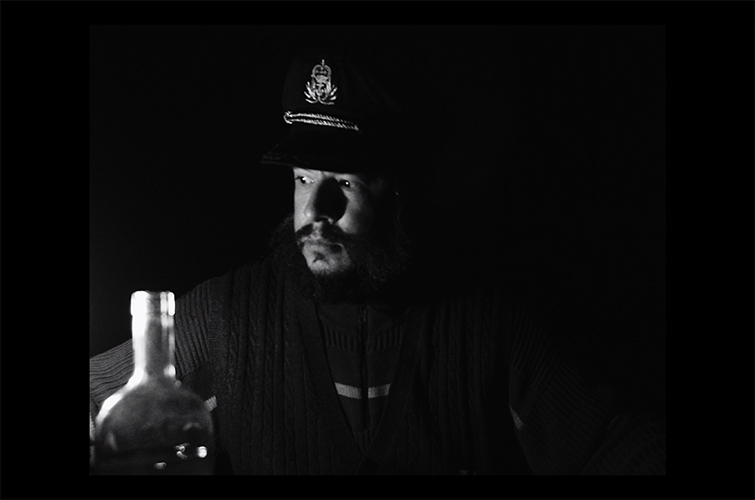
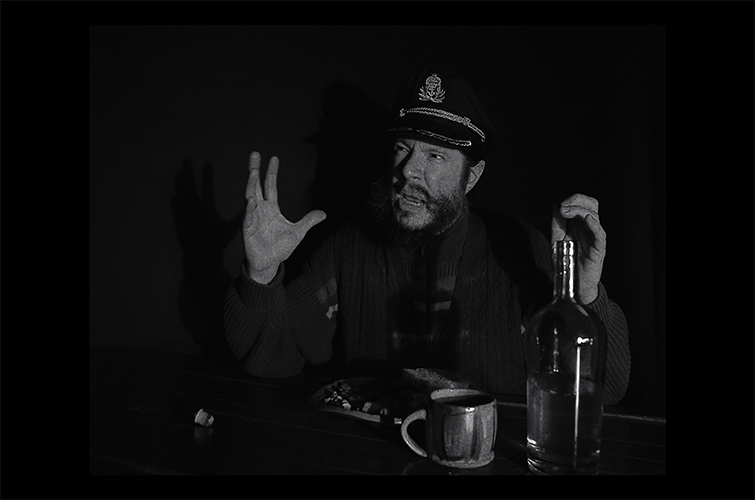
Here’s my boss, Darin Bradley, as Thomas Wake in my recreation.
Lit by the LED camping lamp.
And, lit by the hurricane lantern with flame.
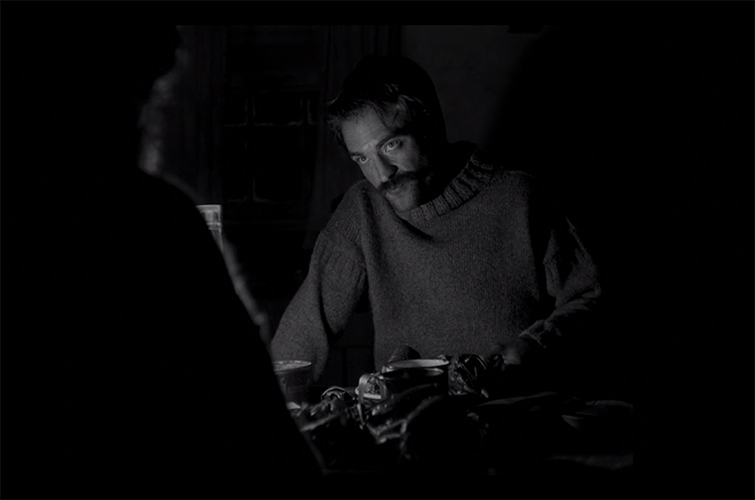
Here’s Robert Pattinson, as Thomas Howard, in the film.
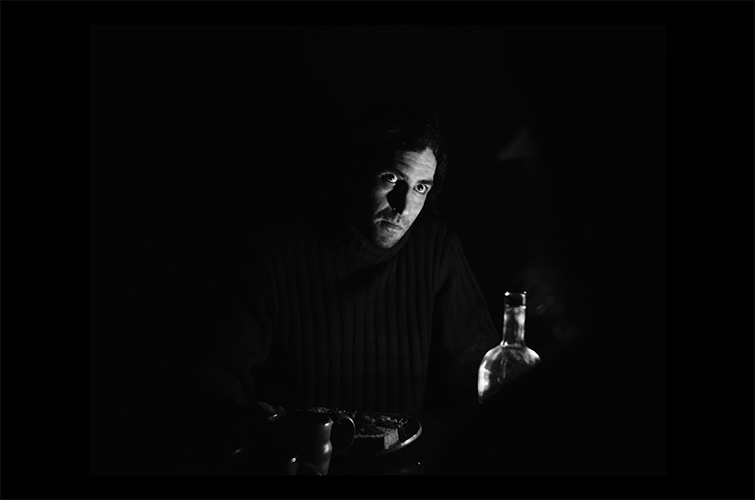
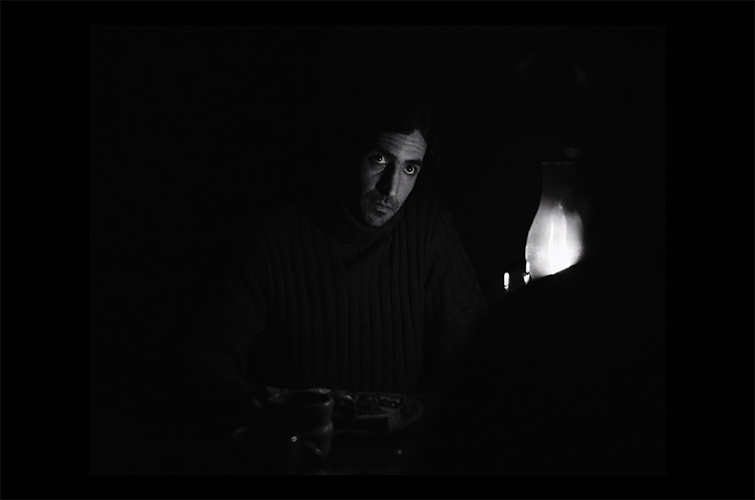
Now, here’s our actor Pablo, as Thomas Howard, in my recreation.
Here, he’s lit by the LED camping lamp.
Lit by the hurricane lantern with flame.
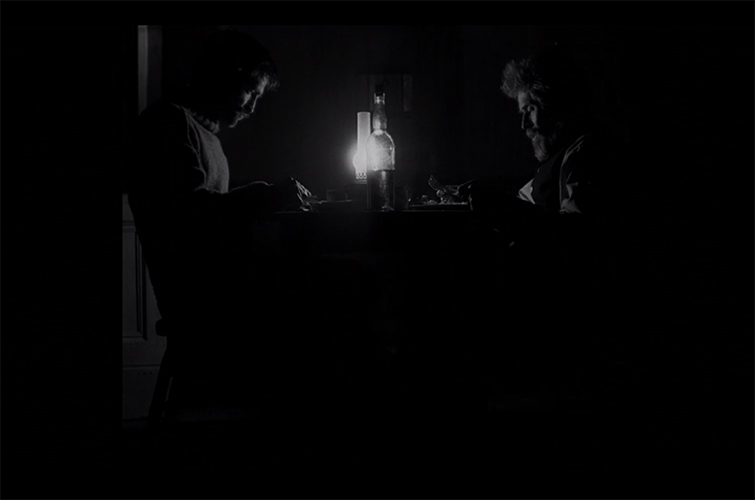
Here’s a two-shot of the actors, in the film.
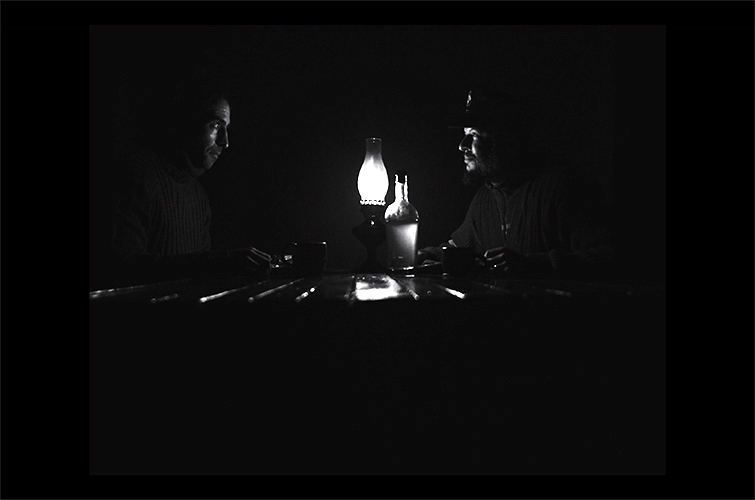
Here’s a two-shot of our actors in my recreation.
Plus, here’s the unfortunate result of washing the scene in red light.
Ultimately, I feel like the actual flame from the hurricane lamp was the best option for the black-and-white footage. The natural flicker and glow gave the footage a beautiful feel, matching the time period extremely well. The LED camping lamp was nice, and it actually matched nicely with the film, mostly due to the fact that their lamp used an LED bulb. But, it was also harsher than the lantern and wasn’t as aesthetically pleasing.
The footage with our actors washed in the red light was somewhat disastrous. When I tried to desaturate the footage, it took on a horrible amount of noise that wasn’t originally in the footage. I was able to get a clean image by simply taking out the red color, which obviously defeats the entire reason behind washing them in the colored light. Actually, if anyone knows why desaturating the red colored footage causes the massive amount of noise, I’d love to hear the answer. Here’s to hoping The Lighthouse comes home with an Oscar for cinematography, since what they accomplished is absolutely incredible.
Cover image via Dabarti CGI.
Interested in the tracks we used to make this video?
- “The Disappearance” by Emmett Cooke
- “The Cage” by Adam Riddle Music
- “So Sweet” by Ayden Blackbird
Check out these tips on lighting your next project!

