The 3 Easiest Ways to Cut Clips in Adobe Premiere Pro CC
In this walkthrough, we’ll cover how to use the razor tool, the ctrl+K/⌘+K shortcut, and Ripple and Trim editing techniques in Premiere Pro.
Cutting, obviously, is one of the most essential parts of an edit. The primary function of editing software is to cut down clips and place them in a particular order to create a story.
Then, after everything is organized, you may have to cut down even further and comb through additional video and audio tracks. When you get to that point, what’s the best way to approach cutting?
Well, thankfully, Premiere Pro offers three distinct ways to manipulate and cut up a video clip—or your timeline:
- The Razor Tool
- The “Command/Ctrl + K” Shortcut / Playhead Splitting
- Ripple and Trim Cutting
There are other ways to cut, such as the slip and slide method, but for this article, we’re just going to look at some of the fundamental edit tools.
We genuinely believe that these types of edits for these tools are an essential step in understanding how editing works and, more specifically, how to edit inside Premiere Pro.
Even if you know all the different ways to cut, knowing which tool works best for your particular edit is good.
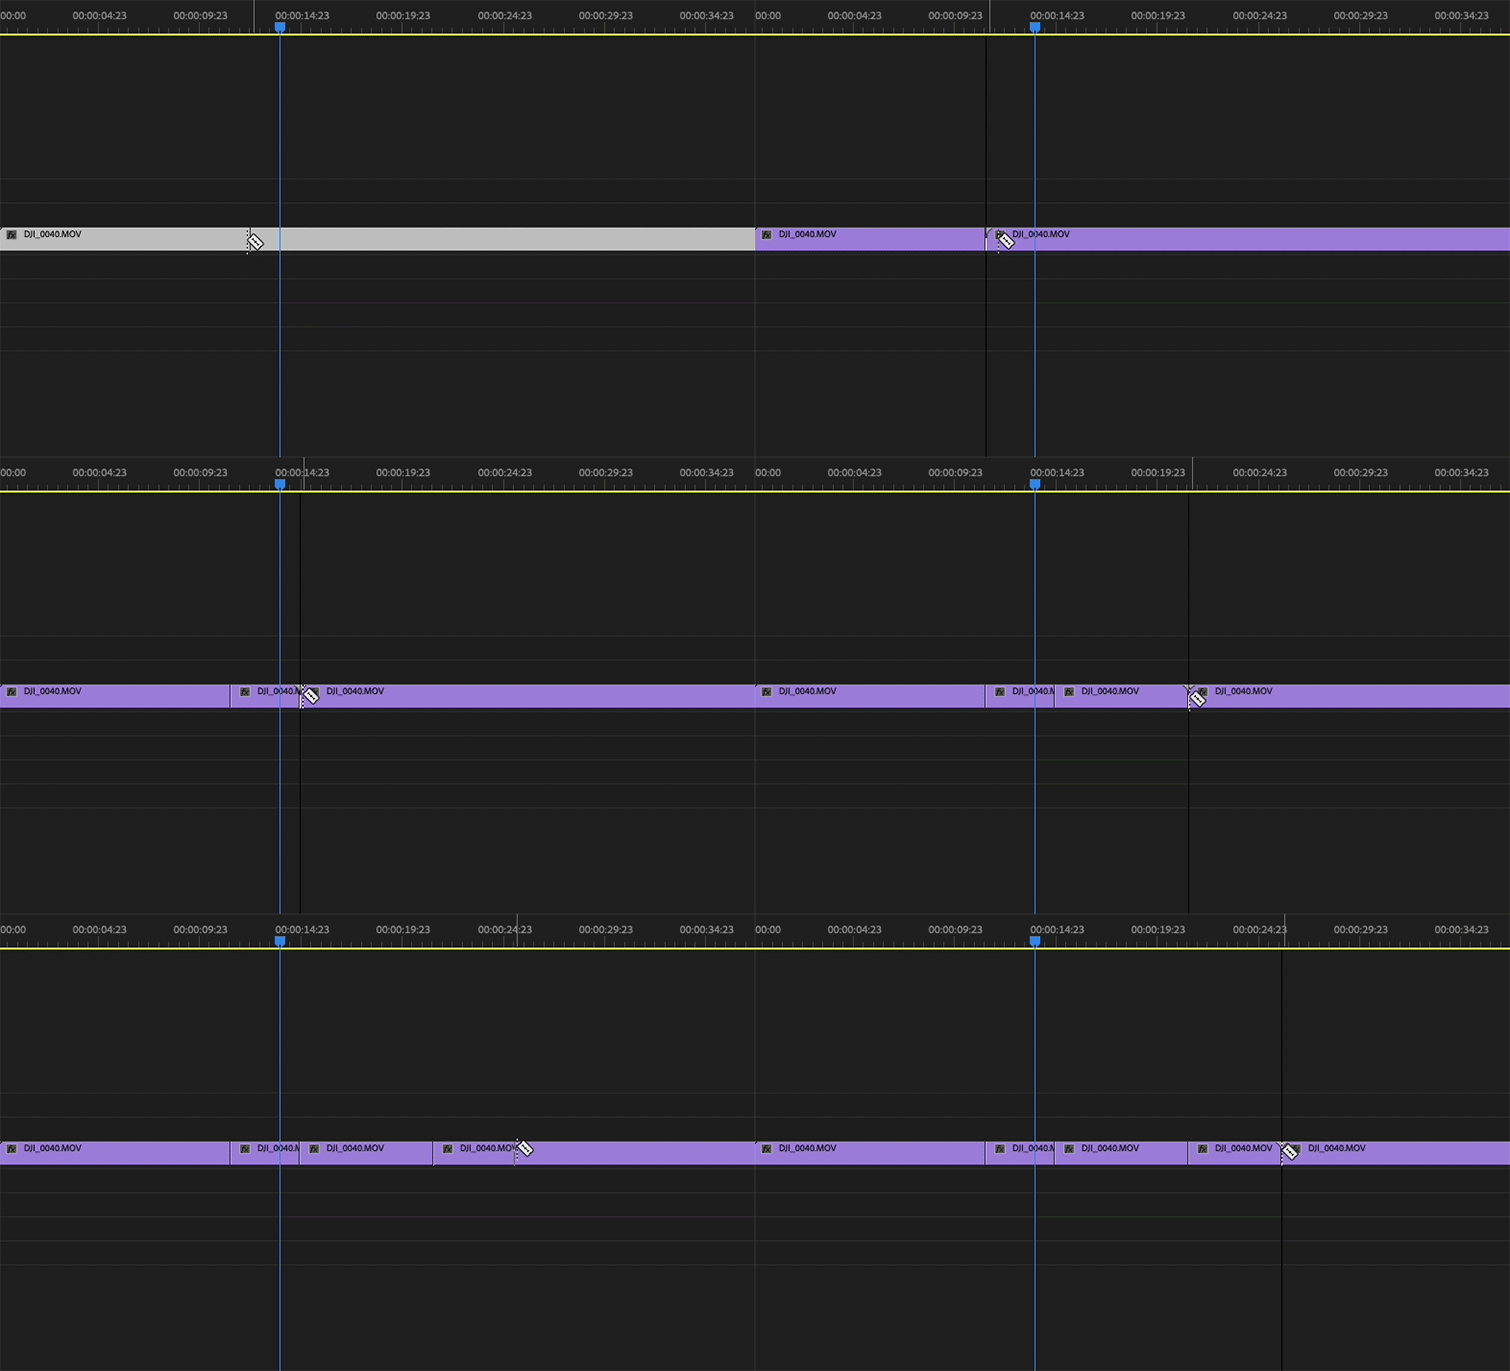
How to Use the Razor Tool

Ah, yes. The ol’ Razor tool. It’s the first thing you learn to use when editing your first project since it’s the most direct cutting tool. This is a straightforward tool to get the hang of for beginners because it’s so straightforward.
It’s also beneficial when making a montage jump cut because you can just cut down the line and delete the clip sections that you don’t need.
The Razor tool is also a huge help when working with extensive timelines with multiple tracks because you can select the clip you want to cut by placing your razor over it. So, if you need to make a bunch of cuts in a row, the Razor is the tool for the job.
The Razor tool, however, has its limitations. If you want it to magnetize to your playhead, you must select the magnetize option. And, switching from your cursor to the Razor tool can become tedious (even though it’s just pressing the C key. What? I’m lazy.).
It also can be tricky to use on a spaced-out timeline, and may cut a few frames you didn’t intend to trim. It’s not a part of my editing workflow since I primarily use the ⌘+K method (we’ll get to that next), but everything is in its proper place.
How to Split a Clip at the Playhead (⌘+K)

If you’re a keyboard shortcut junkie like myself, ⌘+K (or Ctrl+K if you’re editing with a PC), this may already be your cutting technique of choice.
The way Playhead Splitting works is that when you enter ⌘+K while clicked into your timeline, the command splits your selected clip right at the playhead marker. Simple enough, right?
It’s one of the simplest, most effective cuts you can make since your playhead is usually on top of where you want to cut when you’re scrubbing through footage.
You can also hold shift along with ⌘+K, which will cut all the tracks on the playhead, not just the selected ones. This is awesome if you have loads of tracks on your timeline and need an all-encompassing cut on the fly.
We included this little trick in a tutorial that talks about things you might know about Premiere Pro. To save you time, I’ve timestamped the video for this shortcut.
The ⌘+K shortcut is effortless to use, and good for making a cut if your playhead is already at your desired cut location, but when making a huge batch of cuts, it comes up a little short compared to the Razor tool’s speed.
The difference between the ⌘+K and Razor tool methods is an age-old debate between editors, and you’ll get a different opinion from every editor. It’s almost like New York Pizza vs. Chicago Deep Dish—it really just comes down to preference.
Now, let’s move on to the world of ripples!
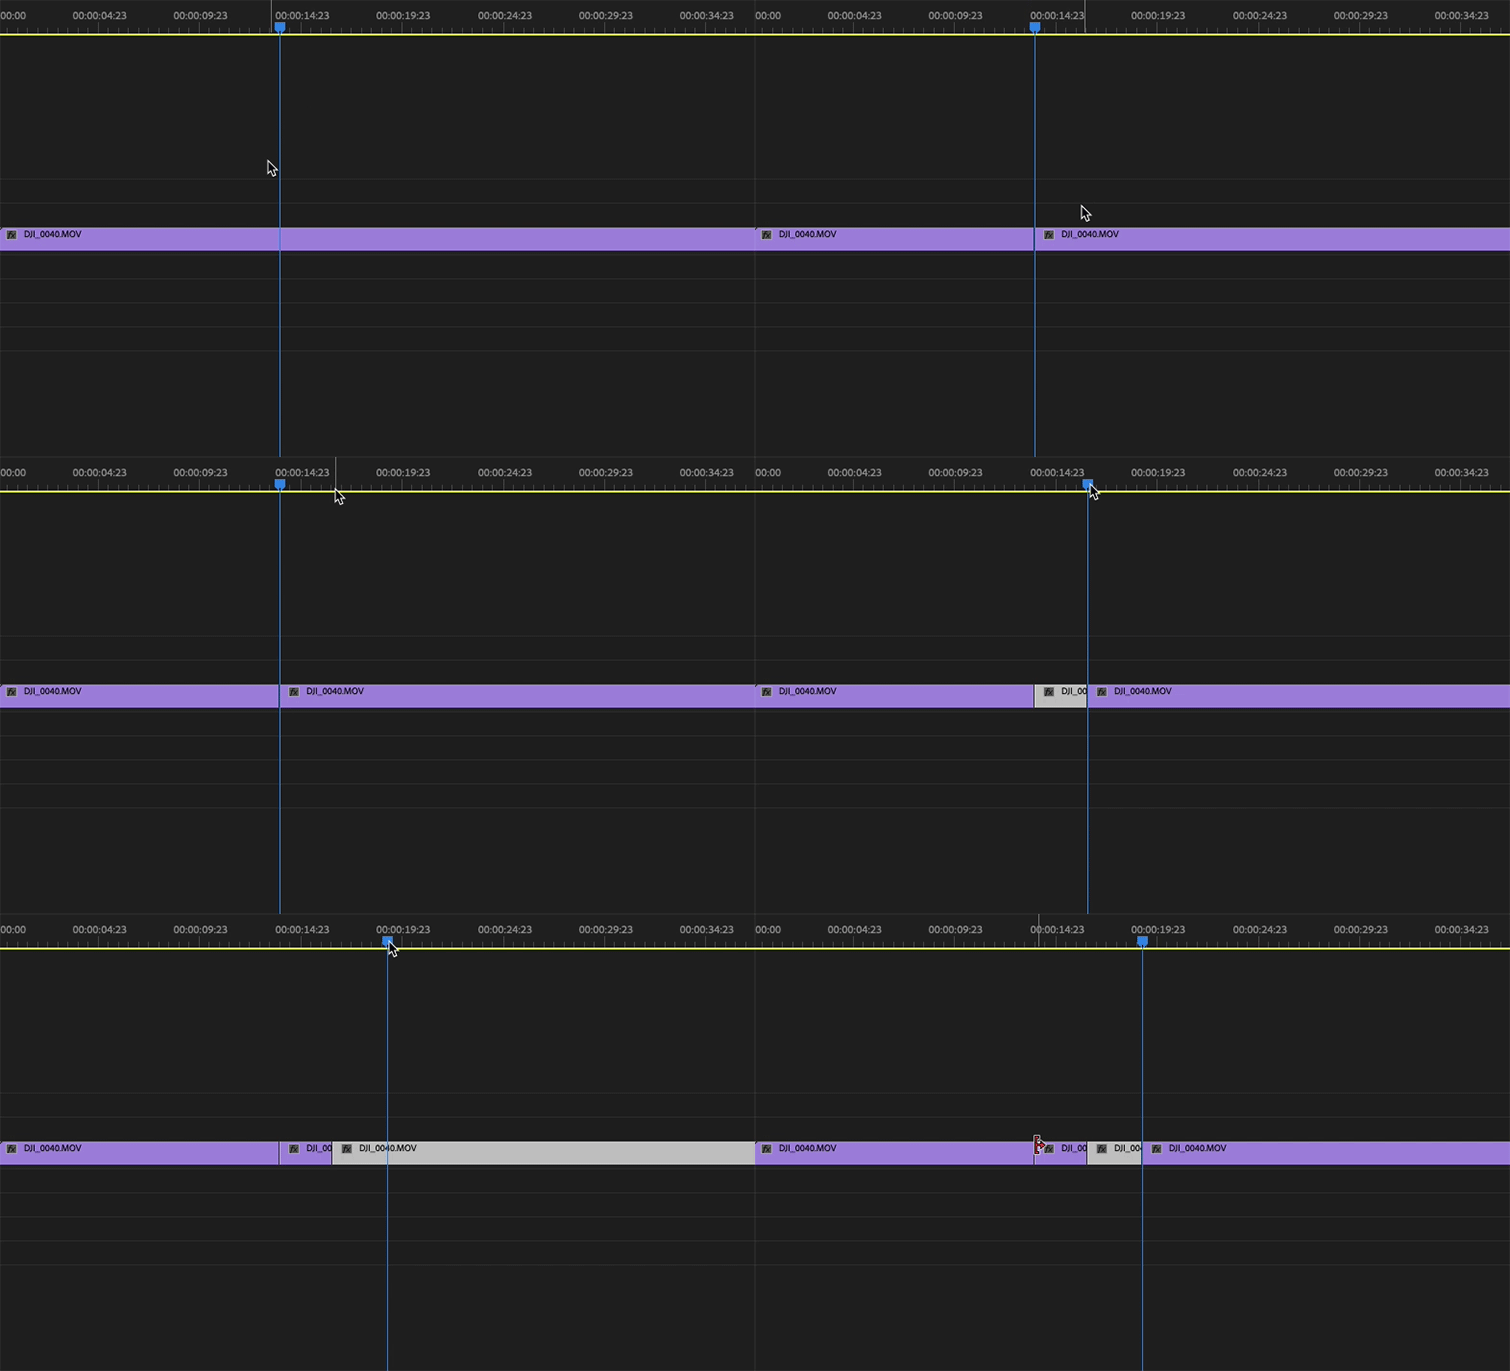
Using the Ripple/Trim Tool

Whether you’re a Razor tool user or a ⌘+K fan, it goes without saying that the Ripple and Trim tools are beneficial for trimming or expanding the ends of clips.
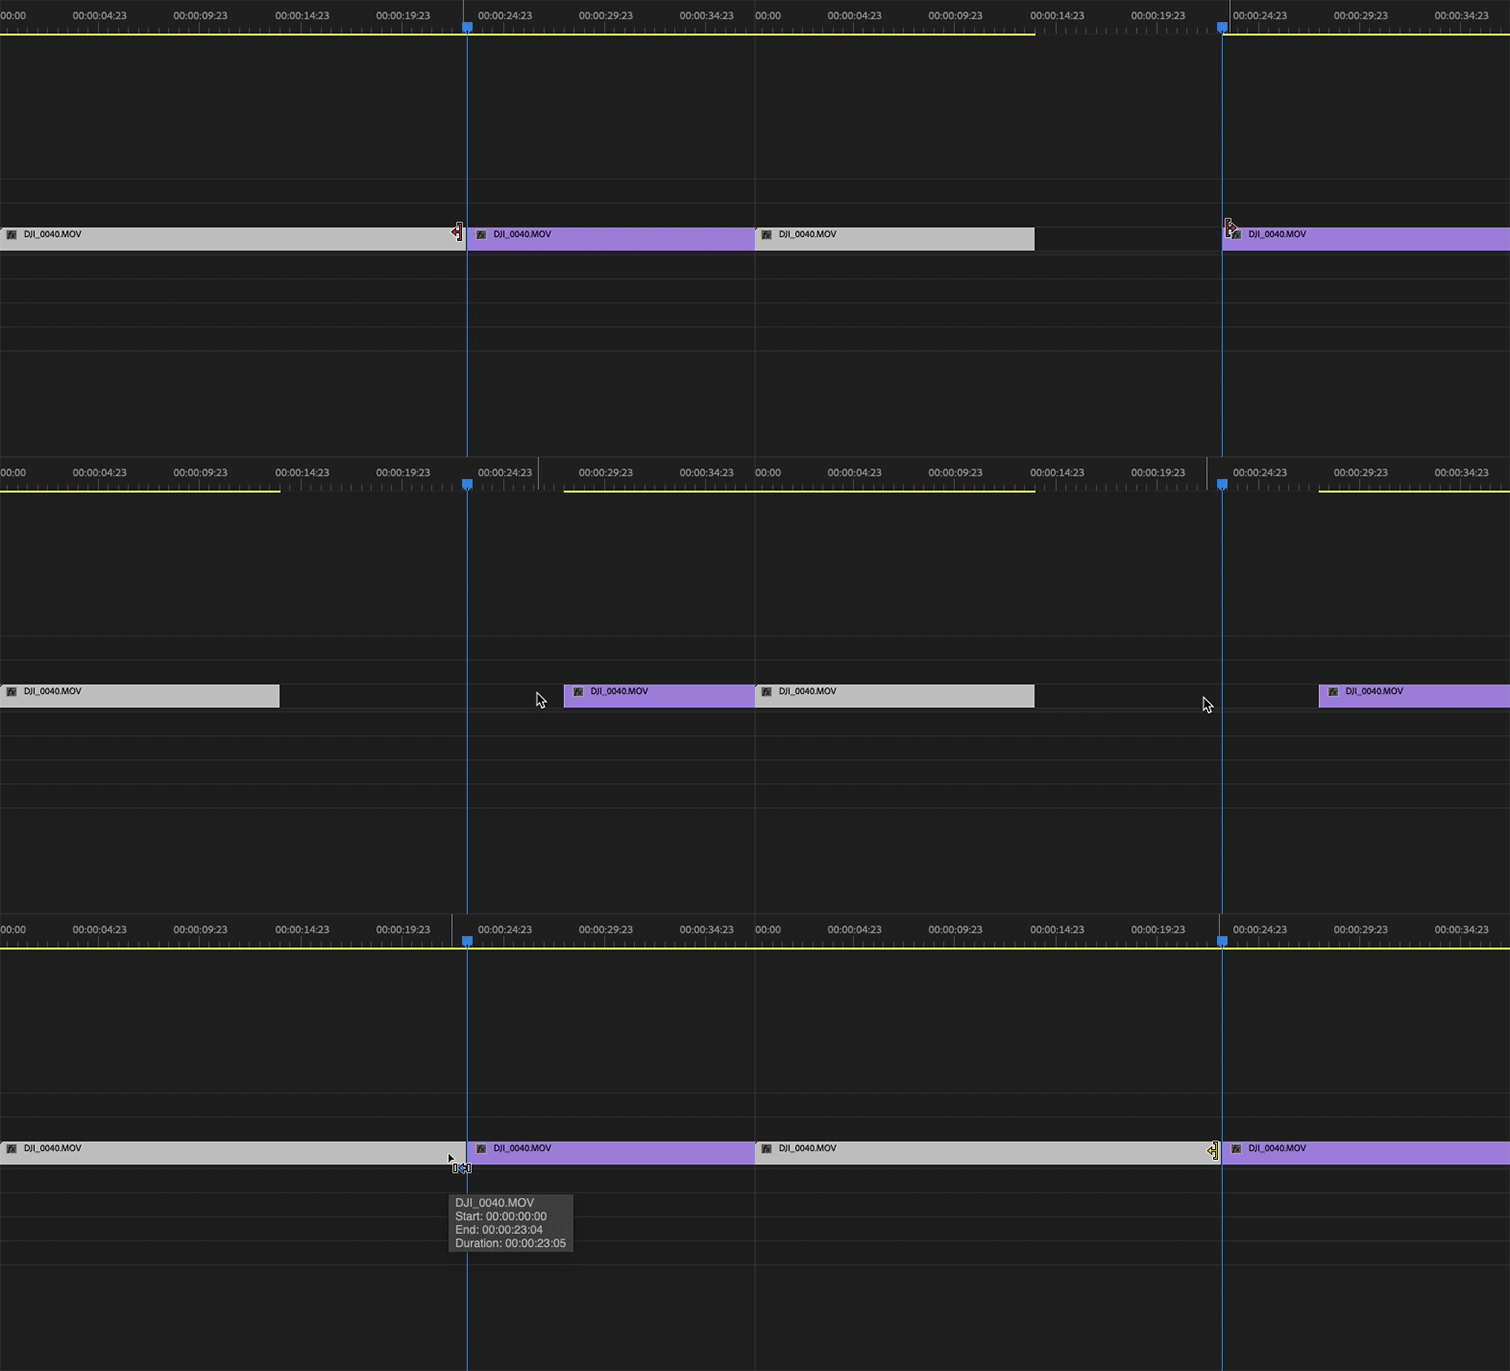
If you want to trim or expand the end of a clip, hover your cursor over the end of the clip and drag it once you see the red block arrow appear. You can also select multiple clips in your timeline to adjust if you’re trying to cut down numerous tracks to a certain point. Like anything, these are just ways of saving time.
If you’re cutting down a clip and want it to “ripple delete,” where the clip beside the clip being cut snaps to the edit point, you can access this by going to the end of your clip and trimming it while holding shift.
Want to know more crucial keyboard shortcuts for Premiere Pro? Check out this tutorial.
The Ripple/Trim tools are excellent at final-pass editing, where you have to cut out chunks of your timeline to try and make it fit a certain length, without having to edit single clips. But, there’s also the option to ripple the following clip with a keyboard shortcut.
So, to show you what this looks like, here’s a brief tutorial on using the “B” shortcut:
So . . . Which One Do I Use?
Well, it’s a complicated question with a pretty simple answer: Whichever one allows you to do more in less time. Once you’ve mastered each of these tools, you’ll know which one you need to use when.
You’ll also find out which one works best for your workflow—some people are mouse workers, while others like to do the lion’s share of their work on the keyboard. It’s all a matter of personal preference. As long as you get your edit done and done right, no one will judge how you did it.
Want more on how different cuts can convey different meanings to the flow of your story? Look no further than this breakdown of the nine necessary edits every editor should know.
Want to speed up your edits and learn more Premiere keyboard shortcuts? Check out our article detailing the keyboard shortcuts all beginners should know.
A Few More Shortcuts to Note
So, before I get out of here, I just wanted to list off a few crucial shortcuts that can help you seamlessly edit your next masterpiece. Okay, here they are:
- I & O: In and Out markers let you mark in and out on a clip before bringing it onto your timeline.
- Up & Down Arrows: Move up and down your timeline between clips.
- M: Creates a marker wherever your playhead is and you’ll place a marker over the clip.
- J, K, and L: This controls playback. So “L” is play, “J” is reverse, and “K” is stop.
Want more Premiere Pro tips, tricks, and tutorials? We’ve got you covered:
- New Premiere Pro Public Beta: Adobe Reimages Import/Export Workflows
- An In-Depth Look at the Adobe Premiere Pro Editing Tools
- 2021’s Top 10 Premiere Pro Video Tutorials
- Why Premiere Pro Is Crashing and How to Make it Stop
- Tips for Working with Photos in Adobe Premiere Pro
Cover image via Kaspars Grinvalds.


