Easy Compositing Effects for Creating Professional-Looking Titles
In this video tutorial, learn some basic compositing techniques to create better titles in Adobe After Effects — includes free project file!
Creating professional-looking titles in After Effects is a lot easier than most people think. The key is knowing a few basic compositing principles — often used on blockbuster movies — then applying those to your own titles. And we don’t even need any expensive, third-party plugins to do this. Using a combination of these compositing techniques in subtle ways can give our titles a professional edge.
Ready to learn these title techniques? Let’s get started!
Download the Project Files
These assets are free to use in any personal or commercial projects. By downloading, you agree not to redistribute these assets.
Use 3D Lights to Reveal the Title

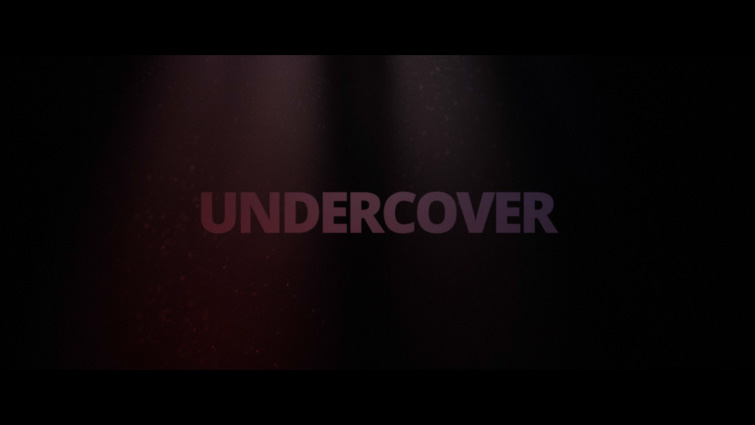
The first technique is using 3D lights to reveal our title text. This creates some nice color variation on the text and natural-looking light falloff. Make your text a 3D layer, then create a point light or a spot light. You can then position the light and keyframe the movement to create a slow reveal. Move the light on the Z-axis behind and in front of the text.
Subtle Blur

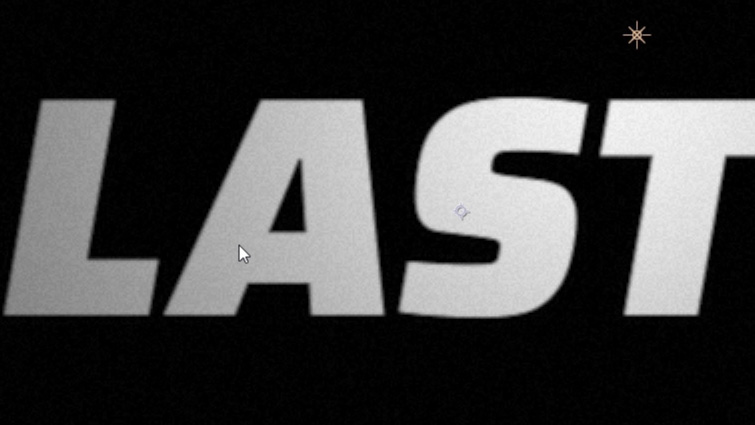
Next, we can apply a subtle amount of blur to our title text. This’ll help soften our titles, emulating a filmic look — but also reducing moire that might appear on the text. This isn’t necessary in all cases, but I often prefer the appearance this can give. Apply the Gaussian Blur effect directly on the text (or on an adjustment layer), then set the blurriness between two and four.
Grain

We can add a small amount of grain to our titles to emulate film and break up any potential color banding. Create an adjustment layer above your title text, then apply the Noise effect. Set the amount of noise between three percent and ten percent. I also recommend turning off the Use Color Noise setting.
Chromatic Aberration

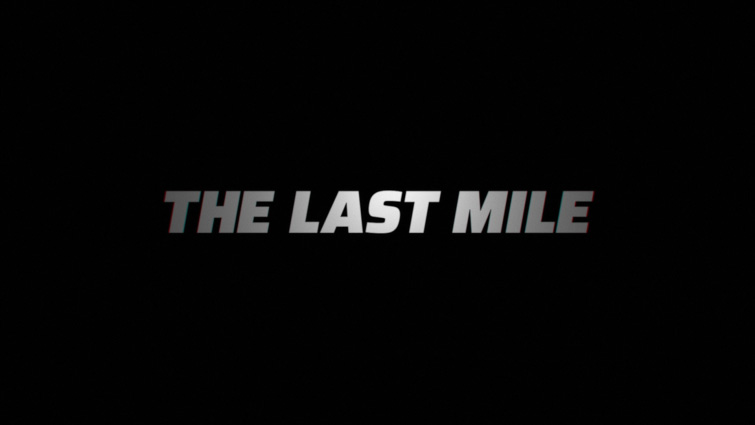
Something that’s extremely popular on modern titles is chromatic aberration (basically the color fringing you often see at the edges of title text). Usually, you do this using a third-party plugin, but you can also create the effect directly in After Effects. First, precompose your title text (you may have to make that precomp 3D if the text was already 3D). Next, duplicate that precomposed title composition so that you have three total copies. Apply the Shift Channels effect to each title composition. Using the Shift Channels effect, we are basically splitting our title text into three RGB channels: one red, one green, and one blue.

For the Red channel composition, set the “Take Red from” setting to Red. Set the other remaining settings to “Full off.” Also, set the composition blending mode to Screen. Repeat this for each composition, setting “Full off” on any channels that aren’t that same color.

Next, apply the Optics Compensation effect to any of the color channel compositions. Check on Reverse Lens Distortion, then adjust the Field of View setting. You should now be able to adjust the color fringing on your titles. Experiment with different variations.
Title Text Spacing
![]()
Spacing title text evenly is another effect that is popular with modern movie titles. You can do this by using text tracking in After Effects. On the title text layer, toggle down the Text options, then select the Animate options. Select Tracking. This adds an Animator option to the text layer. Under that, we can adjust the text Tracking Amount, which will evenly space out the characters on the title text. You can keyframe this as well to animate over time.
Optics Compensation

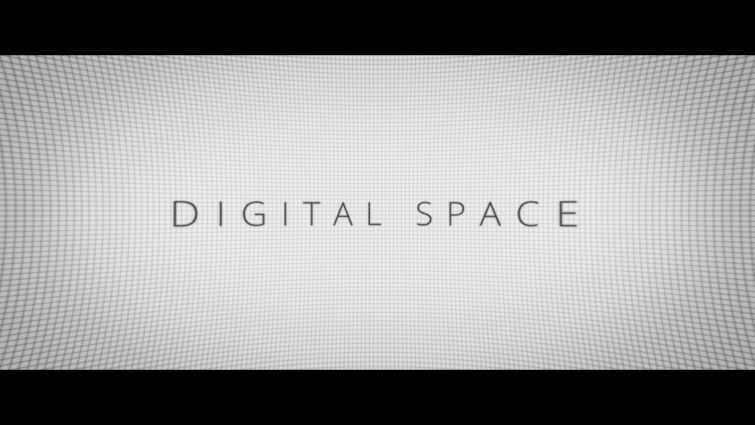
You can apply the Optics Compensation effect to an adjustment layer above the title text — and any background elements. Check Reverse Lens Distortion, then adjust the Field of View amount. This helps give the titles the appearance of more depth and can complement elements in the background.
Light Backgrounds with 3D Lights

We can also light any colored background layers with 3D lights to create more natural shadow falloff. Make sure your background layer is 3D, then create a 3D light, such as a spot light. Spot lights in After Effects give us the option to adjust the light’s cone angle and shadow feather, giving you more control over the final appearance.
Light Background Footage Elements

You can also cast 3D light on any background footage elements you have in your title scene, such as dust particles. All you have to do is make sure those footage layers are 3D, and any 3D lights in your scene will automatically illuminate them. Even the color of your lights will affect them, which makes compositing everything together much easier.
Check out the Free 4K Volumetric Light and Dust Overlays from RocketStock.
Interested in the songs we used to make this video?
- “Future Coming” By Make Music
- “Miami Nights” By Ben Beiny
- “Soul Food” By Monad
- “Neon Dreams” By Ben Beiny
- “Downtown Crusing” By Mattijs Muller
- “Days and Nights” By Florian
- “Reconsiderations” By Florian
- “My Old Piano” By Magnetize Music
Looking for more on working in After Effects? Check out these articles.
- 15 FREE Camera Shake Presets for After Effects and Premiere Pro
- Learn to Create Your Own 8-Bit Art in Adobe After Effects
- 7 Useful Ctrl and Cmd Key Shortcuts in Adobe After Effects
- Tutorial: Getting Started with Content-Aware Fill in After Effects
- 5 Ways to Animate with Trim Paths in Adobe After Effects


