

How to Create a Holographic Sticker Animation in After Effects
Learn how to create a holographic sticker animation entirely in After Effects. This tutorial includes a free downloadable project file!
There’s something oddly satisfying about peeling stickers, and the same goes for creating sticker animations. In this video tutorial, we’ll learn how to create a sleek holographic sticker animation in After Effects.
I recommend downloading the FREE project file, which includes many assets to help you follow along. Also, be sure to check out our Holographic Loops Freebie Pack. It includes twenty iridescent video loops that are perfect for stickers.
Ready? Let’s get started!
DOWNLOAD THE FREE HOLOGRAPHIC STICKER ANIMATION PROJECT FILE HERE
Creating the Look of the Sticker
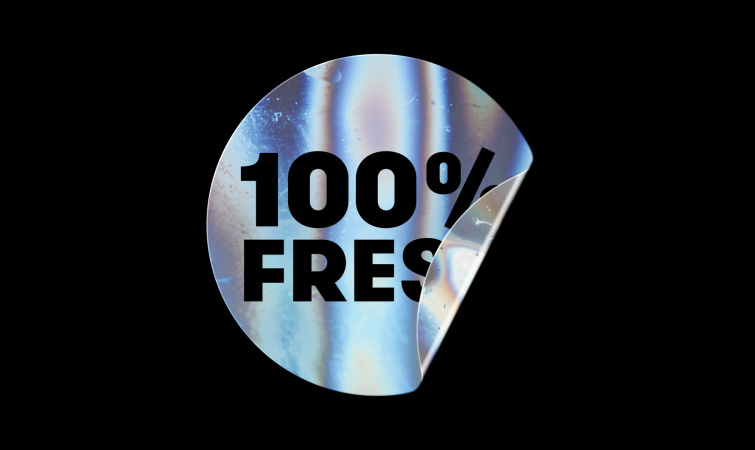
First, you’ll need to decide what shape you want your sticker to be. To keep things simple, I recommend starting with a circle.
Add a new Solid Layer to your After Effects composition, and then use the Ellipse Mask Tool to create a circle shape. Then align your circle shape in the center of your composition.
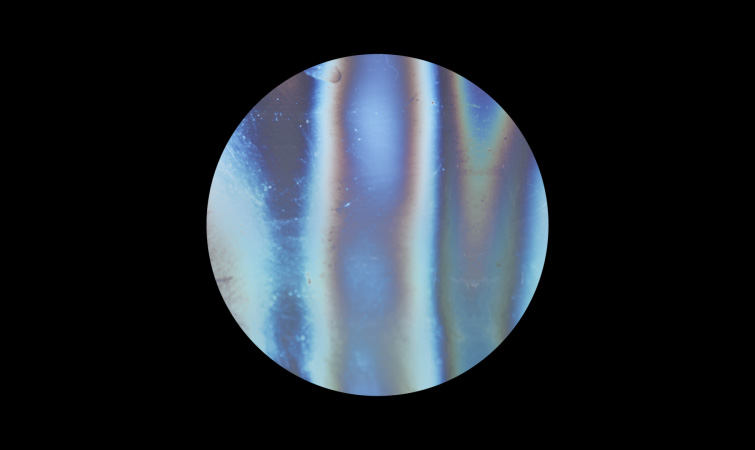
Now, we need to add a texture for our sticker. Included in the project file are a few video loops from the Holographic Loops Freebie Pack. I’m going to use clip “10_Magic Blue Textured.”
Place the clip under the Solid Layer in your composition. Then set the Track Matte for the clip to be Alpha Matte. You should now see the holographic texture on the circle shape.
To complete the look, you can add some text or a logo in the middle of the sticker shape. Be sure to add the text or logo above the Solid Layer in the composition.
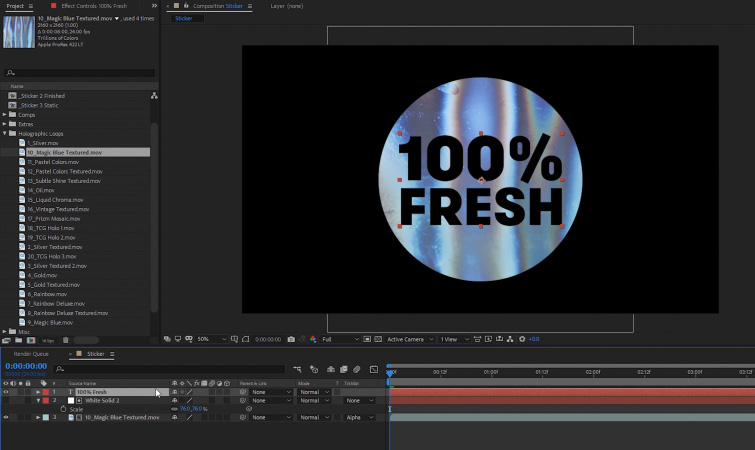
Now, select your layers, precompose them together, and name the new composition “Sticker Front.”

Creating the Back of the Sticker
Now, click on the Sticker Front composition in the Project Panel, then navigate to Edit > Duplicate. Right-click on the new duplicate composition and select Rename. Name it “Sticker Back.”

In the Sticker Back composition, delete any present text or logos. Then replace the holographic texture with a different one. (This is so we can visually tell the difference between the front and the back of the sticker.)
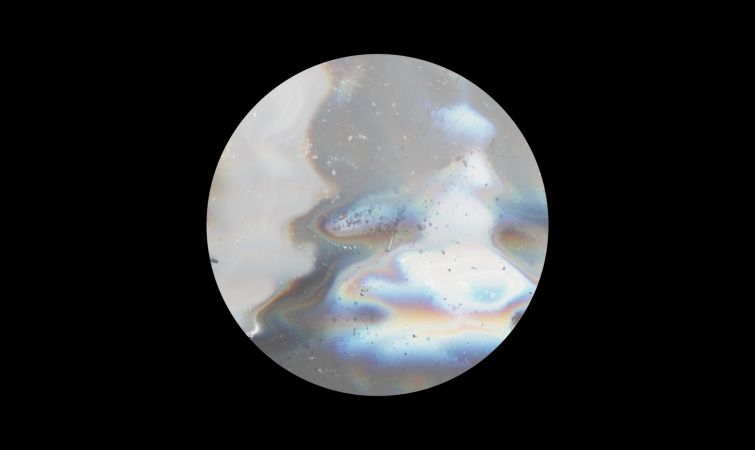
Delete the previous texture and add a new one below your Solid Layer. I recommend using the clip “3_Silver Textured 2” included in the project file.
Then set the Track Matte for the clip to be Alpha Matte. You should now see the new holographic texture on the circle shape.
Animating the Sticker
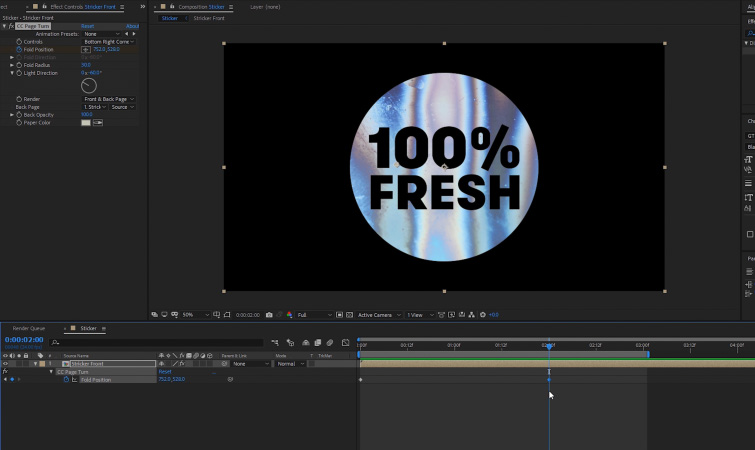
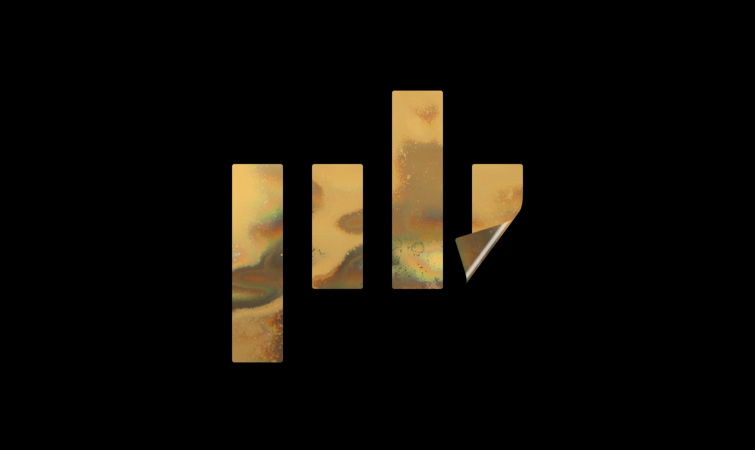
In your main composition, apply the CC Page Turn effect to your Sticker Front pre-comp. In the Effect Controls, set the Back Opacity to 100 and then set the Fold Radius to 30.
Now move the Fold Position point to the top-left corner of the composition. You should now see the sticker appearing folded over. Create a keyframe for the Fold Position at that point.
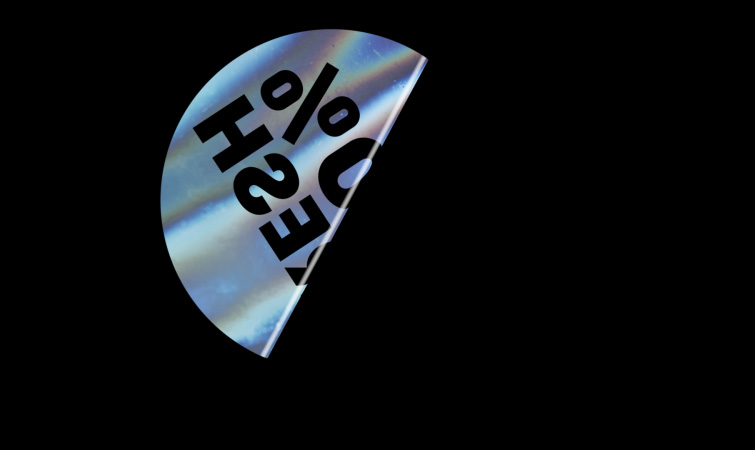
Now move down two seconds in the composition timeline and reposition the Fold Position point to the bottom-right corner of the frame.
You should now see the sticker completely flat and unfolded. In the Effect Controls, set the Render setting to FrontPage.
Add the Sticker Back precomp into your main composition, above the Sticker Front pre-comp. Then move the Current Time Indicator to the beginning of the composition timeline.
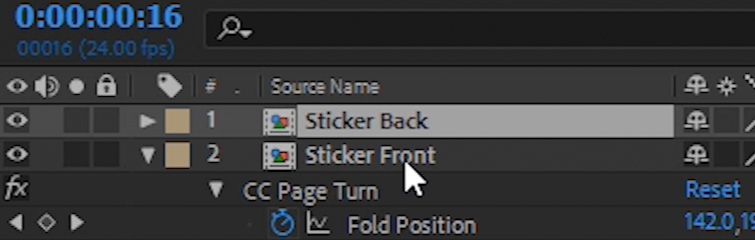
Click on the Sticker Front precomp and select the CC Page Turn effect in the Effect Controls. With it selected, navigate to Edit > Copy.
Now select the Sticker Back precomp, then navigate to Edit > Paste. This will effectively copy and paste the same effect settings from the Sticker Front precomp to the Sticker Back pre-comp.
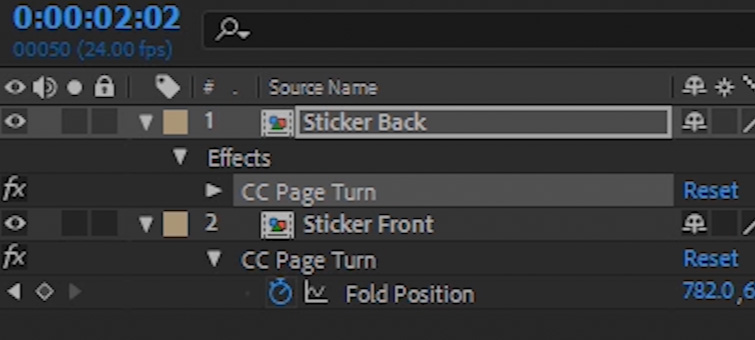
On the Effect Settings for the Sticker Back precomp, change the Render setting to Back Page. Then change the Back Page setting to the Sticker Back precomp.

Your sticker animation should be completed, with a different texture on the front and the back.
Create Sticker Animations of Anything
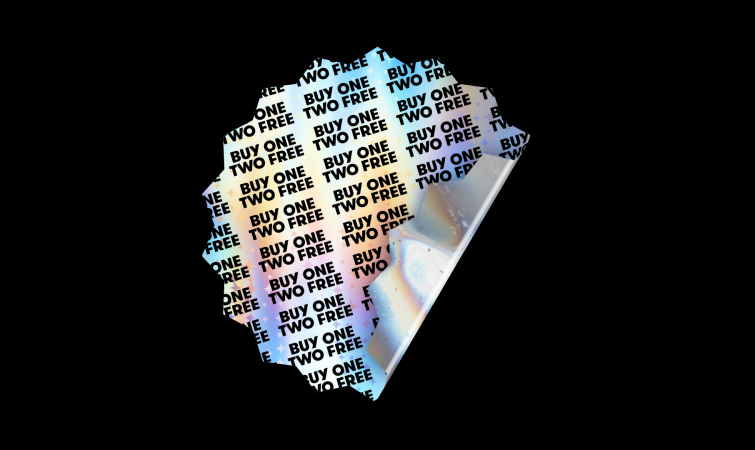
You don’t have to create sticker animations from shapes. You can repeat the same process we just did with logos, text, and images. This allows you to create stickers of any shape you want. Feel free to get creative with it!
Enhance the Sticker Look
You can enhance the look of your stickers even more with a few simple effects. First, if you want to add a subtle shadow to the sticker, apply the Drop Shadow effect to your Sticker Back pre-comp. Set the Distance setting to 0 and the Softness to 115.
Next, you can make the stickers look a little thicker, so as to appear to stand off the background surface.
Apply the Bevel Alpha effect to the Sticker Front and Sticker Back precomps. Set the Edge Thickness setting to 3 for both pre-comps.
Now the sticker will have a more realistic edge to it.
Free Holographic Loops
This tutorial was inspired by some sticker animations created for the Holographic Loops Freebie Pack trailer. Some were even inspired by ’90s trading card games!
Check out the pack, which includes a large variety of holographic loops.
Interested in the royalty-free tracks we used to make this video? Give them another listen:
- “Kaleidoscopes” by Harrison Amer
- “Miami Nights” by Ben Beiny
- “Neverland” by Haxxy
- “Chill Off” by Make Music
- “Midnight Voyage” by Mountaineer
For additional inspiring projects, check these out:


