
The Flashback Sequence Effects Tool Kit

This guide breaks down everything you need to know about producing and editing effective flashback sequences.
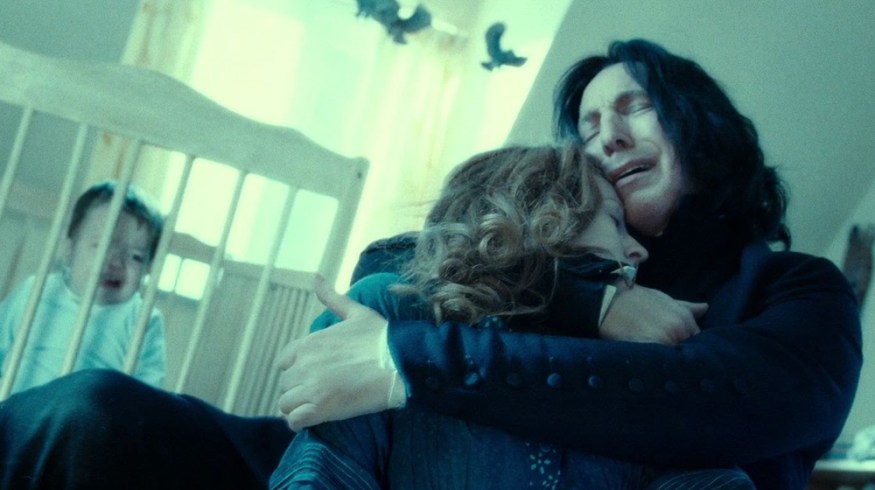
Cover Image via Warner Brothers.
Everyone knows a flashback when they see one—it’s a tried-and-true narrative tool. Really, there are two types of flashbacks. While their names come from the literary world, we can borrow them for film. There is an internal analepsis, which returns to a scene established in the narrative, and an external analepsis, which takes the story back to a time before the audience joined the narrative.
Some critics believe an internal flashback undermines the strength of the story. The argument is that your film language hasn’t been clear enough if you need to return to an earlier scene to highlight something that the audience may have missed—unless this was intentional.
If you prefer to tell your story with flashbacks, you need to know the different visual and audio cues that signify a flashback instead of a new scene in a linear progression.
Let’s look at some of the effects you can use.
Slower Shutter Speed

Before we jump into the digital domain, let’s have a look at what you can do in-camera. By decreasing the shutter speed of your camera lower than the 180-degree standard shutter angle, each frame gets exposed a little bit longer. As a result, the footage becomes a myriad of fading blurs. This technique is perfect for dreamlike sequences—or when the character is intoxicated. It’s also great for short flashbacks.
This will mean that you will have to film the scene twice if it’s an internal flashback. However, it’s a great technique if you want to show the scene from a unique perspective.
Bloom Transition
The bloom transition is a very popular technique used in TV, and it usually indicates a new scene, rather than a flashback to an established scene. This might occur when a suspect is telling the police how he committed his crime, or when a character is thinking about their past, and we transition to see that moment. For example, see the flashback below from The CW‘s Arrow, S01E01.
This is the easiest and simplest effect to use, as you’re only applying the effect on a small area of the clip, rather than the entire flashback layer.
Thankfully, there’s no need to follow an instruction list or video tutorial on how to create this effect, as the great Andrew Kramer from Video Copilot has already made a preset you can download for free. On the VideoCopilot blog, there’s also an instructional video how on to adjust the effect if you find yourself confused.
White Dissolve
Similar to the bloom transition, but less extravagant, involves dissolving in and out of a white solid. There are two ways you can do this.
- In your NLE, simply create a solid white layer, and place it above the two adjoining clips, two seconds of white solid on either side will work well.
- At the start point decrease the opacity to 0, set a keyframe, and set the opacity at 100 when it reaches the edit point. Then reduce the opacity back down to 0 to at end of the layer.
Alternatively, if you are using an NLE like Premiere Pro CC, there is already a transition called Dip To White, which does the same thing, if not better.

You can also improve this effect if you pan or tilt toward a highlight in the scene, such as a window or house fire. Both methods will produce a flashback transition as you see in the video below.

Cross Processing
Cross-processing footage to signify a flashback is a great approach. Cross-processing involves lab technicians or photographers deliberately using the incorrect chemical solution for processing a film stock. As a result, the film would process with an unnatural color and with high contrast.
You can see the effect put to good use in Tarantino’s Django Unchained.
Don’t worry; you don’t have to rush out and buy film stock and chemicals to achieve this effect. You can easily pull this off with any color grading application. DaVinci Resolve guru Denver Riddle shows you how to achieve the look in the following tutorial.
Diffused Glow
As I noted in this article on diffusion filters, a diffused glow is a fantastic aesthetic that suggests a scene is taking place in the past. It mirrors an old technique when cinematographers would put netting behind the lens to smooth the skin of Hollywood starlets. It’s a subtle but effective technique. Since the glow creates an ethereal essence, it’s also an excellent way to indicate flashbacks, such as the scene below from Rocky V.

You can very quickly create a diffused glow in any NLE or compositor by following these steps.
- Bring your footage into a new composition.
- Create a copy of your footage and place it on a new layer, directly above the original.
- Add a blur of 5-10 percent to the top layer.
- Change the blend mode of the top layer to lighten.
Color Tint
If you look again at the example from Rocky V, you can see there’s also a cool tint to the image. This is another common effect you see in flashback sequences, especially procedural dramas like CSI. If you’re cutting back and forth between the present and the past at the same location, as in the Rocky V scene, this tint creates just enough differentiation between the timelines to prevent confusion.
You can quickly add a color tint to an already-graded piece of footage by adding a solid color to your composition, changing the blend mode to overlay, then lowering the opacity down to 50-75 percent.

Audio
Flashbacks always include an audio effect to accompany visual cues. Typically, when storylines transition into flashbacks using the bloom or something similar, we also hear a swoosh. Secondly, when a flashback scene uncovers a hidden mystery, you will usually hear reverberated audio.
You’ll need to choose the reverb effect that suits your project best, but a clever technique is to reverse the audio track, apply a reverb, then reverse the track once more so it reverts to normal. Then apply another reverb.
There’s no one way to produce a flashback sequence. Filmmakers are creating new techniques all the time, and you can always choose not to use an effect at all. My favorite technique is the fluid distortion applied to the flashback/memory scene in Harry Potter and The Deathly Hallows Part 2, and you can learn how to do this in my step-by-step tutorial here.
For more on clever effects, check out the articles below:


