Build a Filmmaking Kit for Less than $5K
You don’t need a $40K camera to get that coveted cinematic look. This $5K filmmaking kit is perfect for boutique productions.
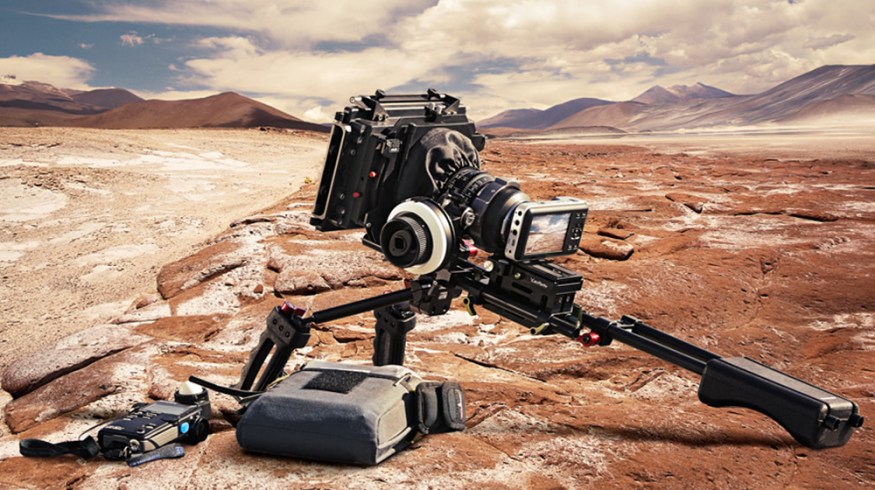
Cover image via Blackmagic Design.

Image via NAB Show.
It’s so easy to get addicted to gear — the unending stream of video equipment that hits the market weekly tempts every filmmaker and video producer. This is especially true this time of year, after we’re all still decompressing from NAB highlights. That makes it a great time to get back to the basics.
What do you really need in your filmmaking kit that’s going to produce consistent results for you and for your clients? It can be challenging to decide which tools you actually need to keep in your kit.
My filmmaking kit is modest at best. No single piece of equipment exceeds $1,000. And using this kit, I’ve shot award-winning, feature-length documentaries as well as shorter docs, brand films, and several short narrative vignettes. This kit has delivered quality and reliability for almost two years now, and my ROI exceeded my investment (roughly $5,000 USD) almost overnight.
I call it my “barebones kit,” and you can purchase each item as it’s listed below or use it as inspiration to build your own filmmaking kit.
Camera and Power

- Blackmagic Pocket Cinema Camera (BMPCC) — $995.00
- IndiPro Tools Dual LP-E6 Power System for BMPCC — $95.00
The Blackmagic Pocket Cinema Camera is a powerful little camera. I’ve shot feature-length documentaries with the BMPCC, and its thirteen stops of dynamic range are incredibly forgiving in post. Skin tones are lovely, and colors tend to pop with the slightest grade without becoming oversaturated. The BMPCC shoots ProRes and RAW, though I usually shoot ProRes 422. (Disclaimer: It does not shoot 4K.) However, 1080p is still a standard in online video — your clients will be more pleased with strong lighting and composition choices than they will with simple 4K resolution.
The only drawback of the BMPCC for me is that it doesn’t record high frame rates. Even 60fps would make me a very happy shooter.

Image via Tokina.
Another drawback is power — native power runs on EN-EL20 batteries, and they just don’t cut it. Plus, if you’re shooting with a few active lenses on the Metabones Speedbooster (like the Tokina 11-16mm), the voltage of the EL20s isn’t high enough, and the BMPCC will shut off, even at full charge.
Therefore, I recommend a battery solution.
The IndiPro Tools battery solution for the BMPCC is the most reliable that I’ve used with this kit, and it will give you a solid 2.5 hours of recording time with two Canon LP-E6 batteries. If you’re turning the camera on and off, it lasts much longer: somewhere between 3.5-4.0 hours of battery life. It does however require rods or a camera cage to mount (see Tilta ES-T13 BMPCC Rig below).
Lenses and Glass

Image via Bud Simpson.
- Canon EF 24-105mm f/4 L IS USM — $999.00
- Metabones Canon EF to BMPCC — $659.00
- Genustech 77mm Eclipse ND Fader Filter — $115.00
The Canon EF 24-105mm is a workhorse lens that has powerful image stabilization. It’s an all-around versatile lens that I always recommend, especially as a first purchase. The Metabones Speedbooster is also a must-have for the BMPCC and will give you the flexibility of upgrading your lens kit when you’re ready. I use the EF mount adaptor, and I’m able to use tack-sharp Canon CN-E primes on higher-end projects for clients.
Furthermore, you can take full advantage of the BMPCC’s thirteen stops of dynamic range with a variable ND filter like the Genustech Eclipse, which will greatly help when setting exposure for shots in full sunlight.
Audio

Image via Zachary Staines.
- Zoom H4n Pro 4 Channel Recorder — $199.99
- Rode NTG2 Complete Shotgun Microphone HDSLR Kit — $599.95
- Includes:
- Shotgun mic
- Shock mount
- Boompole
- Dead cat
- XLR cables, and
- Carrying case
- Includes:
The Zoom H4n is also an industry standard workhorse for the price. Paired with the Rode NTG2 Shotgun Kit, you’ll have everything you need to record decent audio.
Grip

Image via Bud Simpson.
- Tilta ES-T13 BMPCC Rig — $359.00
- Tripod (any fluid-head model will work; I use these Benro sticks) — $274.00
Tilta has yet again designed a wildly intuitive rig and camera cage, this time for the BMPCC. This versatile and aesthetically pleasing cage will let you mount just about anything to your BMPCC, while still giving you access to all the buttons, LCD screen, inputs, and SD/battery slot. Furthermore, it will also provide plenty of legroom when you’re ready to update and rig out your filmmaking kit.
Get ahold of a reliable (and lightweight) fluid head tripod. Any model will work; I use some Benro sticks that my colleague sold to me dirt cheap.
Media

Image via Bud Simpson.
- 2 x SanDisk 64GB Extreme Pro SDXC — $34.95/ea.
- LaCie 2TB Rugged Mini Portable Hard Drive — $129.99
Finally, you’ll need SD cards and external hard drives for offloading your footage. Therefore, I recommend a minimum of two Sandisk 64 GB Extreme Pro SDXC and one LaCie 2TB Rugged Hard Drive.
Total Estimated Cost
$4,495 + tax and shipping.
That can be a bit hefty if you’re just starting out; however, this is still considered a micro-budget filmmaking kit, and the cost can change significantly if you’re augmenting your kit rather than starting from scratch.
For less than $5,000 you can start shooting immediately.
How to Build Your Filmmaking Kit from Scratch

Image via Expertphotography.com.
The hard truth is that filmmaking demands capital. You need money for cameras, lenses, lights, crew, etc. This especially true for freelancers or small production companies who may not have access to equipment otherwise.
However, acquiring high-quality, reliable equipment is a big part of the job.
Let’s assume that you’re modestly successful; you’re reining in a few paying clients here and there, and your investment capital is growing. Try this strategy for building your filmmaking kit from scratch.
Step 1: Set aside a portion of your profits for purchasing your filmmaking kit
As you line up more work, and your checking account slowly grows, stockpile the cash and don’t touch it!
You’ll need to use this money to reinvest in your production company in the form of equipment purchases.
Step 2: Rent equipment until you’ve saved enough for an initial equipment purchase
It may take time for you to save up enough for your first few equipment purchases. Therefore add equipment rental costs to your project budgets and list them as hard costs. If the amount for equipment rentals is too high for your client, try to split the rental between two projects. In other words, schedule shoots for two different clients back-to-back and split the rental cost between the projects.
There are several great online rental companies out there. I personally enjoy using LensProToGo, and LensRentals.com.

Image via Shutterstock.
Step 3: Build your basic filmmaking kit by purchasing equipment in order of importance (or preference)
Once you begin stockpiling your cash, begin purchasing your own equipment. Start with the most important pieces of equipment first. I would recommend the following order:
- Purchase #1 ($1,700): Continue to rent lenses and audio equipment for projects as needed.
- Blackmagic Pocket Cinema Camera (BMPCC) — $995.00
- 2 x SanDisk 64GB Extreme Pro SDXC — $34.95/ea.
- Tilta ES-T13 BMPCC Rig — $359.00
- Tripod (any fluid head model will work; I use these Benro sticks) — $274.00
- Purchase #2 ($895): Acquire a basic audio kit first, you can still rent lenses on the cheap.
- Purchase #3 ($790): Keep renting your lenses, but get ahold of a Speedbooster. At this point, you’ll also need some extra hard drive space.
- Metabones Canon EF to BMPCC — $659.00
- LaCie 2TB Rugged Mini Portable Hard Drive — $129.99
- Purchase #4 ($1,115): This last purchase includes your first lens and a neutral density filter.
- Canon EF 24-105mm f/4 L IS USM — $999.00
- Genustech 77mm Eclipse ND Fader Filter — $115.00
Upgrading Your Filmmaking Kit
This is a “barebones kit” for a reason: it includes the fundamentals and gives you the flexibility to upgrade when you’re ready.
A few items I’ve added to my kit:
- Field mixer, set of two lavalier mics, and onboard mic
- Lighting kit
- Shoulder rig
- Camera slider
I recommend a kit like this because it forces you to concentrate on fundamentals. There are no bells and whistles or expensive tools to hide behind. As a result, you’ll learn how to avoid overexposing your image or not setting a correct white balance — or if you’re not adhering to lighting and composition fundamentals.
Which tools are essential in your kit? Let us know in the comments.