Post-Production Tip: Quick and Dirty Noise Reduction Without a Plugin
Need to clean up some noise in your footage, fast, but you don’t have any plugins on hand? We’ve got you covered with this technique.
We’ve gone in-depth on the causes of noise and methods for reducing noise in footage a few times before. Today, we are looking at some quick and effective noise reduction tricks to use in any program — without a noise reduction plugin.
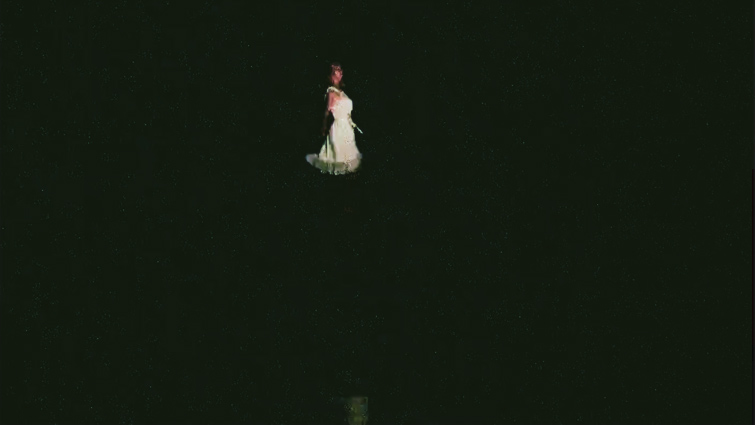
Here is a still from a dream sequence in a short I shot on super 16mm several years ago. As you can see, the film grain has really irritated the codec used to upload this video to the internet, and we’ve got some super-distracting noise in all of the channels — high, medium, and low.
Hiding Noise in the Shadows
Because this shot is super high-contrast, hiding the noise in the blacks should be no problem.
What I’m attempting here is to increase the contrast to pop the shot a little bit and then bring up the blacks to wash out the actual recorded blacks to get them to a similar brightness level as the noise we want to get rid of.
After we’ve brought the blacks up, I am adding an adjustment layer over the shot to bring the blacks back down to a more reasonable level. From here, I am reducing the vibrance in the Creative panel before moving to the HSL/Secondary panel.
I’ve blurred the selection a bit to blend the selected region with the un-selected regions of the frame a little more. Now I’m selecting the blacks with a luminance qualifier and applying adjustments to pull the brighter noisy sections down. I will also adjust the color to make the chroma noise appear a little more like luminance noise by warming the temperature up and shifting the hue all the way to green.
We have effectively killed the fluttering color noise in this shot while bringing our black levels back down to more natural levels.
Dealing with Artifacts
Moving on to the next shot in the dream sequence — this time we’re up close.
This shot is suffering from heavy compression due to the fast motion in the dance scene and the fine detail of the film grain irritating the codec used to upload the short to the internet.
We’re going to work to keep the shot looking the same or a little better without completely breaking the footage.
I’ve made a few adjustments to begin bringing the levels up in the shot. (I’m ignoring the fact that I’m clearly destroying our footage for right now.)
Now that I’m a little happier with the exposure of our actor, I’m navigating to the HSL/Secondary panel in Lumetri. Using only the Saturation and Luminance qualifiers, I am targeting the blocky regions of the image.
The selection isn’t perfect, but it should work really well to begin blending the artifacts with the blacks a little more.
I’m just cooling off and sliding our selection’s hue toward green before cutting the sharpness and saturation all the way. I also de-noised and blurred the selection a fair bit to help feather the results a little.
All that I want to do before moving on to my last trick is to add an adjustment layer on top of the clip to cut our blacks a little more and give just a touch more contrast for some pop.
Grain Overlays
One of the most effective ways to hide noise is to use a film grain overlay. Not only does the grain’s movement mask some of the nasty digital noise, the opacity blend mode you choose can help to make your grain interact differently with your footage.
PremiumBeat has a pretty great rundown of some free film grain downloads over here. I’m using the Holy Grain 35mm for this shot.
I’ve added another adjustment layer over the last one and added some 35mm film grain to it. For the look I’m going for, I will select the Screen blending mode and set the opacity to 26 percent.
And that’s it! The fine grain perfectly hides the blockiness and is the perfect last step to clean up some nasty compression artifacts that were plaguing our footage.
Nasty noise doesn’t have to ruin your footage, even if you don’t have a dedicated noise reduction suite at your disposal. Next time you’re banging your head against a wall trying to fix your noisy shot, remember to try these tricks — and as always, stay creative, and find your own!
Looking for more post-production tips and tricks? Check out these articles.
- Video Tutorial: How to Add Image Overlays to Premiere Pro Exports
- DaVinci Resolve 15 Video Crash Course — The Edit Tools
- Improve Your Masks with Hue, Saturation, and Luminance Qualifiers
- How to Make 3D Split-Depth Videos in Adobe After Effects
- Color Grading Tips: The Ins and Outs of Correcting for a Pink Sky


