
Stabilizing GoPro Footage with the Unique ReelSteady GO App
In this video tutorial, learn how simple it is to stabilize GoPro footage with a new standalone software app — ReelSteady GO.
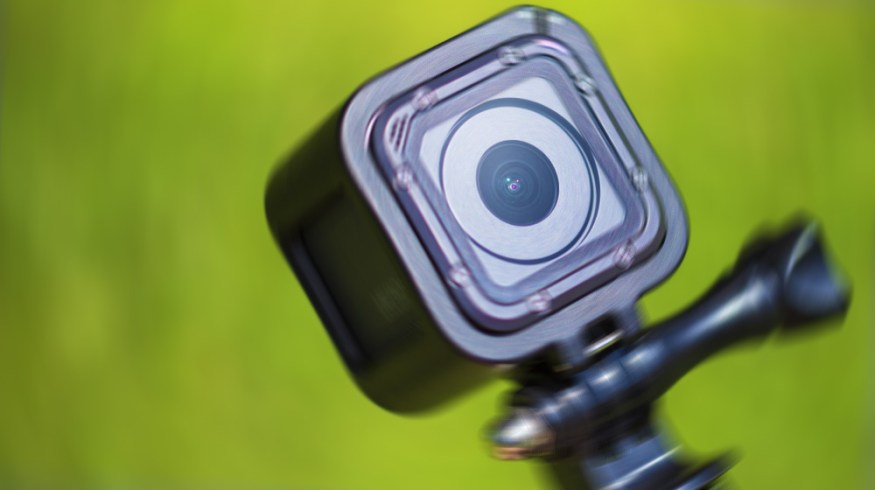
It seems obvious that action cameras are going to need stabilization. So, it is no surprise that the two biggest action cameras right now, GoPro Hero7 Black and DJI Osmo Action, both tout in-camera stabilization. But, there may be a better way. (For GoPro cameras, at least.) And that is with a new standalone app called ReelSteady GO. What makes this app unique is that it uses GoPro’s own gyroscope metadata to stabilize the footage. As a result, the stabilization process is lightning fast — and it’s the best post-stabilization I have ever seen.
Ready to see what all the hype is about? Let’s check it out!
If you would like to follow along with the tutorial, you can download a free-trial of ReelSteady GO and use the GoPro clips I have included in the project file!
DOWNLOAD THE PROJECT FILE
These assets are free to use in any personal or commercial projects. By downloading, you agree not to redistribute these assets.
Backstory on ReelSteady
![]()
ReelSteady is a company most known for their After Effects plugin, which is arguably the best post-stabilization plugin there is. The results are stunning, and it is frequently used to stabilize racing drone footage. However, it’s an After Effects plugin geared toward professionals, so it is quite expensive at $399. This also means you must have an Adobe Creative Cloud membership to use it.
ReelSteady GO

ReelSteady recently announced a new app called ReelSteady GO. This app is much more affordable (priced at $99) and is a standalone app. (So you can stabilize your footage, then use your editing program of choice.) The catch is that the software only works with GoPro cameras with an internal gyro. This is because the software uses that gyro metadata to quickly stabilize the footage in post. The results often look like the camera was mounted on a motorized 3-axis gimbal.
Warp Stabilizer Comparison

In comparison, Warp Stabilizer (included in After Effects and Premiere Pro) has to perform a frame-by-frame image analysis in order to stabilize footage. Not only is this a much slower process, it’s also prone to errors caused by lens flares and rolling shutter artifacts. Since ReelSteady GO uses the gyro information for stabilization, it’s unaffected by the actual on-screen images of the video.
Conclusion

I fully expected the footage from the Jeep driving test to be unusable. However, ReelSteady GO handled the stabilization without a hitch. The final footage looked as smooth as a drone flying down the road. The simplicity of the app also makes it approachable for casual action camera users. Hopefully, ReelSteady will continue to expand the app to work with even more action cameras with built-in gyroscopes.
Interested in the tracks we used to make this video?
- “Tropical Cruise” by Cymatix
- “Adapta” by Tonemassif
- “Summer Leaves” by Mattijs Muller
Looking for more video tutorials? Check these out.
- Quality vs. Quantity: What Should You Record While Traveling?
- Editing Tips: Sorting Footage and Creating Quality Timelines
- From The Wizard of Oz to Transformers: 100 Years of Color Grading
- Creative Uses for Bokeh Overlays + Free Prism Bokeh Pack
- Getting Creative: Five Cool Video Edits that Genuinely Work


