Video Tutorial: Camera Tips for Stabilizing a Shot in Post
In this tutorial, let’s take a look at the best camera settings to use if you plan on stabilizing a shot in post-production.
If you’re filming on location, there may be times when you know you are going to stabilize a shot in post-production (for example, using Warp Stabilizer in After Effects.) Maybe this is because you’re filming handheld, or perhaps you know you’ll want to smooth out a gimbal shot. Knowing this in advance, you can take advantage of a few camera settings and tips that will make the post-stabilization process a lot easier. In this tutorial, we are going to explore the best settings to use if you plan on stabilizing a shot using Warp Stabilizer in post-production.
High Shutter Speed
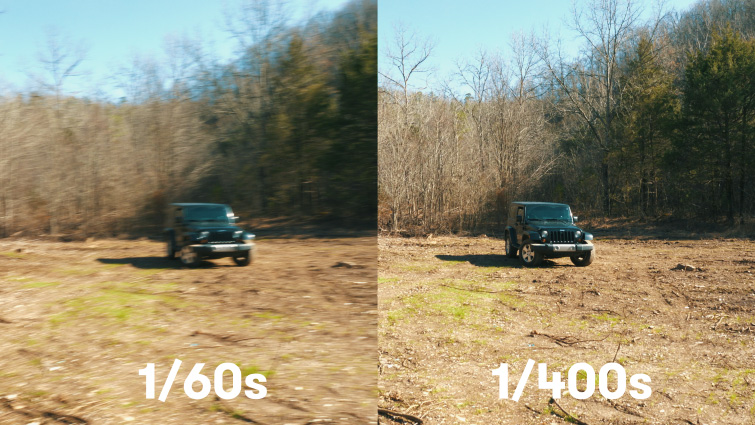
The first tip is to use a high shutter speed, which will help reduce motion blur. This allows Warp Stabilizer to analyze your footage better from one frame to the next. (Essentially, everything in your shot will be sharper, which allows Warp Stabilizer to get a better track.) The shutter speed I used in this tutorial was 1/400s. (For comparison, for normal footage I would typically film at 1/60s or 1/120s, depending on the frame rate.)

Wide Lens
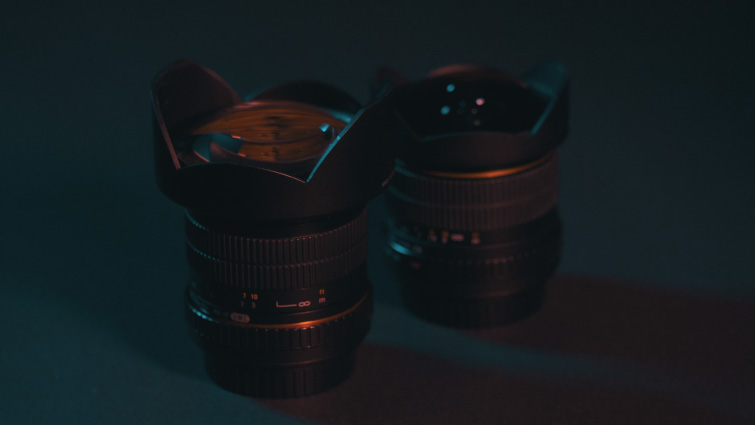
Next, shoot with a wide lens (or just frame your shot a bit wider than normal.) This is because Warp Stabilizer is going to crop in on your footage in order to stabilize it. Knowing this in advance will allow you to frame your shot appropriately — that way your subject doesn’t get cut off in the crop.

Film in 4K
The next tip, if your camera can do it, is to film in 4K. Again, this is because we know Warp Stabilizer is going to crop our footage, and if you film in 4K, you will still be able to output full 1080p footage after the crop. 2.5K and other resolutions will work as well, just as long as they are higher than your final output resolution.
Tripod Trick
If you have a tripod handy, I highly recommend this trick. Mount your camera to a tripod, with the legs of the tripod collapsed inward. (This centers all of the weight.) Then carry the camera and tripod together while you film. The tripod imitates a Steadicam-like movement (due to the weight). This trick will drastically help reduce smaller “micro shakes” on your camera that can contribute to unwanted rolling shutter.
Lens and Camera Sensor Stabilization (Optional)
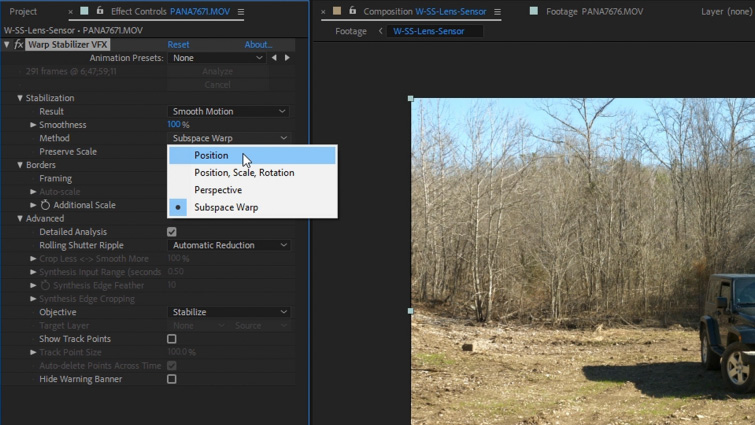
Next, depending on your lens and camera setup, you can try using lens and sensor stabilization. Be warned, however: these results can be hit or miss. (Experiment on location. Get one shot with and one without stabilization, so you have options.) If I use one of these, typically I’ll just use lens stabilization. This is because sensor stabilization can be prone to “Jell-o” image distortions that don’t mix well when combined with Warp Stabilizer. (It is worth noting that sensor stabilization generally will also crop in on your framing, so make sure you’re filming wide enough.) If you use lens or sensor stabilization, you’ll want to change the Method setting on Warp Stabilizer from “Subspace Warp” to “Position” for better results.

Extra Tips
Here are a few other things to keep in mind when you’re filming:
- Avoid lens flares because they will drastically throw off post-stabilization.
- While filming with a wide lens, watch out for your own shadow at the bottom of the footage.
- Use a deep focus range, which insures sharp footage for Warp Stabilizer to analyze.
- Use the lowest ISO possible to reduce unwanted image noise, which can throw off tracking.
Looking for more video tutorials? Check these out.


