Gear and Accessories You Need for Travel Video and Photography

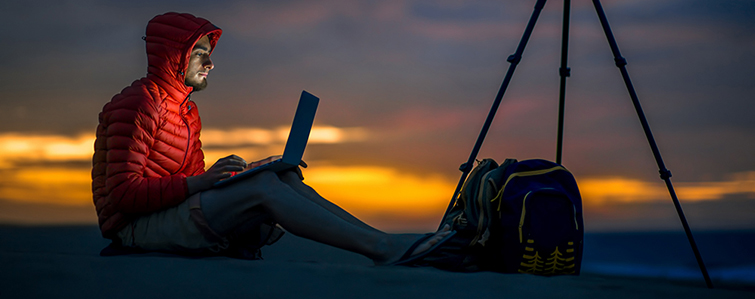
Wondering what video gear you need to pack for a destination or travel shoot? Here are all the tools you will need while you’re away.
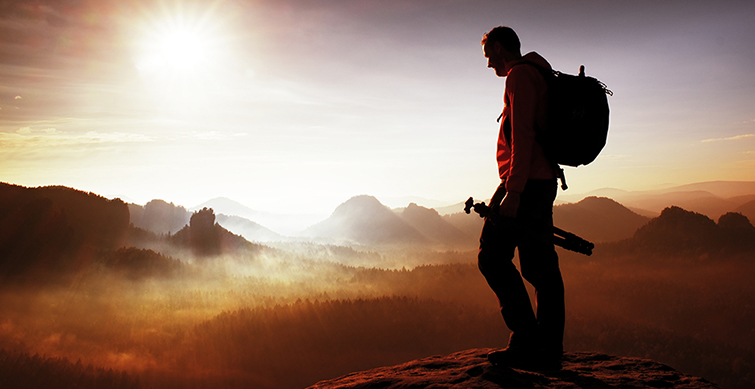
Top image via Shutterstock.
The following is an excerpt from Shutterstock’s The Explorer’s Guide to Travel Photography and Destination Video.
The free e-book also covers the following topics:
- Travel Tips and Regulations.
- Cameras for Travel Photography and Destination Video.
- Lenses for Travel Photography and Destination Video.
- Gear and Accessories for Travel Photography and Destination Video.
- Shooting on Location.
Go grab a free copy of the e-book as a downloadable PDF on the Shutterstock blog.
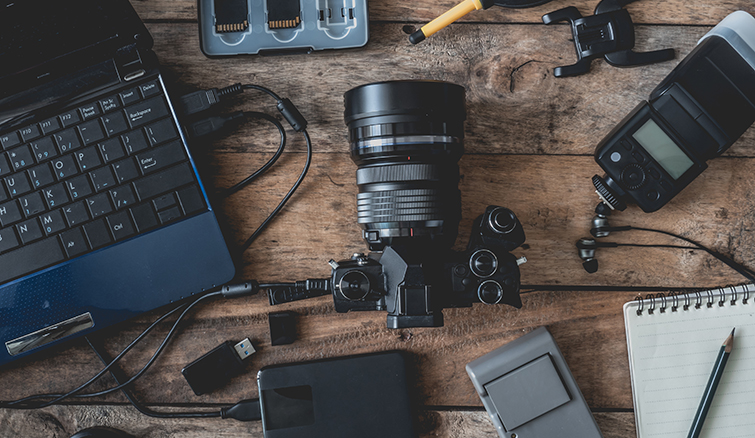
Gear and Accessories for Travel Photography and Destination Video
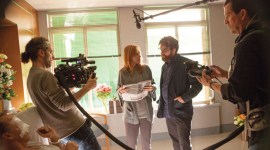
Shooting abroad poses one of the biggest challenges for photographers and videographers. How much gear is the right amount? From extra baggage fees to misplaced luggage, there are plenty of valid concerns.
Your best resource is your own research of the locations. You may find that some places, like major cities, have plenty of rental houses for you to rent additional gear — like specialty lenses or big gear like tripods. Renting can save you the hassle of packing all your gear.
If you don’t have the luxury of renting, choosing the right gear should be a priority.
Batteries and Power
To operate your camera, you’re going to need power. Depending on your location, you may not have access to electricity while shooting. Be sure you have enough batteries to keep you out in the field long enough to capture what you need.
The camera isn’t the only thing that needs batteries. Don’t forget AA, AAA, 9V, or any other type of battery you may need to operate equipment like lights. It’s also recommended to carry a battery pack so you can recharge your phone while on location.
In addition to batteries, it’s always good to have some surge protectors and an extension cord to add a few outlets to your hotel room. Don’t forget power adapters for the various types of outlets around the world. Make sure you have one that works in the country or countries you are headed to. If you will spend significant time in a car, pack a car charger as well.
Memory Cards
Now that you have a camera, lens, and batteries, you’re certainly going to need plenty of memory.
If you plan to shoot a ton of material, your first thought may be to purchase one very large SD or CF card. While that may seem like an easy solution, it’s actually best to have multiple smaller cards. That way if something happens on location — like dropping your camera into the water — then you will still have all the photos and footage you shot on the other memory cards.
Make sure you purchase the appropriate card speed for your camera, as that will help you capture the best quality images as quickly as possible. Don’t forget to pack any cables you may need to dump and back up your photos and video.
Tripods, Monopods, and Stabilization
Stable images and footage are crucial for a successful travel shoot. You will want to find gear that is as light as possible. Carrying heavy sticks over a long period of time will really wear you down and hurt your back. Compact gear should be a priority.
Monopods are the easiest form of stabilization to travel with. They are incredibly compact, and even some of the more rugged ones are still rather lightweight. A carbon fiber monopod may cost more upfront, but it is well worth the price.
Tripods are the standard form of stabilization for photographers and videographers. There are a ton of different options, and there is a whole market for traveling shooters. You can find compact tripods that collapse to an incredibly small size. There are a variety of heads, from traditional mounts to pistol grip pivot heads. Tripods with pivoting heads tend to be the best for travel since they can offer level images no matter how rugged the terrain. There are also travel tripods that have additional features like built in flashlights.
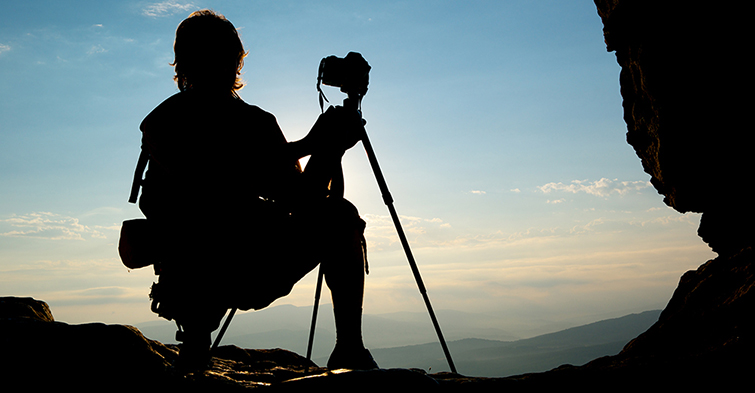
When it comes to choosing the right tripod, your main concerns should be the weight, size when collapsed, tallest height when extended, and weight tolerance.
Videographers may want more options when it comes to stabilization. There are travel shoulder-rigs built for a variety of cameras, as well as traditional stabilizers like a Steadicam. When traveling, weight should be a primary concern, as well as the size of the rig when collapsed. The smaller the better, but remember that a variety of small parts greater potential for losing pieces in the shuffle. You may also need a set of tools to put the rig together, depending on the type of stabilizer you choose.
Lights, Flashes, and Reflectors
Photographers will be quick to find that traveling with a video light is usually much more practical than carrying a camera flash. That’s not to say camera flashes can’t be the go-to for lighting your travel photos, but the video light also doubles as a flashlight and you can use it in combination with reflectors to help capture stunning images.
Video lights are compact, and you can easily find them at a very low cost. This is great for travel, so if something does happen to your light, it’s easy to replace. Many video lights can use rechargeable batteries, or even AA batteries.

High-end video lights and light wands offer changeable color temperature. This is great for all sorts of shoots. You can use these lights on subjects or adjust the colors and use them as backdrop lights.
A collapsible reflector is really the best lighting tool for traveling photographers and videographers. Most travel shoots will use a ton of natural lighting, and a reflector helps you harness sunlight. Collapsible reflectors can fit into small pouches, and many come with a variety of color options. The closer the reflector is to your subject, the more powerful the light.
Additionally, a traditional flashlight or headlamp can always help light up a subject. Many flashlights have a very harsh light, so make sure you test the look of the flashlight ahead of time. These tools are also helpful when digging through your gear bag in the dark.
ND Filters

No matter if you are shooting stills or footage, you will want to make sure you have some neutral-density filters. Shooting outdoors in the middle of the day can be a nightmare for anyone, but an ND filter can help you capture excellent images in bright conditions.
With an ND filter and the correct combination of aperture and exposure settings, your camera can grab stills and video that would otherwise be overexposed.
Graduating ND filters, or split ND filters, can balance the light, especially at sunrise and sunset. They can darken a bright sky, while leaving the landscape naturally lit.
Variable ND filters offer multiple stops of light control, all in one filter. You can easily adjust the ND filter to whatever you need for the shot. If you invest in a nice variable ND filter, you may want to add a step-up ring. That will allow you to use the filter on all of your lenses, no matter the lens diameter size.
Microphones and Audio Recorders
Videographers will need to remember microphones or audio recorders to capture audio on location. From the ambient sounds of an oasis to capturing interviews, quality audio is crucial to every video.
For travelers, the best option is a handheld audio recorder and a lavalier mic. Both are small and easy to transport. You can use the hand recorder to capture ambient sounds and then plug the lavalier mic directly in for interviews. It’s the simplest and most travel-friendly setup.
Depending on the type of lavalier mic you own, don’t forget audio cables and adapters if necessary. Wireless lavs can be a hassle on remote locations, so consider going hardwired into the recorder.
Cleaning Kit and Tools
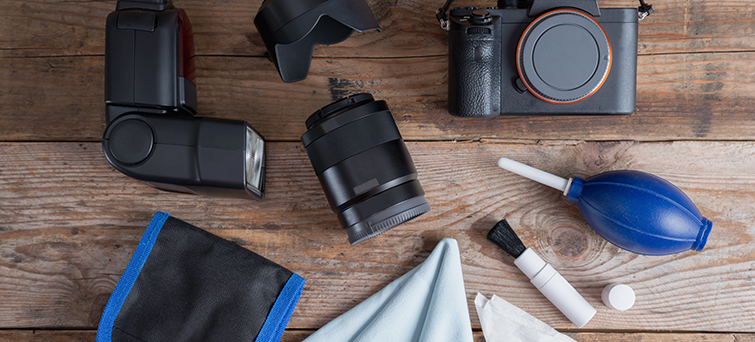
From microfiber wipes to a dust blower, investing in a portable cleaning kit can save your shoot. Dust, dirt, and all the natural elements will wreak havoc on your gear. Make sure you can easily clean your lenses while on the go.
Be sure to pack the necessary tools to take your gear apart if you have to do heavy cleaning or assemble any camera rigs. Invest in a quality multitool. A steel multitool with built-in screwdrivers, pliers, and knives is often the best.
Don’t forget any Allen wrenches or specialty tools you may need for specific gear. Zip ties are also great to have. Keep all your tools in an easy-to-grab pouch, so you know where everything is. Don’t forget that tools may need to go in your checked luggage.
Laptops and External Hard Drives
Working on location is usually much more than just shooting. To dump and check your photos and footage, don’t forget to bring your laptop. It’s also recommended to store your files on external hard drives as additional backups.
Create a solid folder structure for your project so files are easy to find when it comes time to edit. You can break your travel photos and video into individual folders based on the day you shoot or on specific locations.
Backing up your folders on an external hard drive is highly recommended. Opt for a Solid State Drive (SSD) to store your images and footage. They have faster read/write speeds and are more durable.
Upon your return, don’t forget that Shutterstock would love to see contributor submissions.
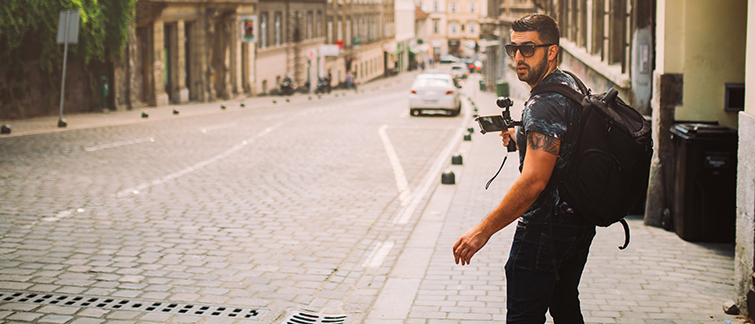
Backpacks, Cases, and Carry-Ons
Now that you have a rough idea of all the camera gear you need to travel with, it’s time to find the right bags for your shoot. The perfect bag is the one that is perfect for you.
Rolling bags will only be your friend in the airport. Oversize rolling bags and hard-shell cases will keep you gear safe in transport, but when it comes to working on location, portable camera bags are far more practical. Heavy cases will get your gear to another country, but they’re not always necessary when getting to a specific location.
Sling bags and messenger-style camera bags are great for those with a small amount of lightweight gear. If you will be wearing them for a long period of time, they can start to wear out your shoulders. For the best experience, consider an ergonomic backpack-style camera bag.
Camera backpacks are perfect for travelers, and they come in a variety of sizes. There are small bags for those with just a camera and a couple lenses, and there are heavy-duty backpacks that can carry several camera bodies, lenses, and gear. You can even clip on additional gear outside of large bags, like your tripod. These backpacks help keep you moving, so look for a bag that distributes weight evenly with nice, sturdy straps. Most backpacks will also meet the carry-on requirements for your flights.
For safety and security, inconspicuous bags are better, as thieves can easily spot tourists with expensive camera gear. Low-profile bags are the best for getting around unnoticed. Also consider removing any camera straps with brand names and placing gaff tape over the brand name on the camera body. There’s No need to draw extra attention to yourself.
For more tips and tricks on destination video, check out the The Explorer’s Guide to Travel Photography and Destination Video on Shutterstock.
I’d also recommend these articles on traveling with photo and video gear: