5 Time-Saving After Effects Tips for Motion Designers
There’s always something else to learn when creating motion graphics in After Effects. Here are 5 workflow tips to prove it.
Motion graphics are hard — I’ll admit it. This is especially true when you’re talking about using After Effects; there is just so much to learn and decode. Some animators spend their whole careers working with the program and still find themselves learning something new here and there. I love the MoGraph community because many animators who work at studios like Ordinary Folk, Buck, and The Mill are willing to let us peek inside their project files so we can learn a thing or two.
But they can’t give away all their secrets, so I’ve compiled 5 of the best tips that I have seen recently because I feel that they have changed the way I animate.
1. Adding a Grain Texture Animation to a layer.
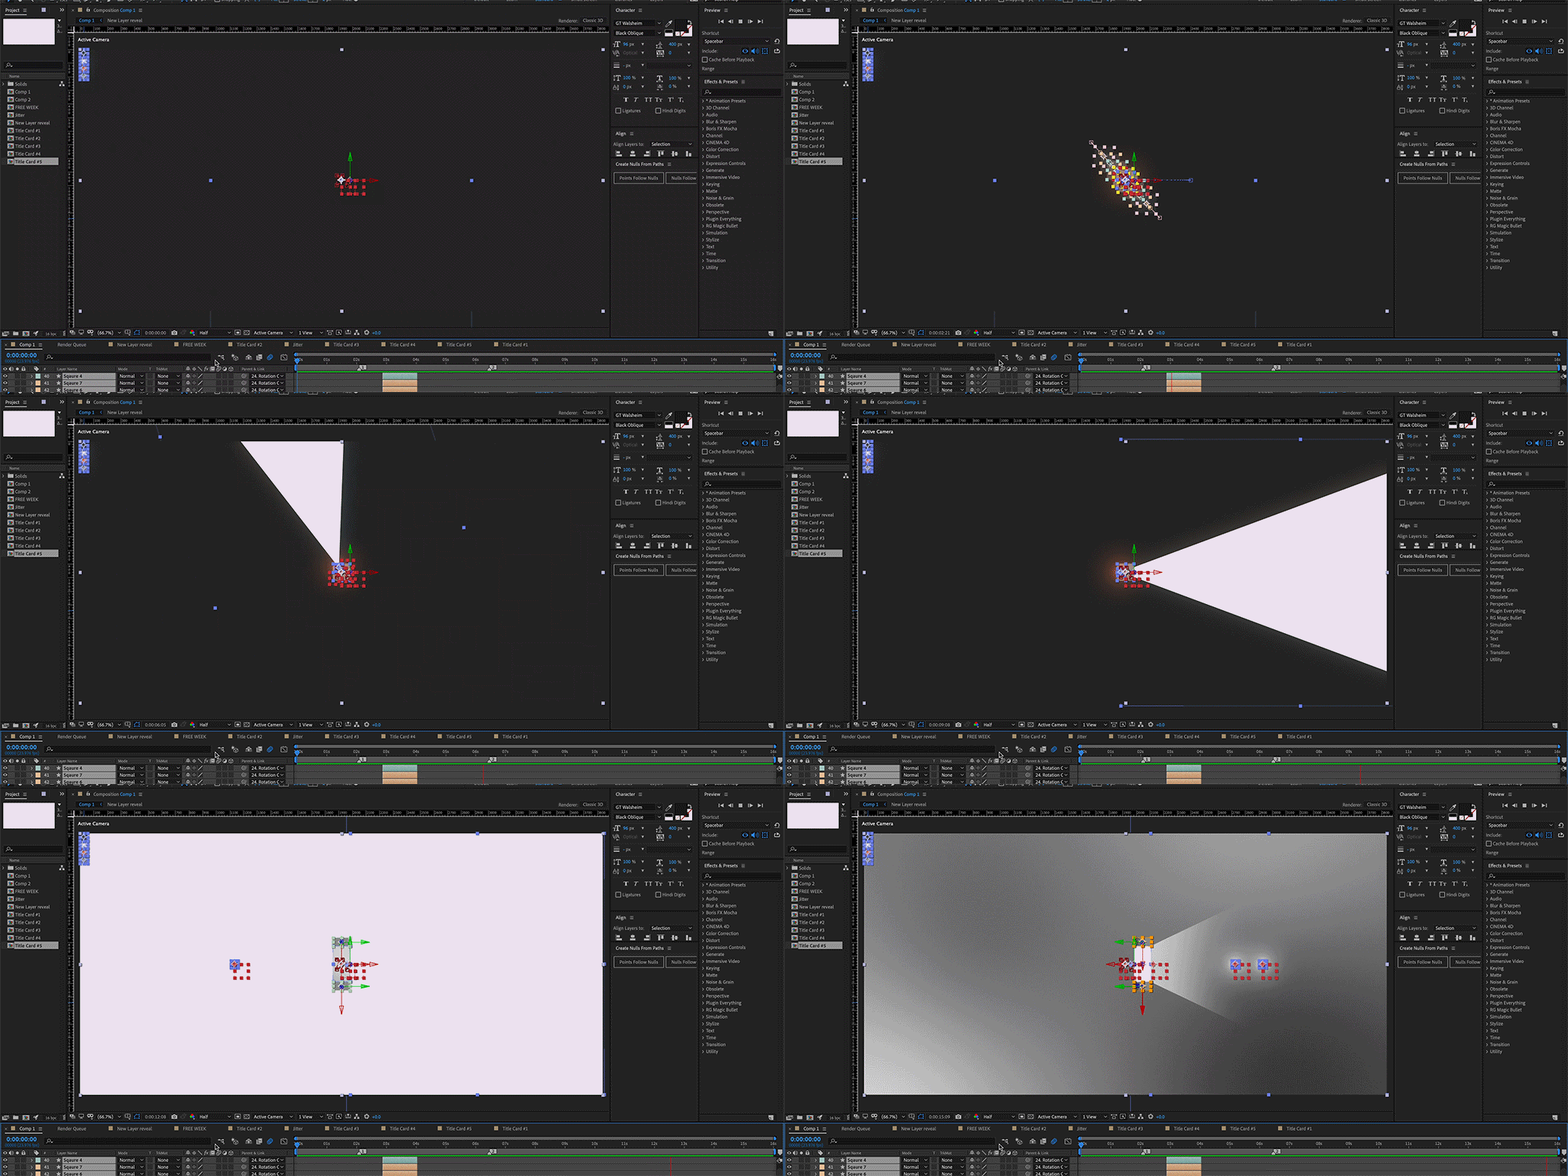
Grain textures really help bring animation to life, and they will help you avoid the digital 2D look you normally get from After Effects. The look is really simple to pull off. If you’re just starting out in After Effects, this will be a great way to learn how masks, blending modes, and parenting all work without getting too caught up in the noise. This look will not fit into every project, but it’s something to keep in the back of your head for the future.
2. Gradients and Expressions
All right: clear the floor — this is big news. No one ever told me that you can keyframe points on a gradient. Yes, I did see the stopwatch next to them, but it never occurred to me to click it. I just kind of left it there, and, honestly, it might have taken me a while to even discover this on my own.
What’s even better than keyframing a gradient? Adding an expression to it. I know, expressions are scary stuff, but please, stay clam. It’s a simple wiggle expression that, in my opinion, is a great introduction into the world of After Effects. When you add movement to a gradient, it adds a whole other dimension to your work — plus it makes it more visually engaging.
Go ahead and mess around with this idea. Who knows? You might discover something new.
3. Create Nulls from Paths
I always overlooked this script because I never knew what it did, and there is simply not much talk about it online. Now that I know its potential, I want to use it every time I open up a new project.
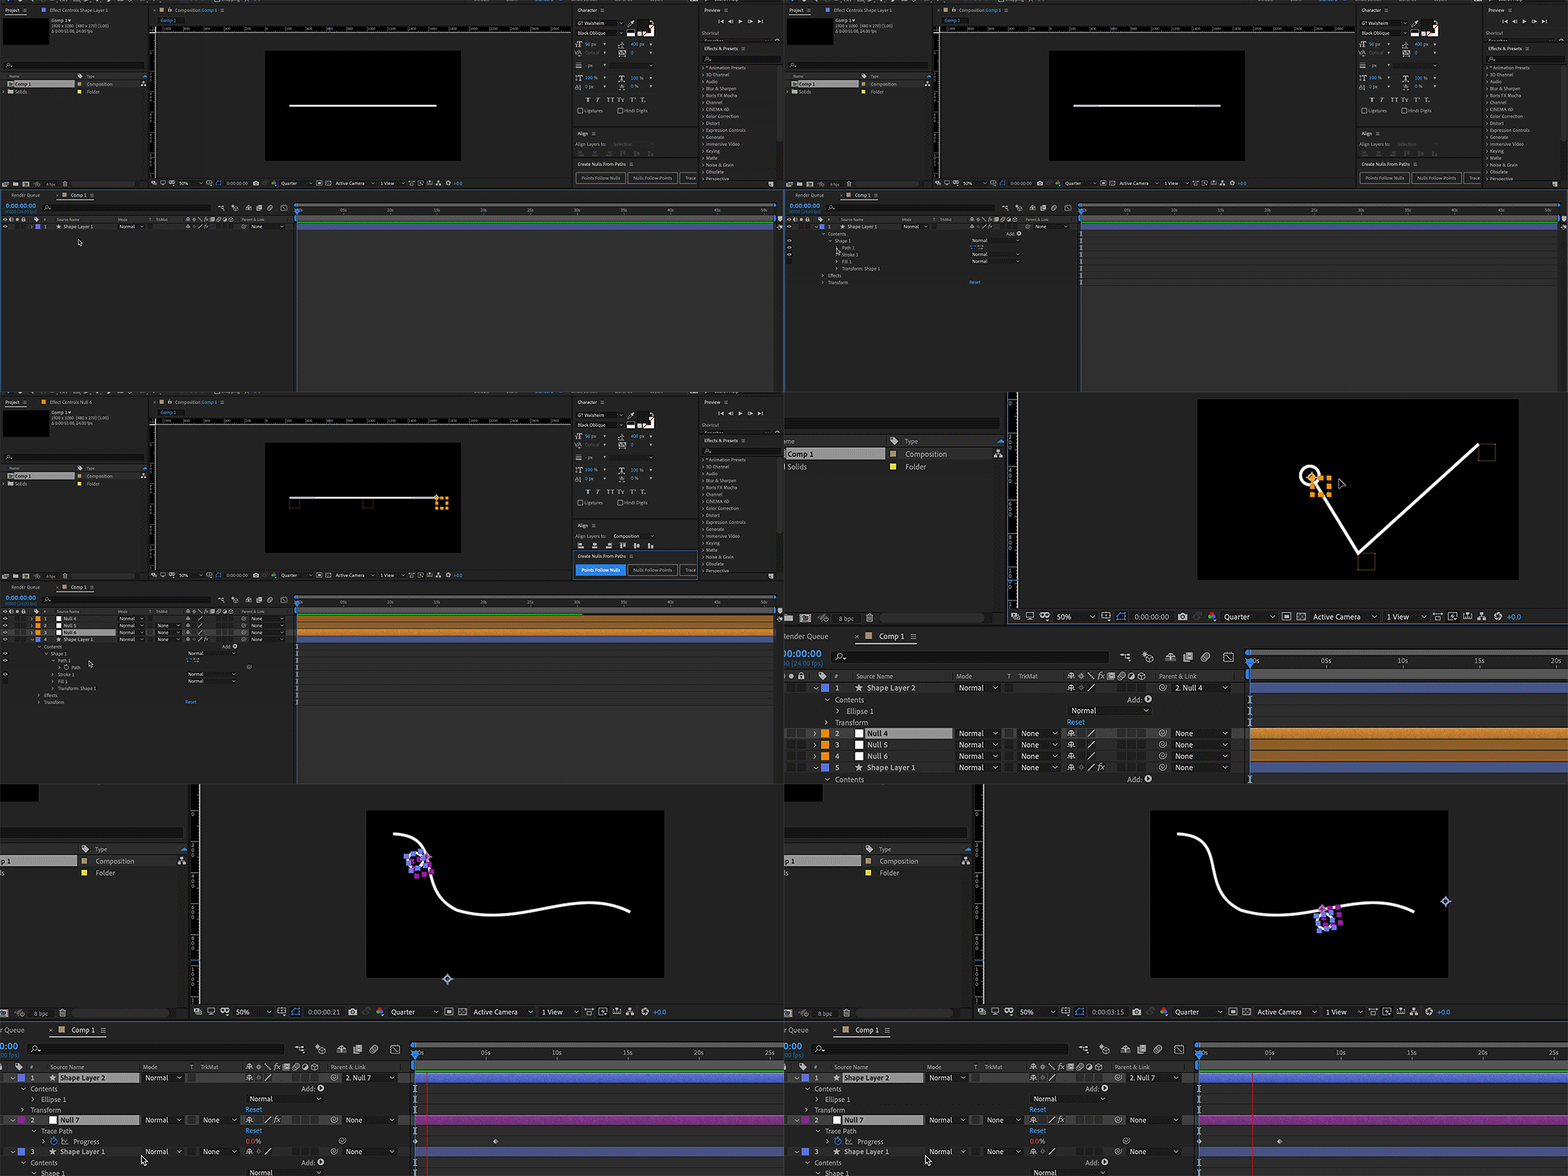
The script allows you to link points on a path to nulls or nulls to points on a path. It’s really helpful and time-saving to animate nulls instead of paths because path animations are usually frame by frame.
The third part of this script is that you can have a null trace a path. This is a much better way to have an object trace a path instead of copying and pasting the path property, then pasting it on the position of another layer. Go check this script out; it’s native in After Effects and has plenty of potential.
4. NULLS!
Nulls will be essential to your career if you are plan on pursing motion graphics professionally. They allow you to create animations that overlap; this is important if you want complex designs. In the animation at the beginning of the video, I used nulls to drive a lot of the movement. When the circle flies out of the square then flies again back across the screen, I used a null to start the flyback motion even before the circle finished its own movement. If you can’t figure out how to get the motion right without disrupting current keyframes, just link it to a null, and you’ll have much more breathing room.
5. Bevel and Emboss
This method of grain shading is quick and to the point. If you don’t want to deal with masks or duplicate layers, go ahead and use the layer style, Bevel and Emboss to add a grain texture. The downside to this is the grain will not move because the only blending mode available is dissolve instead of dancing dissolve. If that’s not a big deal to you, then you might have just found a quick solution to your shading problems.
After Effects is a big puzzle, so we have to piece it together. Having these tips in your back pocket allows you to complete the puzzle faster while also being creatively free. Keep learning so you’re not limited by the software — only by your creativity.
Interested in the tracks we used to make this video?
- “Celebrate the Occasion” by Vincent Tone
- “Set Us Free” by The Commandeers
- “Daytime Playtime” by GG Riggs
- “Bueno” by Mattijs Muller
- “Boom Bap Kid” by Sugar Beats
- “Little World” by Fugu Vibes
- “New York Vibes” by Sugar Beats
- “Keep in Memory” by Mocha Music
Looking for more on Adobe After Effects? Check out these articles.

