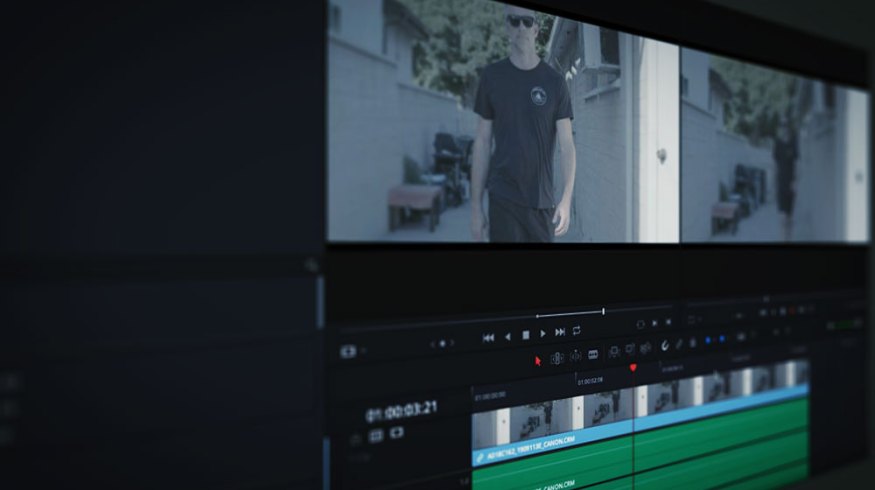
Working with Super Slow Motion in DaVinci Resolve
In this writeup, we’ll take a look at the slow motion dexterity of DaVinci Resolve 16 — as well as its proficiency and economic potential.
It seems like every time a new camera comes out, there are a litany of complaints — from amateur cinematographers — concerning the new product’s lack of sufficient slow motion capabilities.
The most quoted specification is 120 frames per second. Most cameras only go as high as 60 fps before they have to crop-in on the sensor or increase the compression. For example, the Canon C200 does 24fps as 12-bit RAW, 60fps in 10-bit RAW, but it drops all the way down to 8-bit 420 for 120fps. It isn’t pretty, and the compression is worse than most cell phones.
Using DaVinci
Using some fancy new AI, DaVinci Resolve 16 can take your 60p footage and slow it down significantly by guessing what would be in-between the missing frames. This is a lot cheaper than renting a specialist camera.
You need to first import for 60p footage into a 24p project. Before you drop it on the timeline, you’ll need to select Interpret Footage and tell Resolve to use it as 24p footage. Once you drop that part of your clip, you want to slow further. Select Change Speed from the contextual menu, and experiment with the settings. To get a 120p effect, reduce the speed by fifty percent.
Speed and Timing
The next step is to stay in the edit page and select the Speed and Timing tab. Instead of the default Project setting, set the retime process to Optical Flow and the Motion Estimation to Speed Warp.
You’ll need to reselect the part of the clip you want to slow down, since the retiming will tamper with the part that appears in the timeline. Once you’re happy with the selected area, render it out before doing any kind of color grade or editing. Unless you have a monster specked-out computer, it won’t play back in anything close to real time.
Import to Resolve
Once you’ve rendered the clip out, import it back into Resolve, and you’ll have super-slow, smooth, 120p footage. This method works best when the movement itself isn’t too dramatic. If the object moves too fast, the optical flow will have a hard time guessing the missing pixels.
Top image by Vasyl Shulga.
Interested in the tracks we used to make this video?
- “Uplifting Summer” by ArtMaks
- “This Ones On Me” by Luciano Music Co.
- “Seeking Our Dreams” by Vincent Tone
- “Near Future” by Trending Music
Want more tips for editing with DaVinci? Check these out.
- How to Upload to YouTube Directly from DaVinci Resolve 16
- NLE Showdown: DaVinci Resolve vs. Adobe Premiere Pro — Text Effects
- How to Make an Object Disappear Using DaVinci Resolve
- Harnessing The Power of Facial Refinement in DaVinci Resolve
- Learn How to Fix a Variable ND Filter Vignette in DaVinci Resolve


