
Working with Different Frame Rates in the Same File in Resolve

So you need two clips from the same video file at different frame rates in your DaVinci Resolve timeline? No problem — here’s how you do it.
I would be hard-pressed to admit that I don’t love Resolve — because I do. It’s been a pleasure to watch it grow from “just” color-grading software to a leading NLE. However, every so often, I come across a feature that doesn’t like to respond to my request, which feels like your favorite dog chewing up a prized possession.
Recently, that feature was jumping between different frames per second on the same clip. Although, to defend Resolve, this was perhaps due to me not knowing what I was doing wrong. I had a 60fps video clip, which I duplicated in the timeline, and I intended to change the duplicate clip to 24fps to ensure slow-motion and keep the original at 60fps — one clip in real time, another in slow-motion. The problem was that even though I had duplicated the clip, when I changed the attributes of one clip to 24fps, the other clip also changed to 24fps.

So, let’s look at what’s going on in Resolve to see why this is happening.
First, let’s look at how you can change a video clip at a higher frame rate to a lower frame rate to achieve slow motion.
The shot was from the URSA Mini 4.6K, filmed at 60fps. I didn’t use the speed ramp feature on the camera, so I need to change the frame rate of the clip in the software. To do this, you need to right-click a media clip in the media pool (or timeline) and open the clip attributes.

From here, you change the frame rate to match your project settings.

Adjusting the clip’s internal frame rate from 60fps to 24fps makes the clip 40 percent slower. I would also like the footage to appear again, but in real time. Of course, we’re rendering out 60fps on a 24fps timeline, but the client has cleared the slight discrepancy with motion blur and movement. However, as I said before, when I change the second clip, both clips change, despite being a duplicate. The problem I’m encountering is that I’m changing the base attributes of the clip that exist within the media pool.

Both clip one and clip two, in the timeline, are generated from the media with a red outline in the media pool. It doesn’t matter if I change the clip attributes on the timeline or in the media pool because the effects are applied to the base clip in the media pool, which then affects any tracks and clips where the media has been inserted.
Thankfully, there are two options for getting different frame rates from the same clip.
Adjust the Speed Percentage of Clip Two
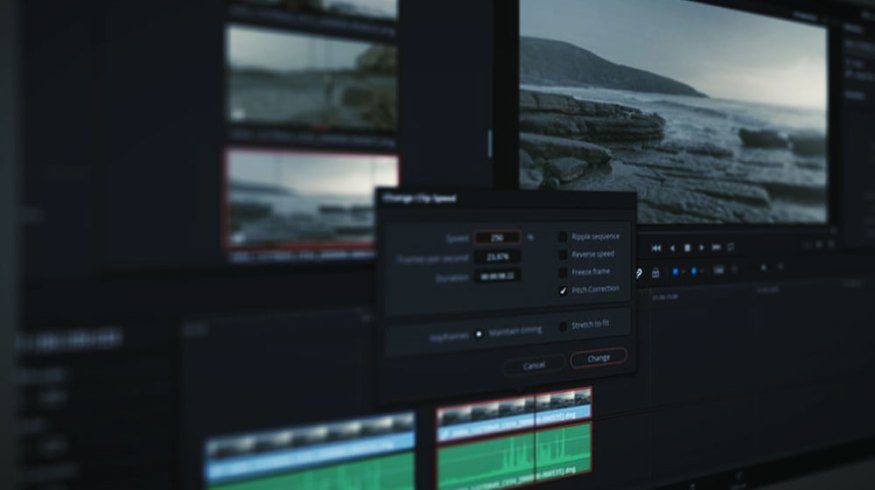
First, adjust the clip attributes of the 60fps clip to 24fps, so you have two 24fps clips. With the clip that needs to be reverted to real-time, I would need to increase the clip speed 250 percent. Now, Resolve offers many methods for increasing the speed of a clip, and I’ve already written all the information you need on that here, but it can be as simple as working out the math, right-clicking, and selecting “change speed.”

Duplicated Base Clips
Alternatively, if math wasn’t a strong point for you in school and you would prefer not to mess around with the speed change controls every time you want to edit this clip, there’s another option. Instead, we can duplicate the clip in the media pool or create a sub-clip, then change the clip attributes of the duplicated media.
At first, it may feel like we’ve done the same thing as before, but we haven’t. The difference in duplicating the media in the media pool is that we are changing the frames per second of an entirely new base clip, not a duplicate of a timeline clip. I understand that this may seem confusing because it’s the one individual media file on your desktop that is used. But after you duplicate the 60fps file in the media pool, Resolve now recognizes this as an entirely different clip.

This method also works when creating a sub-clip, which can be beneficial if you want to avoid editing the excess footage a second time. Since you’re editing duplicated clips of duplicated files, it can quickly become confusing. I would suggest appropriately naming the clips in the media pool to avoid becoming overwhelmed when editing on the timeline.
Looking for more on DaVinci Resolve? Check out these articles.


