
Creative Uses for Bokeh Overlays + Free Prism Bokeh Pack
In this video tutorial, learn some creative new ways to use RocketStock’s FREE Prism Bokeh Overlays pack in Premiere Pro!
RocketStock recently released a new freebie pack — 35 Free Prism Bokeh Overlay Effects. In this tutorial, we’ll look at all the different creative ways we can use these bokeh overlays in Premiere Pro. (Don’t have Premiere Pro? Don’t worry, you can use any video editor.) All of the bokeh overlays are 4K, filmed in-camera, using real glass prisms for natural results.
Ready to check it all out? Let’s get started!
Blending Modes
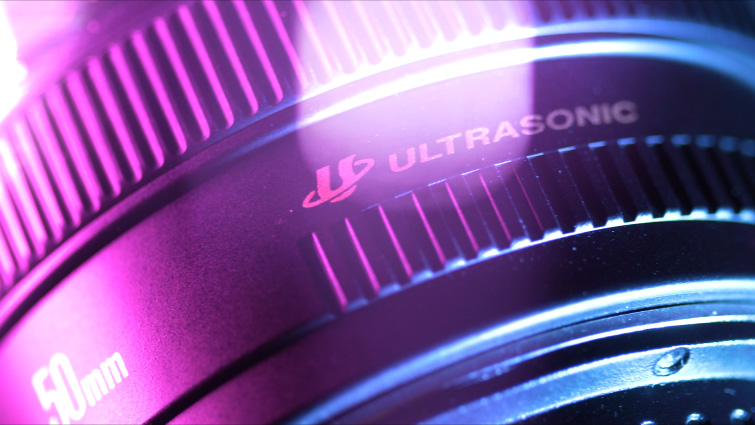
You can use various blending modes to overlay these bokeh effects over your footage. First, add your footage to a sequence, then add one of the bokeh overlays above your footage. Select the bokeh overlay, and then navigate to the Effect Controls for that clip. Under the Opacity section, you will see Blend Mode. You can experiment with different blending modes, but the two most common are Screen and Linear Dodge (Add).
Good Uses for Bokeh Overlays
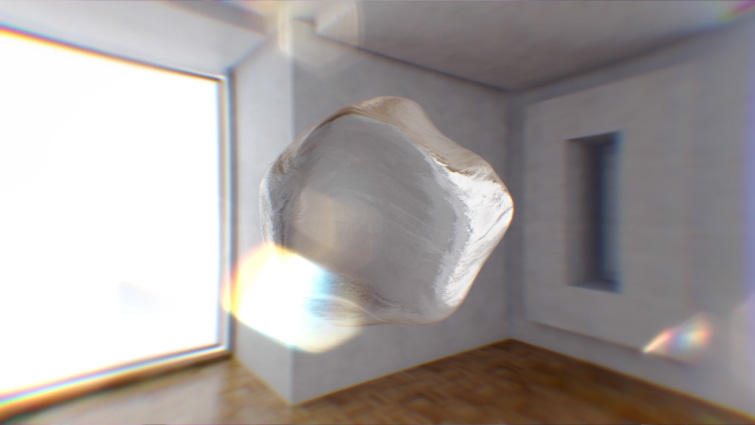
Traditionally, you will see bokeh overlays associated with luxury products, such as jewelry, high-end cars, or beauty products. (They work really well over product shots with a shallow depth of field.) The bokeh overlays will show up best on footage with a darker background, but you can also use them on daylight exterior footage. This works similar to a lens flare effect.
Other great uses would be overlaying them on motion graphics to add some realism, or over slideshow images for some secondary movement.
Changing the Color
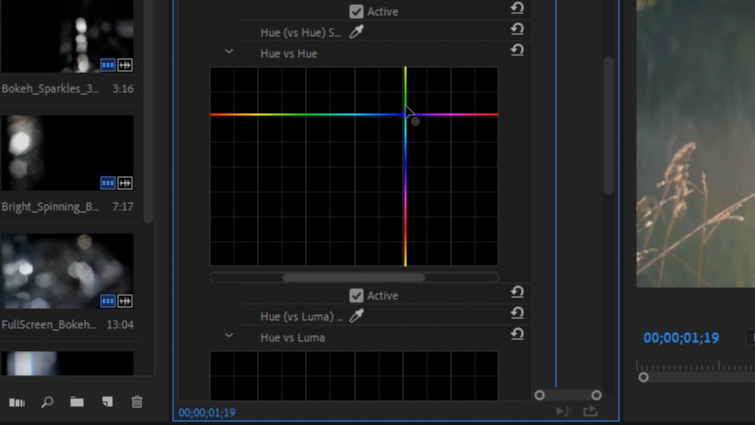
You can easily change the color of the bokeh overlays using the Lumetri Color effect. Apply Lumetri Color, then navigate to the Curves options, and find Hue vs. Hue. Move the Hue vs. Hue curve up and down to offset the hue color for the bokeh overlay.
Create Light Leak Effects
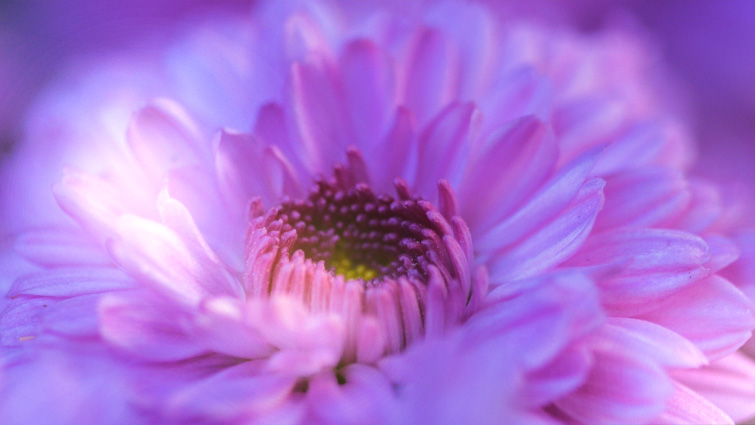
You can blur the bokeh overlays with a Gaussian Blur effect to simulate the look of light leaks on your footage. After you apply Gaussian Blur to a bokeh overlay, set the blurriness to 1,000 and set the blending mode to Linear Dodge (Add). Next, add a Noise effect and set the Amount of Noise to 4%. This will help break up any unwanted color banding.
Simulate a Rack Focus Effect
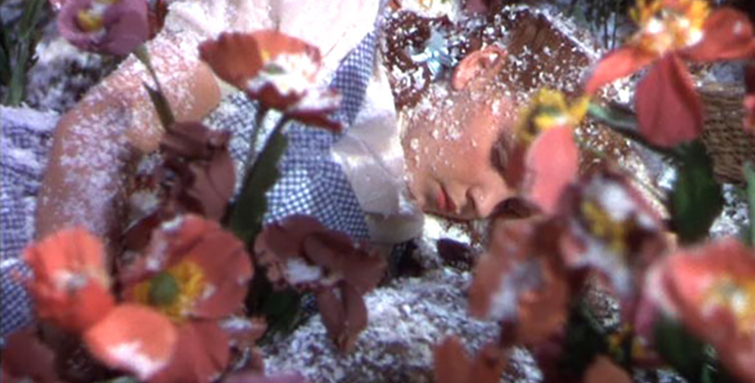
In order to simulate a rack focus effect, first apply the Camera Blur effect to your footage and to a bokeh overlay above your footage. Reset the Camera Blur values to 0 for both clips. Next, on the bokeh clip, keyframe the Camera Blur from 0 to 40, over a few seconds. Now, on the footage clip, add keyframes at the exact same time-locations as the bokeh overlay. Invert the values on the footage clip, so the Camera Blur starts at 40 and stops at 0. You can then set all of the keyframes to Bezier to smooth them out.
Track Matte Text Effects
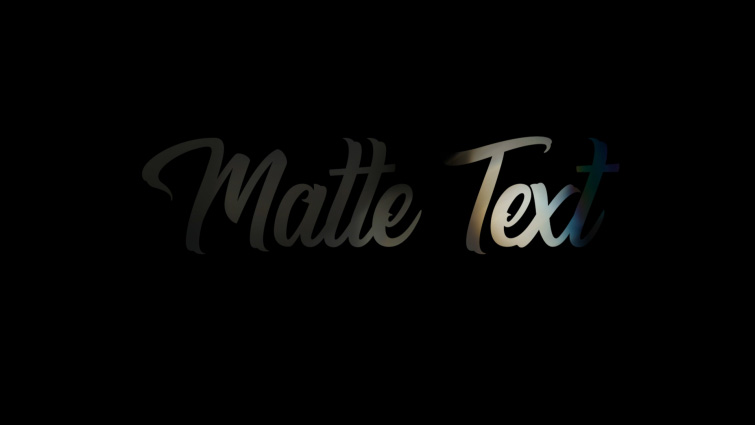
You can track matte the bokeh overlays over text for some unique looks. Add a bokeh overlay to your sequence on video track 1. Next, add your text to video track 2 — directly above the bokeh overlay. Apply the effect Track Matte Key to the bokeh overlay clip. In the Effect Controls panel, find the Track Matte Key effect on the bokeh overlay, and set the Matte to Video 2.
Track Matte Footage for Double Exposure Effects

You can also use the Track Matte Key effect to create some cool “double exposure” bokeh looks. Add different footage clips to video track 1 and video track 2 (one directly above the other.) Next, add a bokeh overlay onto video track 3, above the other clips. Apply the Track Matte Key effect to the clip on video track 2. In the Effect Controls panel, find the Track Matte Key effect and set the Matte to Video 3. Finally, change the Composite Using option to Matte Luma.
Interested in the tracks we used to make this video?
- “Dark Swag” by Tiny Music
- “Playful Groove” by Cymatix
- “Summer Midnight” by Ethan Rank
- “State of Flux” by Ethan Rank
Looking for more video production tutorials? Check these out.


