Video Tutorial: Improving Your Time-lapse Workflow for the GH5
In this tutorial, we’ll cover the basic workflow for capturing and ingesting GH5 time-lapse photo sequences into Lightroom, and exporting a graded .MOV for editing and final color in Premiere.
Note: This time-lapse tutorial is based on GH5 Firmware update v. 2.4.
One of the most exciting features of the GH5 and the GH5s is the ability to shoot raw, high-resolution time-lapses in-camera without additional gear or software. The GH5’s no-nonsense time-lapse menu is intuitive, and the photo sequences are easy to work with in post.
In this tutorial, we’ll be talking specifically the mechanics and function of the GH5’s time-lapse feature.
To begin, make sure that your GH5 is turned on and that you have at least one SD card in the camera’s media slot (you can find a list of Panasonic’s recommended SD cards here).
Step 1: Date and Time

First of all, check your date and time settings before recording. This will be useful in determining the duration of your time-lapse. You can set the camera’s date and time by navigating to Menu/Set > Setup (wrench icon) > Clock Set.
Step 2: Shooting Mode

The camera’s mode dial (larger dial) should be set according to your shooting preference; however, the camera’s Manual Mode (M) will give you the greatest flexibility in setting proper exposure and shutter speed. If you plan on shooting time-lapses often, consider using one of the GH5’s custom modes (C1, C2, C3). This mode allows you to create a preset configuration for your camera, and it can be useful in situations when you need to quickly start a time-lapse.
Step 3: Aspect Ratio, Compression, and Gamma Settings

Before configuring your camera’s time-lapse settings, you’ll need to set your desired aspect ratio, picture size, compression, and gamma. You can access these settings by navigating to Menu/Set > REC (camera icon). Here are the recommended settings for shooting time-lapses with your GH5:
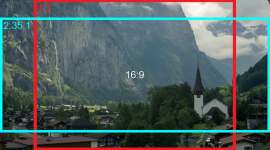
- Aspect Ratio: 4:3 (you can crop this to 16:9 in post).
- Picture Size: L 20M if shooting jpegs. However, if shooting raw (recommended), this option will be greyed out.
- Quality (compression): raw
- Photo Style: V-LogL (must have the V-LogL activation; firmware update 2.4 allows you to shoot photos with V-LogL photo style; this is highly recommended for grading in post).
Step 4: Shooting Interval and Image Count

After configuring your photo settings, set the drive mode dial (smaller dial) to the time-lapse icon.
Once set, the time-lapse menu icon will automatically appear in the top-right quadrant of your camera’s touch screen. Clicking directly on this icon will take you into the camera’s time-lapse menu. You can also navigate to this menu by hitting Menu/Set > REC (camera icon) > Time Lapse/Animation.

On this menu page, there are three settings that you’ll need to configure before shooting:
- Mode
- Start time
- Shooting interval and image count
In addition to time-lapses, the GH5 can also record stop motion animation. You can access those settings in this menu as well. For now, set the Mode to Time Lapse Shot.
In the Start Time menu, designate when you’d like the camera to begin capturing the photo sequence. You have two options: 1) Now, and 2) Start Time Set. With the Start Time setting set to Now, you can trigger the time-lapse by hitting the shutter button, and the photo sequence will begin immediately. If you want to designate a specific start time, you can do so by configuring these settings in the Start Time Set sub-menu.
With the time-lapse mode selected, and the start time setting configured, you’ll need to set your shooting interval and image count — this may require some experimentation. In general terms, slower-moving subjects like budding flowers or stars require a duration of at least 2 hours and a shooting interval of 20-30 seconds. Faster moving subjects, such as cars, waterfalls, or storm clouds require only a 10-30 minute duration and a shooting interval of 3-10 seconds.

With each change you make to the shooting interval and image count, the completion time of the time-lapse (displayed at the bottom of your touch screen) will update. Make sure that your date and time settings are accurate. This will help you determine the duration of your time-lapse.
Step 5: Begin Shooting
Finally, with your time-lapse settings configured, it’s time to start shooting. Exit the camera’s menu, set your shot, and press the shutter button.
Once the time-lapse has concluded, your GH5 will ask if you want to create an .mp4 file of your photo sequence. This is helpful for determining if you configured your time lapse settings accurately — or if your settings need adjusting and the time-lapse needs to be re-recorded.
Keep in mind that generating an .mp4 can take several minutes. Furthermore, the GH5 writes the .mp4 to your SD card, and as a result, eats up your SD card’s space.
If you’re shooting with an SDHC card, you cannot create an .mp4 with a file size exceeding 4GB. However, SDXC cards do allow .mp4s exceeding 4GB.
At this point, you’re ready to dump your time-lapse photo sequences and organize them for ingest and post-workflow.
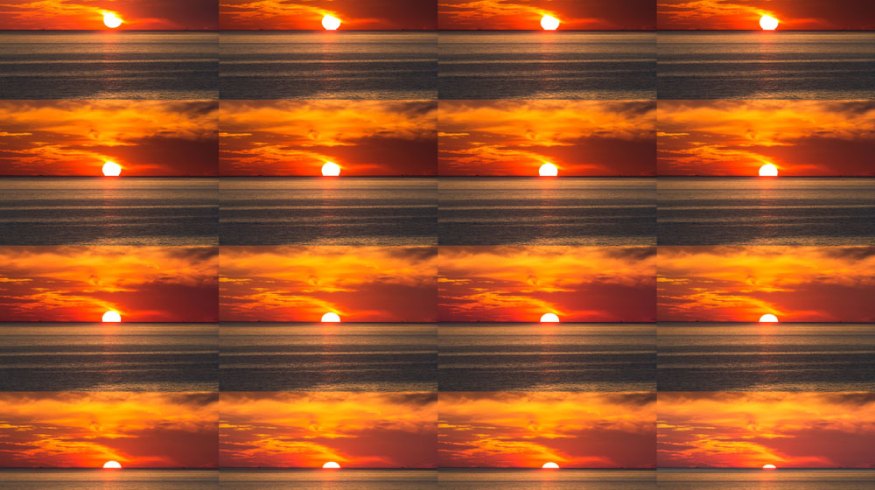
Cover image via wiratho.
Interested in the tracks we used to make this video?
- “Rise and Rhyme” by Eternity Bro
- “Weeknight Jammies” by Eternity Bro
- “The Speed of Life” by Vincent Tone
- “Telesto” by Bedlake
- “Midnight Coup” by Bedlake
- “All From You” by Simba Music
- “What You Got” by Luciano Music Co.
Looking for more video tutorials? Check these out.
- Video Tutorial: Create a Callout Graphic in Adobe After Effects
- Video Tutorial: How to Add Image Overlays to Premiere Pro Exports
- DaVinci Resolve 15 Video Crash Course — The Edit Tools
- Video Tutorial: How to Create Anime Speed Lines in After Effects
- Video Tutorial: Which Frame Rate Should You Be Using?