
Video Tutorial: How to Use Modulation After Effects Plugin
In this video tutorial, we’ll give you tips, tricks, and advice for using Modulation, a super-cool “waveform” After Effects plugin.
Today, we’re going to learn the ins and outs of using the After Effects plugin Modulation. We’ll cover all of the basics and dive into how you can use some top-secret tips and tricks to enhance the plugin’s “waveform” look.
What Is Modulation?
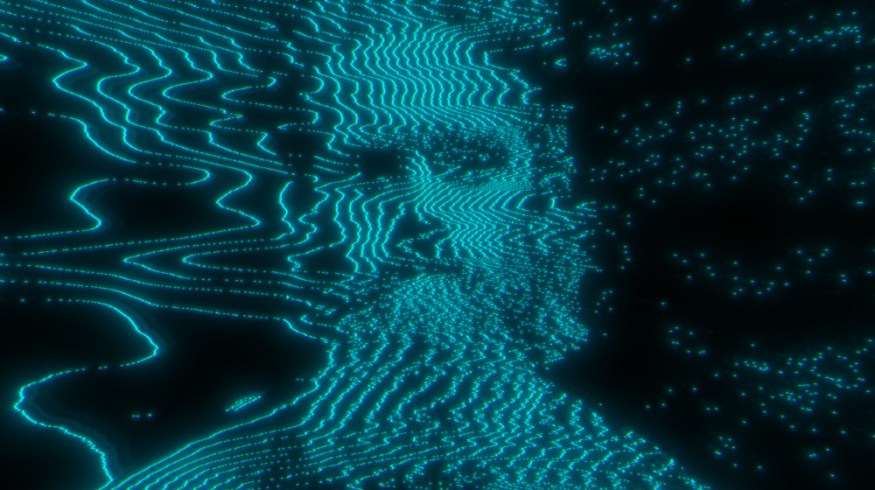
Modulation (created by Zaebects) is a third-party plugin for After Effects. It’s available to purchase on aescripts.com. Modulation creates a unique “waveform” effect on the footage you apply it to. The waves often look like a retro transmission signal. This makes the effect a cool base for various glitch effects.
I recently got a chance to use Modulation on some glitch effects created for Lewis McGregor‘s video project The Battle of The Solo Filmmaker.
The Basics of Using Modulation
Using the Modulation plugin is pretty straightforward. After you apply the effect to your clip, you can dial in how the “waves” look on your footage using the Omega, Phase, and Distortion settings.
While tweaking these, you’ll start to see different features of your original footage appear in the waves. You can also keyframe each of those settings to create an animation with the waves.
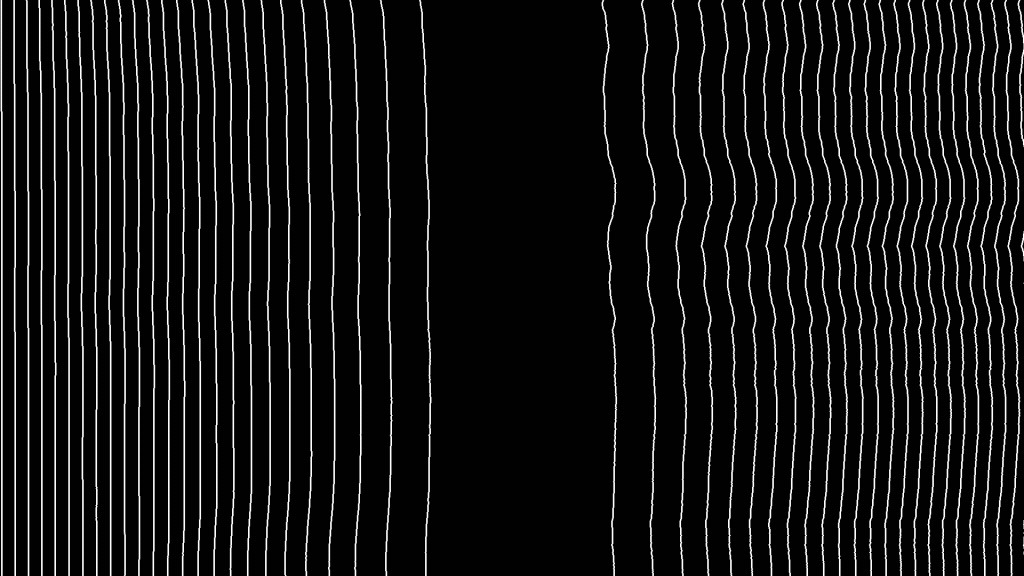
Additionally, you’ll have access to some secondary settings, such as wave Direction, Orientation, and Invert. You can also turn on different Lowpass levels to make the wave lines more visible.
Enhancing the Look
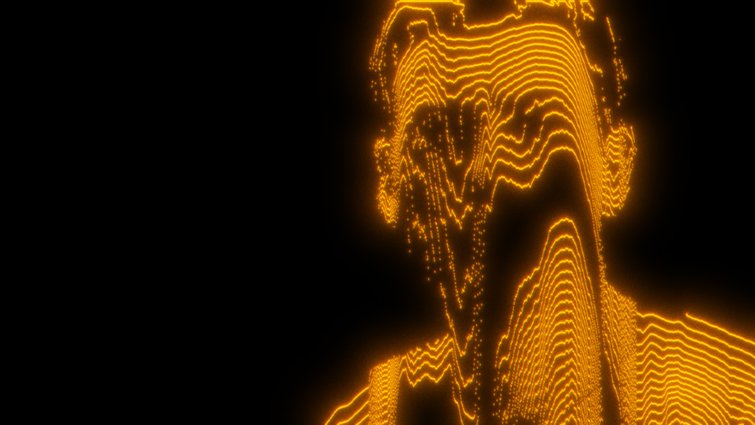
After you’ve dialed in the Modulation settings you want, you can further enhance the look of it with some effects. One of the easiest is the Tint effect. This will allow you to change the Map White To setting and permit you to select a different color, which will change the color of the Modulation wave lines.
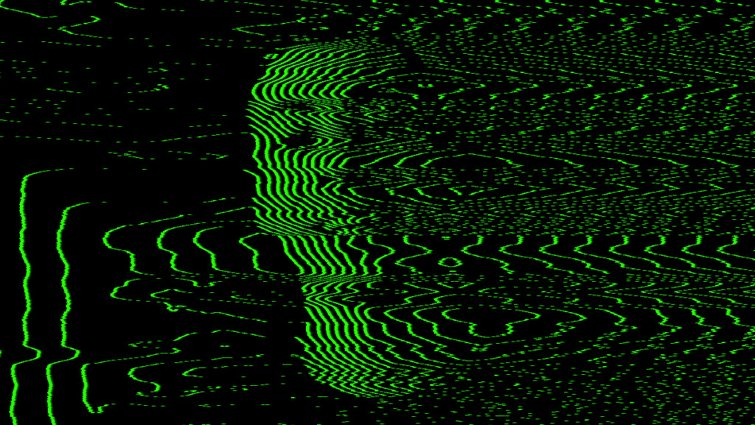
Next, you can apply a glow effect to create more of a neon or TV transmission look. If you use the default Glow in After Effects, I recommend stacking up multiple copies of the effect and gradually increasing the Glow Radius and Glow Intensity. Alternatively, you can get even better results using a glow plugin like Deep Glow.
Extra Tips and Tricks
Alright, if you’re looking for some extra (top-secret) ways to further enhance the look of Modulation, here are some things to try!
First, add some color fringing using the free effect Quick Chromatic Aberration 2. Second, try using Blur Maps with the Camera Lens Blur effect. This can create a look similar to that of a tilt-shift lens. I also highly recommend experimenting with the plugin Diopter for some fantastic results.

Next, try adding some film grain overlays on top of your footage. Shutterstock has a free pack of five film grain overlays that work perfectly! This will also help break up any color banding that might occur.
Finally, if you want to alter how Modulation looks on top of your footage or logo, try adding a Noise effect on the original footage. This can help displace the Modulation effect for more of a static look.
Interested in the royalty-free tracks we used to make this video? Give them another listen:
- “Stranger Things Among Us” by Julian Bell
- “True Encounters” by Cymatix
- “Lo Fi Abstract Chillhop” by Trending Music
- “Lo Fi Beach Dawn” by Trending Music
- “UX Paradise” by Tiny Music
And finally, here are a few more tips, tricks, and techniques you may find handy:


