How to Create a Watercolor Painting Look in After Effects
Learn how to make your video footage and images look like a lush watercolor painting. This After Effects tutorial includes a free preset. Dive in!
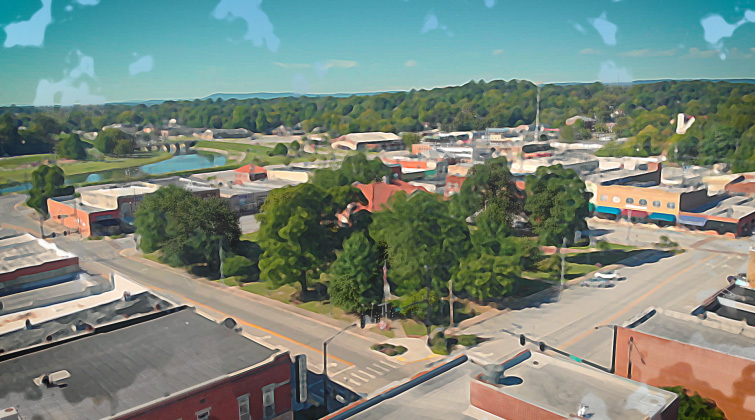
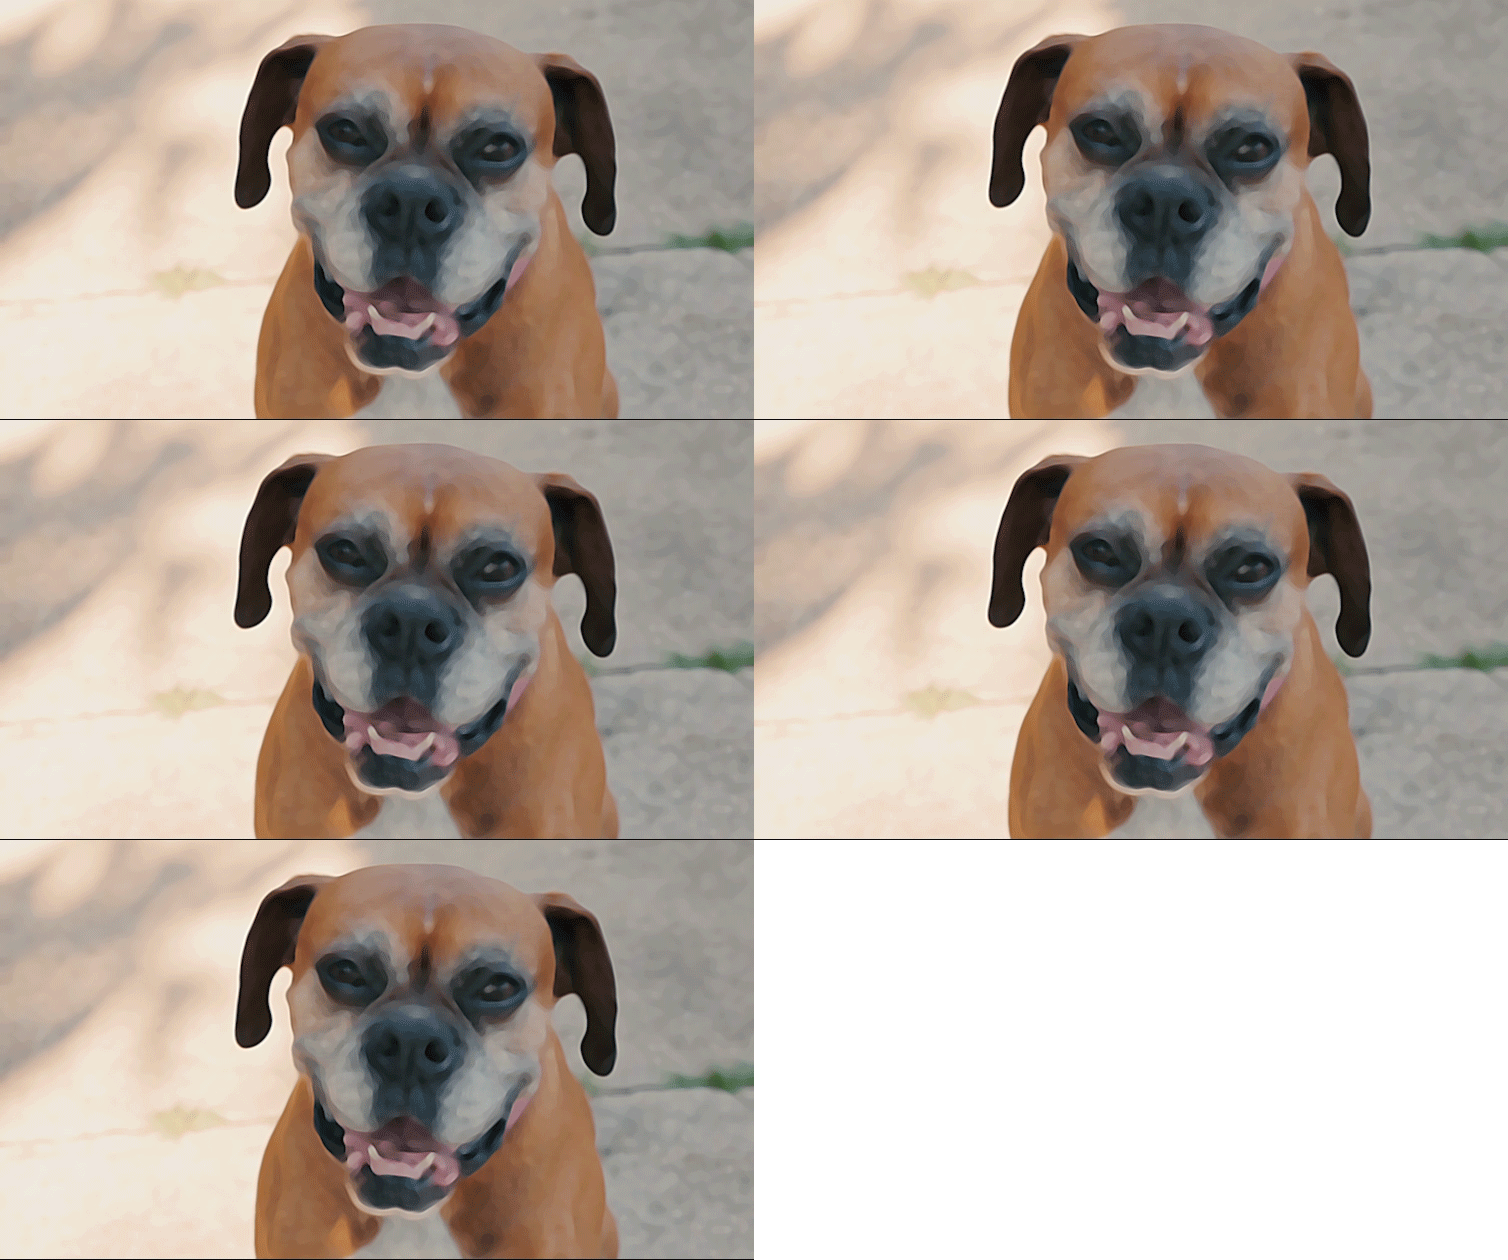
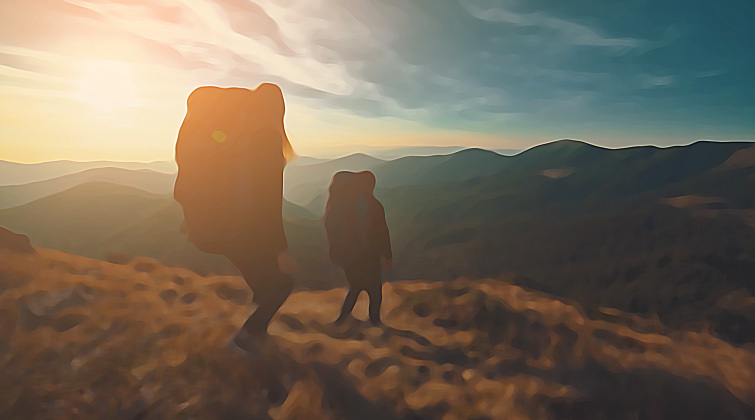
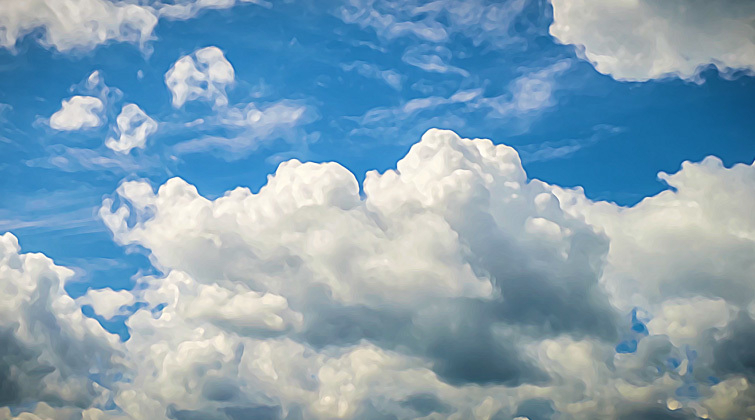
In this tutorial, we’ll learn how to create a gorgeous watercolor painting look on footage and images in After Effects. Everything will be done using the application’s built-in effects — no plugins required! We’ll also use the paint effect with transitions and add some stop-motion movement to the look. Ready to create some art? Let’s get started!
DOWNLOAD THE FREE PROJECT FILES
Creating the Watercolor Look in After Effects
Starting out, we first need to apply two effects to our footage. The first is CC RepeTile. Once you have it applied, set all of the Expand settings to 100 (expand right, left, up, and down). Set the Tiling setting to Unfold. This will prevent us from having any unwanted artifacts on the edge of our footage.
Next, apply the CC Vector Blur effect. We can use this effect to “smudge” our footage and give it some texture. Set the Type to Constant Length, then set the Amount to 10 and the Angle Offset to 90 degrees.
Dust & Scratches
The core of this look is the Dust & Scratches effect. (Who woulda thought?) The Dust & Scratches effect is intended to be used on older footage, to help remove blemishes. However, we’re going to use it to create a paint-like appearance.
Apply the Dust & Scratches effect on your footage and increase the Radius setting to 7. (I find that a value of 7 is a nice starting point, but feel free to set the Radius anywhere between 4 and 12, depending on your footage.) You should now see a lot of the fine details on your footage “melt” away.
Unsharp Mask
Right now, our footage looks a bit too soft for a painting. So, we need to sharpen up the paint strokes. To do this, apply the Unsharp Mask effect. Set the Amount to 400 and the Radius to 2. The paint strokes should now have a lot more definition to them. Feel free to adjust the Amount to a higher or lower value.
Making Adjustments
Depending on your subject and the size of your footage, you may want to tweak various values for a better look — the most important being the Radius setting on the Dust & Scratches effect. However, adjusting the Amount setting on the CC Vector Blur effect can also yield interesting results, giving the painting a different textured look.
I also recommend applying the Lumetri Color effect to your footage. It makes it easy to adjust color settings in one place, such as Contrast and Vibrance. You can also make creative adjustments using the Faded Film setting or adding a Vignette.
Transition Effects
The watercolor effect looks superb when you transition your footage from “normal” into the “watercolor” look. You can do this in a variety of ways. Included in the project file is a Paint Transition Luma Matte video clip. To use this, make two copies of your footage in your composition.

Now, transition your footage into the watercolor look with the Paint Transition Luma Matte video clip.
Apply the watercolor paint effect to the top copy, then add the Paint Transition Luma Matte video clip on top of everything. Set the Track Matte of the “painted” version of your footage to Luma Inverted Matte. When played back, you should now see your original footage transition over to the “painted” version.
Adding Stop-Motion Wiggle
Finally, let’s take a look at how to add a Stop-Motion Wiggle effect to the paint (commonly referred to as the Line Boil effect). First, create an Adjustment layer above all of your footage and apply the Turbulent Displace effect. Set the Amount to 10 and the Size to 20. Next, we need to add an expression to the Evolution setting. Hold Alt and click on the stopwatch icon next to Evolution (hold Option and click on Mac). For the expression, input random(359). This will give us a random Evolution value for every frame.

If left as-is, the stop-motion look will be a little hectic, since it’s changing every frame. I recommend applying the Posterize Time effect and setting the Frame Rate between 4 and 12. This will slow down how often the Turbulent Displace effect visibly changes, looking more like traditional Line Boil animation.
Interested in the royalty-free tracks we used to make this video? Give them another listen:
- “Lo Fi Waves” by Origami Pigeon
- “Lo Fi Beach Dawn” by Trending Music
- “Chilling in the West Indies” by Mattijs Muller
- “Influencers” by FASSounds
Looking for more After Effects action? We’ve got you covered:


