The Best Explanation of Dual (Native) ISO We’ve Seen Yet

The Dual ISO sensor is on the rise, and every major camera manufacturer has made one (or will very soon). What is it, though, and what does it mean?
In terms of new camera technology, there are a few areas that I feel are a bit over-blown in terms of importance (in my admittedly humble opinion). For me, the obsession with resolution is one of them. Resolution is tight, don’t get me wrong, but I’d rather have a standard 4K (or even 2K!) resolution camera that can shoot crystal clear video in low-light. Or perhaps a standard 4K resolution camera that has more options for frame-rates and codecs and better color science (hence my adoration of the Ursa Mini). What is the most important aspect of a digital cinema camera? That’s an ongoing debate.
However, to me, the best trend in camera technology I’ve seen in years is the advent of dual ISO (sometimes called “dual native ISO”). This means you have a camera with more versatility in various light environments, and more options in terms of exposure that you wouldn’t have previously had. The big question, however, is How does it work? Without this knowledge, you may be exposing your dual ISO sensor all wrong.
This video explains all of it much better than anything else I’ve seen.
Now, I don’t know about you, but I could watch stuff like this all day. In this 16-minute video, John P. Hess from Filmmaker IQ covers the entire gamut of the image sensor and the signal flow that creates your images, and he does it in a way you can understand — especially as it relates to ISO’s effect on dynamic range and light sensitivity of a sensor with dual ISO.
Many people are under the impression that ISO is the sensitivity of the sensor being changed in camera; however, it’s more about changing the amount of gain and amplification being applied to the analog signal created by light hitting the sensor itself. Think of it as a volume knob on a guitar amp. However, in the case of dual ISO, there is essentially a second and completely different volume knob, where the base volume is louder.
Confused yet?
How The Dual ISO Signal Flow Works
 ISO We've Seen Yet — Low ISO")
In the video, Hess explains that a standard signal uses gain by first running the signal through an analog amplifier, then passing it through an ADC (or Analog to Digital Converter), making it into a digital signal. At this point, the signal passes through a yet another digital gain amplifier. Then the signal finally gets recorded onto a codec, and then the image gets created.
 ISO We've Seen Yet — High ISO")
In the case of a dual ISO system, once you’ve engaged the higher ISO side, the signal gets diverted and passed through a more powerful amplifier before it gets converted by the ADC to digital. So, in turn, this creates a camera that is capable of exposing an image like two completely different cameras. The base ISO is different between the two systems.
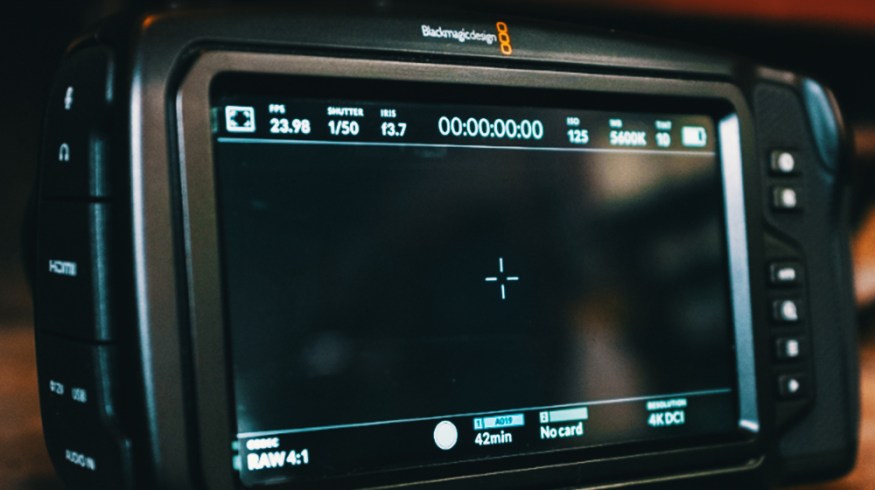
A very popular new camera release that includes one of these dual ISO systems is the Blackmagic Pocket Cinema Camera 4k — this camera switches to its higher ISO gain amplifier once the ISO gets switched from 1000 to 1250. In doing this, you’ll notice quite a few effects on the dynamic range and the noise of the images produced by the camera in various situations.
How Dual ISO Affects Dynamic Range
 ISO We've Seen Yet — Dynamic Range")
Changing ISO essentially shifts the amount of light that your camera sees as “middle gray.”
In the chart above, the middle line for each ISO setting represents the measurement for middle gray in that setting, and the area above and below the middle line represents the amount of dynamic range above and below that line. This gives you a measurement of the number of stops of dynamic range on the higher or lower end of the spectrum for each ISO setting.
So, for example, you can see that at ISO 100, there are only two stops of dynamic range above middle gray, and there are eleven stops below. Now, take a look at what happens when you go from 1000 to 1250 ISO (thus engaging the more powerful signal amplifier). You can see a jump in the floor and ceiling of the dynamic range on either end of the spectrum.
This is because you’re essentially engaging an entirely different set of ISO settings through a different signal path, which is optimized for lower-light shooting. This will give you a much lower noise floor for these higher ISOs than if you had kept using the same signal path like a standard camera without Dual ISO capabilities.
How Dual ISO Affects The Way You Shoot
 ISO We've Seen Yet — Shooting")
My first hands-on experience with Dual ISO was at last year’s NAB. There I was able to see some units of the Panasonic EVA1 (as well as their Varicam line of cameras). The EVA1 also includes Dual ISO, and I was amazed at what it could do. In the image above, the right side was what my iPhone was able to muster in a dimly lit environment, and the image on the left was what the camera captured. This blew my mind. However, Dual ISO can affect more than just the brightness of your image and what you can expose.
As you can see in the diagram above, there are many things to consider in terms of dynamic range.
 ISO We've Seen Yet — Stops")
First, Hess uses a low-lit night shot as an example. It’s kind of hard to tell from the image above (just watch the video), but in this example, the benefits of knowing how your sensor works become very clear. In the example, the image at 1000 ISO has an insane amount of noise; however, once you switch to 1250 and the new signal path engages, the image becomes squeaky clean.
Looking at the chart above, you can see that at 1000 ISO, there are only 7.8 stops below middle gray, but as soon as you set the ISO to 1250, then you gain over two more stops and a cleaner image.
 ISO We've Seen Yet — Cleaner Image")
In this example, Hess shows us a highly lit environment. There are some very key takeaways here.
Most of us would be inclined to leave our ISO as low as possible in order to get the cleanest image. However, if you look at the example, the image on the right (at ISO 125) can’t maintain many of the important parts of the image. This is because at 125 ISO, the sensor can only retain about 2.3 stops above middle gray. Inversely, if you set your camera to 1000 ISO, you get 5.3 stops above. This means you get all the detail in the clouds and highly lit environments.
So, you may find that with your sensor, in brighter environments you’ll get a better image with a higher ISO.
As much as I hate to plug an inferior and less-detailed video (with me in it), If you’d like some more info about ISO specifically and what it means, the video above offers a more general breakdown.
What does it all mean?
Generally speaking, you want to try to get the cleanest image you can with the most detail possible. This means shooting with the settings that will give you the highest dynamic range. So if you’re in a low-light environment, make sure you’re not shooting at a higher ISO on the lower side of the signal path (i.e. if you can’t expose for 400 ISO — or lower — then you should go ahead and switch to the higher ISO side of your sensor — in the case of the BMPCC4K that would be 1250). This will clean everything up and give you more shadow detail.
If you’re in a highly lit environment, using a higher ISO will give you more detail in the highlights, until you switch to the higher side of the ISO signal path (again, 1250 for the BMPCC4K).
Still confused? Just watch the video a few more times; I promise it will click.
Looking for more cinematography tips and tricks? Check these out.