
4 Beginner Tips: How to Improve Sound on Your Next Video

Is there anything worse than recording bad audio? Check out four microphone tips guaranteed to dramatically improve your sound.
Mic positioning, why does it matter? Surely if there’s a microphone somewhere nearby, that’ll be okay. After all, I can hear the dialogue just fine!
But, with sound, is just fine sufficient enough? In most cases, no. Let’s cut out the noise and jump straight to the tips (see what I did there?).
1. Don’t Rely on the Cameras Built-In Microphone
Most cameras have an in-built microphone, and the sound quality is questionable at best. They sound tinny and low-quality, and (usually) you can hear more from behind the camera than in front of it!
They can be helpful as a backup in case of technical difficulties or as a last option for capturing ambient sounds. But for dialogue and high-quality audio, they don’t cut it.
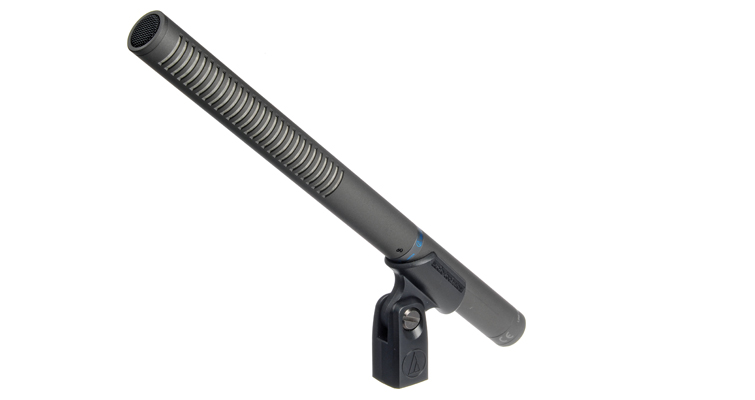
The first step you can take is to get an external microphone mounted on top of the camera, often known as a top-mic. There are plenty of options—depending on your budget—from many different manufacturers, including RØDE, Sennheiser, and AKG, to name just a few.
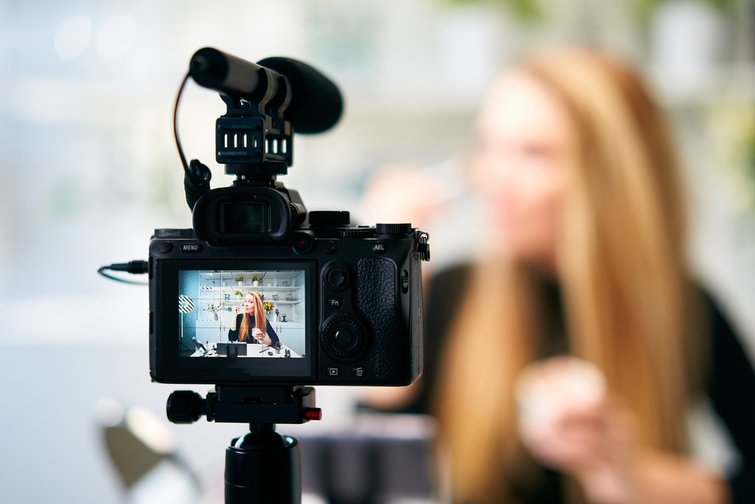
Make sure you get a microphone with a shotgun or super-cardioid polar pattern. Without getting too technical, the microphone will pick up sound from the front nicely while rejecting sounds from the side. They’re also sensitive to sounds from the rear, so bear this in mind when using.
Why is this important?
Well, it stands to reason that the subject you’re filming will be in front of the camera, so the microphone can “focus” on the sound directly in front while helping to reject unwanted sounds from the sides.
Microphones with a cardioid polar pattern pickup sound from a broader area in front and a little bit to the side of the microphone. While omnidirectional microphones pick up sound from all around the mic.
I’ve simplified this slightly, but you get the idea. Shotgun microphones mainly pick up sound from the front, helping to reduce unwanted sound in your recording.
Then, ensure you have a shock mount for the microphone so that any handling noise from the camera isn’t transferred to the mic as a low rumble. Make sure you also get some wind protection.
I’m sure you’ve watched plenty of videos that are plagued with wind noise, meaning you can barely hear anyone speaking in front of the camera. Even if you don’t think you’ll be doing any outdoor filming, it’s always worth having something in your kit bag just in case.
Now that you’re not relying on the camera’s in-built microphone, the next thing you can do to improve your sound is to detach the microphone from the camera and get it closer to the subject.

2. Move the Microphone Closer to the Source
While a top-mic is an improvement over the internal microphone on your camera, there’s more we can do to improve the sound quality at a minimal cost.
Let’s say, for example, you’re filming a sit-down interview, you position your camera about eight to ten feet away from your subject. The shot looks good, the lighting looks good, you’re all set. But remember, the top mic is a fair distance from the sound source.
While the recording will be better than if you were using the internal microphone, the sound may still sound distant, have background noise, and generally sound a bit odd. You’re not matching the epic quality of your shot.
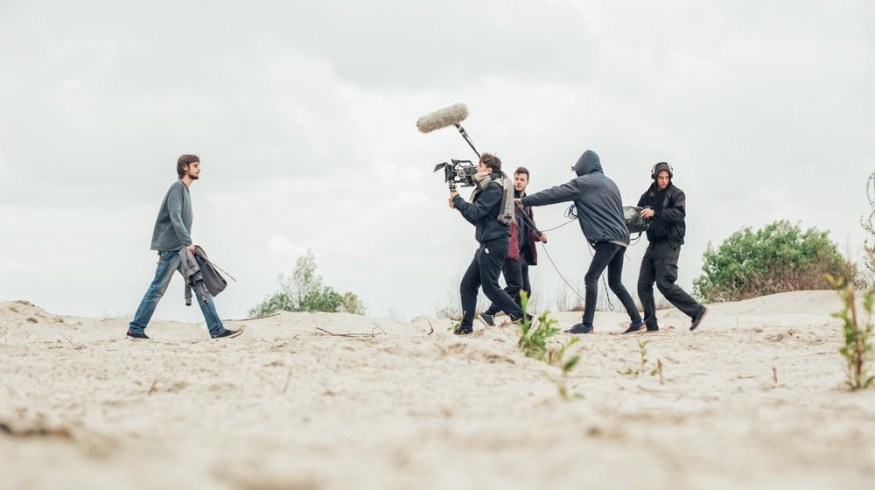
I’m sure you’ve seen boom operators, in behind-the-scenes footage, carefully placing the microphone close to the action using a boom pole. This is how you get the excellent sound quality we hear when watching TV series and films.
Now the budget for your shoot may not stretch to a whole sound team, but I’m proposing that you use similar principles on your shoot. And you have options.
Assume you’re running the microphone straight into the camera, with no external pre-amps, mixers, or recorders. I’ll get into why it’s a good idea to have a separate audio recorder another day, but for now, we’re on a budget and trying to improve our sound as quickly as possible.
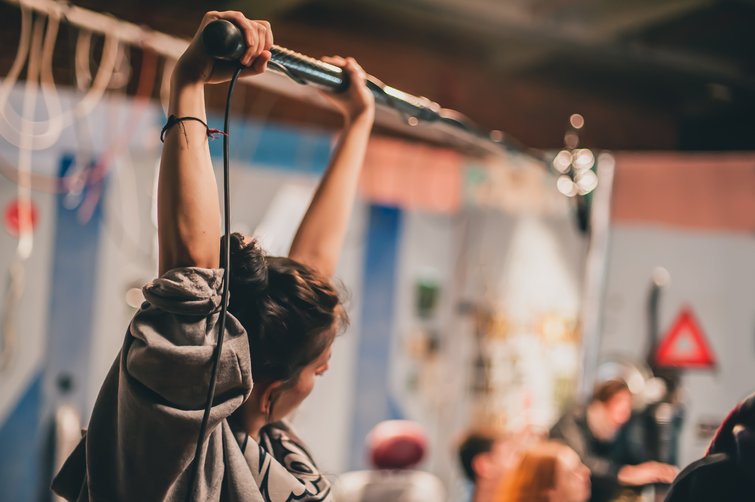
- Mount the mic on a boom pole: By placing your mic on the boom pole, you’re able to get the mic much closer to the subject while still staying out of frame. You can then cable the microphone into the camera’s audio input using whichever cable your mic needs.
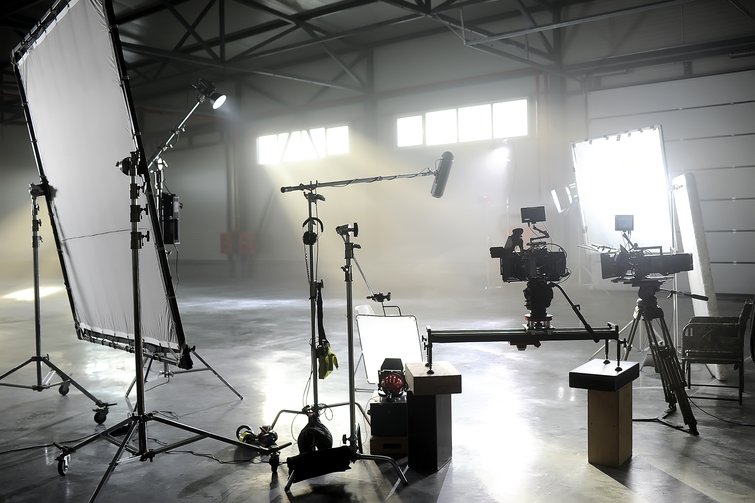
- Mount the mic on a stand: Swinging a boom pole may not be feasible if you’re operating alone. In this case, mounting the microphone on a stand is an excellent second option, and one I often use if recording a long sit-down interview. Providing the subject is static for the interview or dialogue, a stand will work, and you should be able to keep it out of shot. You could either use a traditional mic stand or use a C-stand. Of, pick up a device called a Boom Buddy, and use your boom pole on a fixed stand. This will allow you to get the mic closer and dramatically improve the sound quality.
Now you’ve got some ideas on how to get the microphone in closer. Where do you point the microphone?
3. Mic Positioning
It may seem obvious, but it’s always worth thinking about exactly where you’ll position and point the microphone. You can have the microphone set under or above the subject—both are often used depending on the shot and lighting. Your decision on this will be based on your setup on the day.
Regarding where to point the microphone, when I’m booming I aim to have the microphone pointing between the mouth and jaw, with the microphone at an angle and not vertical.
I often find that with a vertical microphone pointed directly at the mouth, you can quickly run the risk of “losing” the subject if they turn their head or move slightly. You give yourself a bit of a safety net by pointing the mic just under the mouth and at an angle if the subject starts to move.
You must use your ears on the day, and it’s essential to monitor your audio during the recording. By listening and making minor tweaks, you can save yourself a real headache in the edit.
4. Choose the Correct Microphone for the Job
For your first microphone, you’ll likely purchase a shotgun microphone as described above. After all, they’re great. They have the most flexibility as your only mic and will serve you well in your filming career.
There’s a loose “rule” that shotgun microphones aren’t optimal indoors due to the way they reject sound. But, this is dependent on the location and its characteristics. So, if you’re looking to buy only one microphone, I recommend a shotgun.
Something else to consider is using radio mics. I’m sure you’ve seen the clip-on mics used on news broadcasts and online videos. They take moving the mic closer to the subject to another level. And, because of this, they’re good at reducing unwanted ambient sounds.
This isn’t down to any special characteristic of the mic, but purely down to the mic’s proximity to the sound source versus the proximity to the unwanted sound. They may also provide you with a more straightforward setup if you can’t carry a lot of gear.

The RØDE Go, for example, is a minimal radio mic system that can fit in your pocket. With the RØDE Go, there’s no need for a separate lavalier mic as the units have a mic built-in.
However, I strongly advise purchasing a lavalier mic to use with them, such as the Lavalier Go. This will improve the sound quality and make your productions look more professional by giving you the ability to hide the microphone under the subject’s clothing.
Charles also has this really fun video on the PremiumBeat channel that explores the sound from five different mics, and if you can tell the difference between them. I think you would benefit from watching—or listening—to the video to hear the differences.
Need more gear tips, tricks, and reviews? We’ve got you covered:
- The R5 vs. R5 C vs. C70: Comparing Canon’s (Very) Similar Cameras
- Cinematic Tips: Shooting 35mm with the Filmmakers of “Wake”
- Selling Expensive Gear Online? Resale Outlets May Be Your Friend
- Say Goodbye to the Canon DSLR
- YouTubers Behold: The New Nikon Z9 (And Why It Doesn’t Really Matter)
Cover image via guruXOX.