Tips on Lighting Day for Night Interiors
Day for night interiors can be tough. However, with the right approach, you can sell the effect by controlling, shaping, and cutting out the daylight.
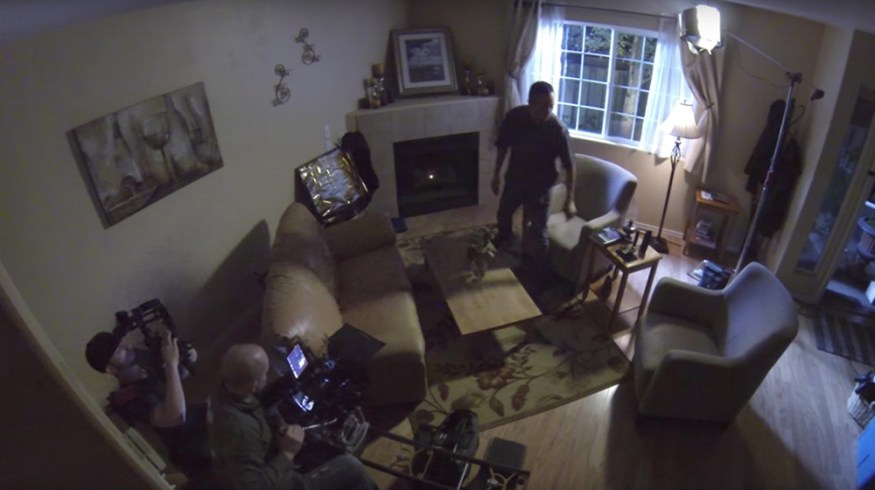
Cover image via Indie Cinema Academy.
Understand Your Light Source
We always hear about day for night exteriors but hardly ever day for night interiors. The first thing to understand when lighting any type of night scene is your main light source — in this case, it’s the moon. You’ll also have many practical sources in the room. However, to give a little lift to the scene, you’ll still want to push some moonlight through a window.
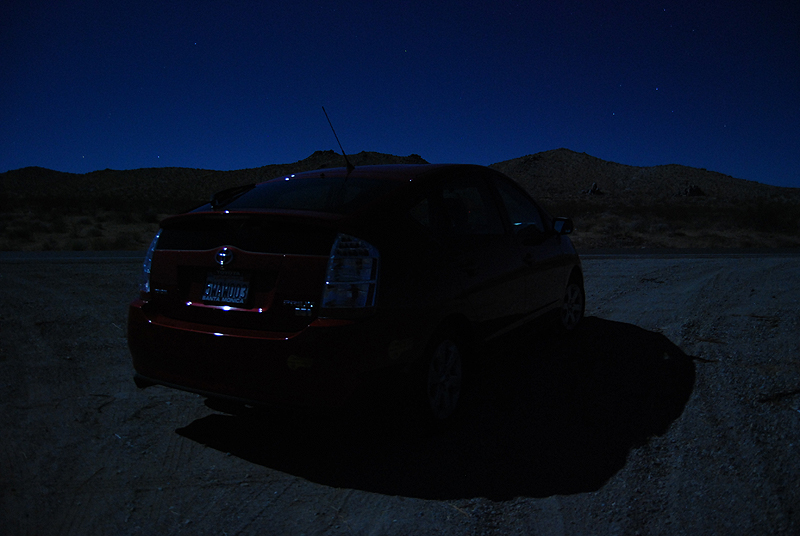
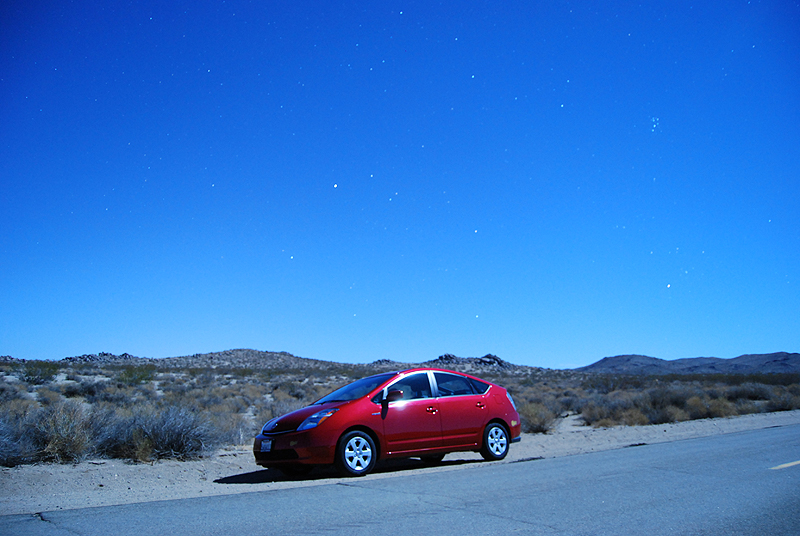
Many people think that the moon is a soft source because it is dim. However, the moon is actually a hard source and casts a hard shadow. You can see this illustrated in photos by David Mullen, ASC. He took these photos at night at a high ISO to demonstrate the light quality of moonlight.
When lighting a night scene, interior or exterior, it’s always wise to rely on your harder light sources like your pars or spotted fresnels. Using these sources, you can easily imitate the quality of light of the moon and create those harsh shadows.
Controlling the Ambient Daylight
Once you control the ambient daylight spilling into a room, it almost becomes a studio-like setting. You have complete control of the lighting in a room.
When filming a day for night interior, ambient daylight spilling through the windows can be a problem. It’s wise to control it by knocking out all ambient light that’s spilling through windows, doorways, etc. You really want to get this room as dark as you possibly can. The best way to do this is to wrap a window using duvetyne or as many solid black flags as you have.
If you’re going to push moonlight through a window, you can easily make a tent in that area with your duvetyne and allow room to place a light.
The video below by Indie Cinema Academy is shot at night. However, once you flag off all ambient daylight, the same principles will apply.
Also, be sure to avoid rooms with white walls. Once you start pushing in your moonlight, the white walls will behave like giant reflectors and start pushing your light in all sorts of directions. From that point, it will be difficult to sell the night effect.
Exposure
Exposure is a key component when filming any night scene. To really sell the effect, it is wise to underexpose your subject by 2-3 stops. Creating this darkness for the subject will create an evening effect. In this situation, be sure to keep an eye on your shadows so they don’t fall into complete black. You’ll still want detail in there.
Color Temperature
Color temperature plays a huge role in selling the effect of moonlight in a night scene. Moonlight is a very blue light source. This is much different than the 3200K practicals in most interiors, and this actually works out to your advantage. If you’re using an HMI light, which are roughly 5600K, you can achieve this moonlight effect by placing your HMI through a window and changing the white balance on your camera to 3200K. You can then use 1/2 CTO on the light to warm it up slightly but still maintain a blue color. This white balance will make the light blue, creating a moonlight effect. Then, if you have a practical source in the interior, like a lamp, you can keep a warm tungsten bulb in and base all of your interior lighting on a 3200K source.
Have you shot any day for night interior scenes? Let us know in the comments.
Looking for more information on day for night shooting? Check out these resources.


