Speed up Your Editing with a Keyboard-Only Workflow in Premiere
Want to speed up your editing in Premiere Pro? Move to a keyboard-only workflow and improve your editing speed by 20%.
Most people use a keyboard and mouse to edit in Premiere Pro. This is natural since, by and large, most tasks require both. There are, of course, other control devices, such as the touch pad and Wacom tablet.
Personally, I started with a mouse, moved to a Wacom tablet, and finally ended up adopting keyboard-only editing. If you’re ready to make the switch to a more efficient workflow, here are the steps I took to do it and some of the benefits I encountered along the way.
Wacom Tablets
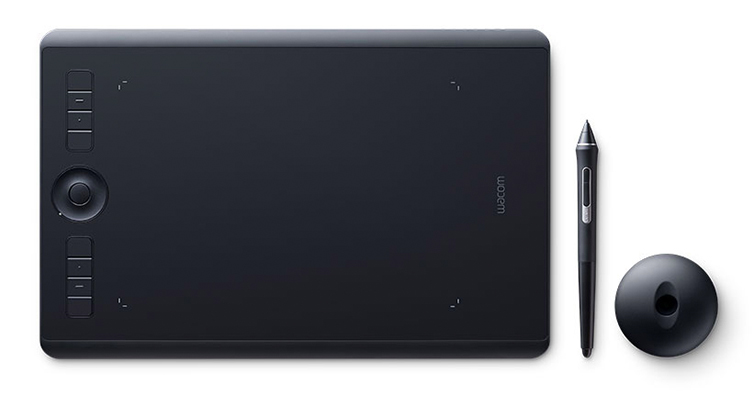
The Wacom Intuos Pro creative pen tablet. Image via Wacom.
Since developing wrist pain ten years ago, I moved from a mouse to a Wacom tablet — and I’ve never looked back. You can use the tablet to do everything the mouse does, and with added hotkeys on the control surface, it’s the best of both worlds.
The hand position required to use a mouse can create tension in the wrist and lead to RSI, or repetitive strain injury. Over years, hours of daily mousing can lead to Carpal Tunnel Syndrome, a debilitating condition which causes chronic pain.
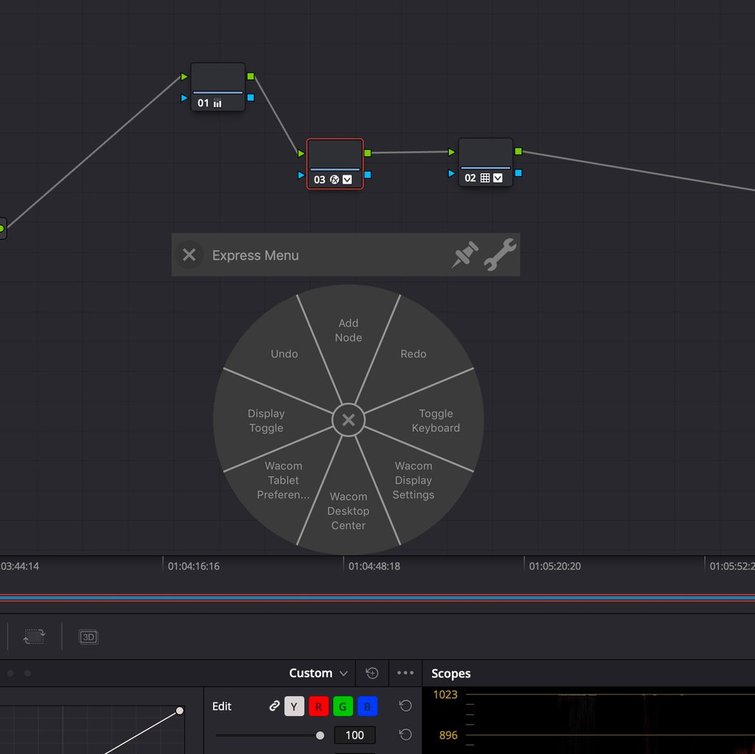
Wacom tablets are great because they mimic the natural resting position of using a pen. The wrist and arm are supported by the surface below, and contact with the tablet is made by rotation, not by pushing down. Just like a mouse, the buttons on a Wacom are programmable. Additionally, you can assign hot menus specific to each program so that your most-used tasks are only a click away.
Wacom does have numerous pen-and-tablet patents, but there are plenty of other, cheaper alternatives out there if you want to try a new device without spending almost $400 of the Intuos Pro. I used the $66 UGEE M708 Graphics Tablet for a year after my first Wacom broke, and despite having to charge the pen every few months, it was a good fit for most computer work.
Keyboard-Only Workflow

Edit faster by adopting a keyboard-only workflow. Image via Clari Massimiliano.
Over the last few months, I’ve been experimenting with a keyboard-only workflow in Premiere. I’m pleased to report it’s sped up my editing by about twenty percent, and those gains seem to be improving the longer I use it. The gains are created by eliminating the constant, time-consuming swap between pen and keyboard, since you need to “dock” a pen in a way that you don’t need to put away a mouse. It sounds like a minor thing, but the seconds adds up.
As is to be expected when changing the way you work, switching to keyboard-only will initially slow you down a bit. I remember when I learned to touch type — it was much slower than the two-finger method I’d been using for the better part of a decade. But, the increase in speed that eventually results from learning a new method more than makes up for the temporary slow-down encountered while learning it.
With all of this in mind, I thought I’d share my “make the switch” methods here in the hope that others are able to gain something from them. I should say up front that it’s not a soup-to-nuts approach to Premiere — you’ll still need a mouse to open your projects, prepare the timeline, and import media. The “keyboard-only” section comes into play when you have a long take — like a documentary shoot or a piece to camera — that you want to go through and collect highlights from.
I use this method with my YouTube videos, and can cut a ten minute to-camera piece in under five minutes, or twice as fast as it took to actually shoot it. Let’s dive in and see what you’ll need to change and how the workflow functions.
Implementing Keyboard-Only Workflow
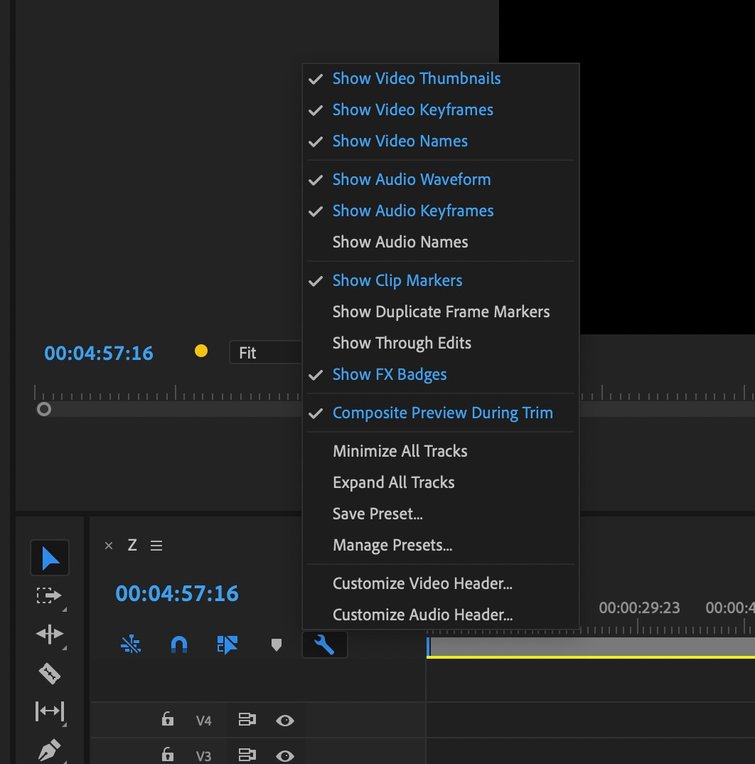
The first thing you’ll need is waveforms, which will let you see where pauses and other imperfections are in the media. Click the wrench icon above the top video track in the timeline and make sure Show Audio Waveforms is selected.
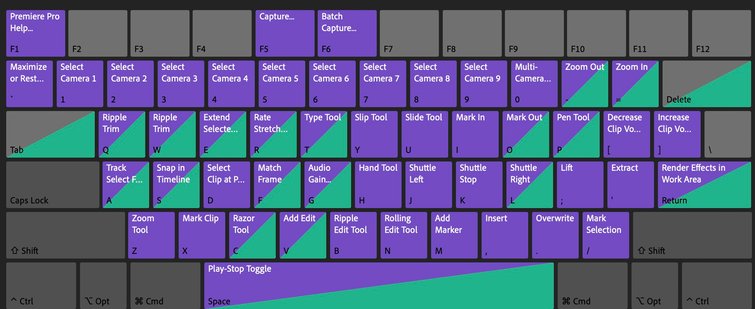
The next step is to open Keyboard Shortcuts under the Premiere Pro menu and change the V key to Add Edit.
You can now navigate through your clip in two ways — either with the J and L keys, which will also play the audio or with the Shift + Arrow keys, which will not. I prefer the arrow keys because you don’t need to stop play once you’re at the place you want to be. By default, they jump five frames ahead, which you can customize to twenty frames in the Preferences: Playback setting.
Use either of these methods to get to the first place where you want to place a cut and hit V. Then, you play forward, past the part of your clip you want to eliminate, and hit either Q or W. The Q key will trim everything before your playhead to the playhead, and W will trim everything after.
If you end up with an entire part of a clip you want to eliminate, simply press X to select it and hit the apostrophe key to cut it and join both sides.
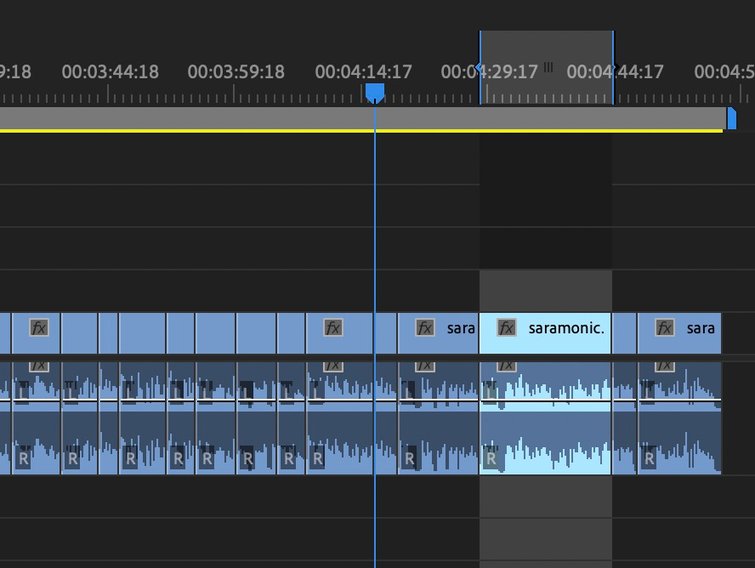
By watching the waveforms, you can quickly identify the sections of the clip where the person is talking and which parts are dead air.
Learning Curve
There’s a learning curve when using the keyboard to edit in this way, to be sure, but without the constant switching, you’ll end up with a faster — and hopefully more efficient — editing workflow.
Some other great keyboard shortcuts in Premiere are Shift+Z, which will zoom out to show you the entire timeline. Command+M will open the export timeline dialogue box. And holding down the Option button lets you select a track without selecting its linked audio or video track. This is great for when you want to edit B-roll, but not its linked audio. Here’s a quick look at a few more Premiere Pro keyboard shortcuts via
Zach Mayfield.
Want more tips and tricks for super-charging your video editing workflow? Check out these helpful articles.
- This Remote Access Video Game Software Also Works for Video Editing
- Video Tutorial: Improving Your Time-lapse Workflow for the GH5
- Unlock the Power of Macros with These Gaming Keyboards
- The Best Video Editing Programs: Final Cut Pro vs. Premiere Pro
- Video Editing 101: How to Add Titles and Subtitles in Premiere Pro
Cover image via Ninma.

