
Create Wiggly Text and Animations Using the Line Boil Effect
Learn how to create a line boil effect on text and animations in After Effects. Tutorial includes free preset!
In this tutorial, we’ll look at how to create a line boil effect in After Effects. We’ll also explore some of the handy uses for this effect and how to create your own line boil preset.
Ready for the tutorial? Let’s go! Be sure to download the free project file and preset as well!
DOWNLOAD THE AE PROFECT FILE AND PRESET
By downloading, you agree not to resell or redistribute these free assets.
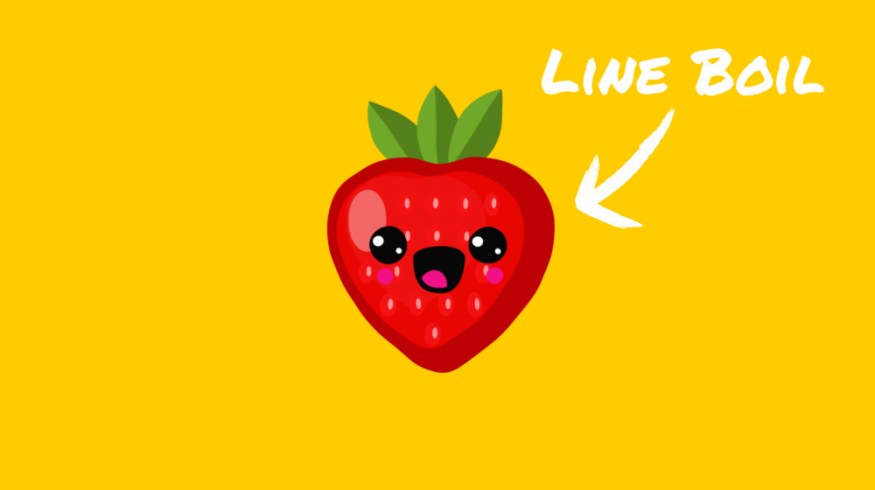
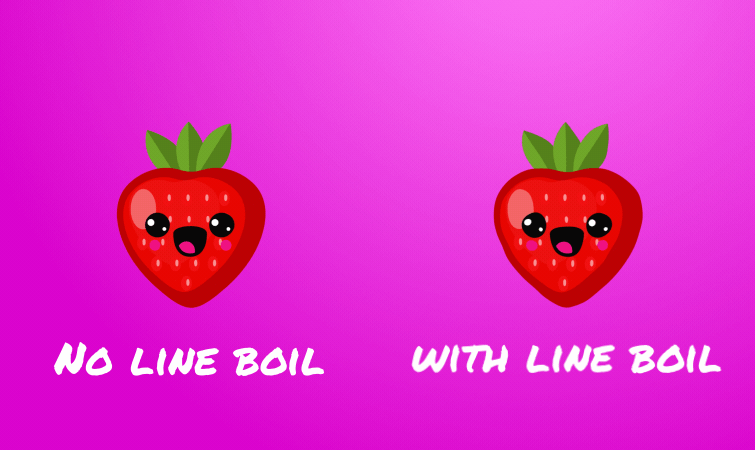
What Is a Line Boil Animation?
A line boil is a visible effect that occurs when frames of an animation don’t align perfectly. It gives the animation almost a “bubbly” quality, hence the term “boil.” It’s a common occurrence with hand-drawn or painted animations. However, we can add our own line boil effect to existing animations and text in After Effects, to give them more of a handmade feel.
Check out Jason Boone’s tutorial on Creating Hand-Drawn Line Boil Animations, if you’d like to know more about creating this effect by hand.
Creating a Line Boil in After Effects
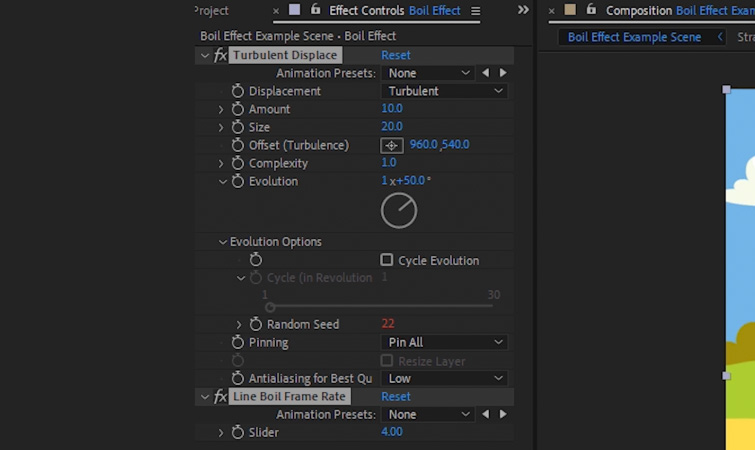
First, create a new Adjustment layer above your animation. Next, apply the effect Turbulent Displace. This is the core effect we’ll use to create our line boil. The two effect settings we’ll need to adjust are the Amount and Size of the displacement.
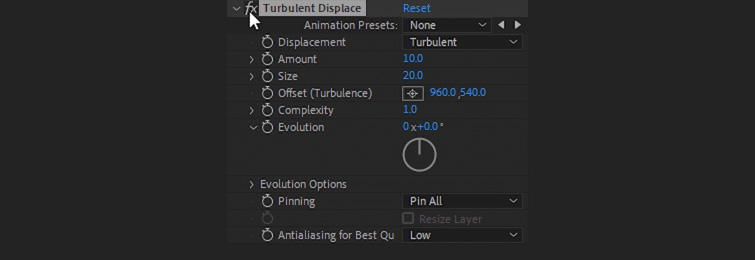
For the Amount, I recommend setting this between 5 and 10. For the Size, I suggest between 20 and 60. (For animations, lower values usually look better. I typically only use higher values with text, for exaggerated movements.)
Animating the Line Boil
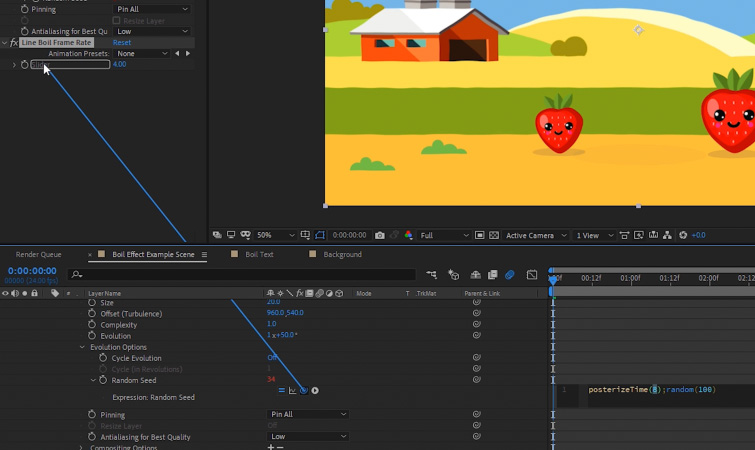
Now, we need to animate the line boil. For this, we need the Turbulent Displace effect to change randomly at a frame rate we set. These random changes will create the look of a line boil on our animation. Toggle down to the Evolution Options for the Turbulent Displace Effect. Then, hold Alt and click on the stopwatch icon for Random Seed. (Hold Option and click on a Mac.)
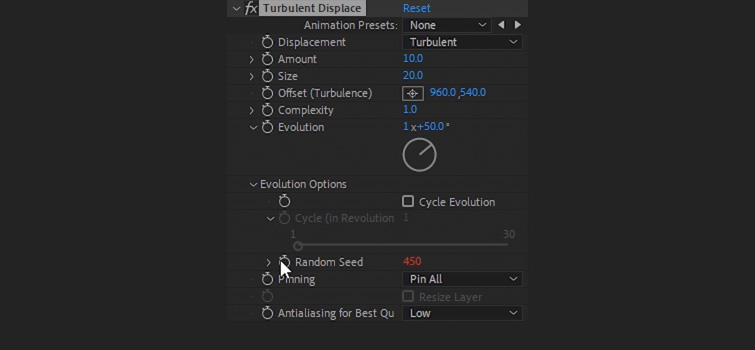
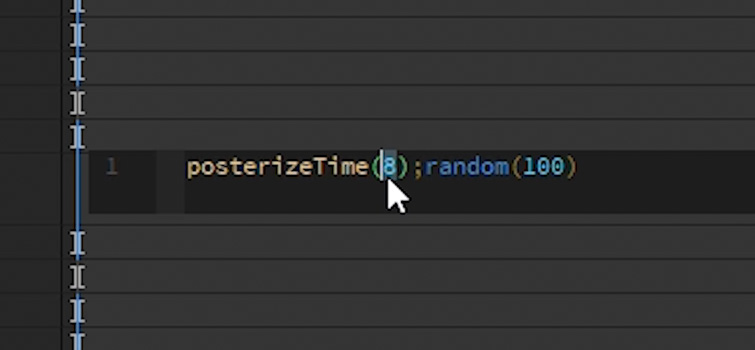
This will open up the expression options for the Random Seed effect. We’re going to input an expression that will change the Random Seed effect to a random value at a set frame rate. Let’s say we want our line boil to change four times per second. Plus, we want the Random Seed to be a random value between 0 and 100. For this, we’d input this expression for the Random Seed setting:
posterizeTime(4);random(100)
Now the Turbulent Displace effect is changing randomly four times per second, giving the illusion of a line boil effect on our animation.

We can easily change the frame rate of the line boil effect by changing the number value for Posterize Time in our expression. Let’s say we want a faster Line Boil at twelve frames per second. To do this, we just need to input a value of 12 instead of 4 in our expression, like this:
posterizeTime(12);random(100)
The result will be a much faster line boil effect on our animation.
Making the Line Boil Easier to Use
We can make the line boil easier to animate by adding a controller for the line boil frame rate. To do this, apply a Slider Control to the Adjustment layer. Select the Slider Control and press Enter to rename it Line Boil Frame Rate. Then, use your mouse to highlight the number value after Posterize Time in the expression.
Next, click and drag the Pick Whip for the Random Seed setting to the Slider Control. This will link the two.
Now you can just set the Line Boil Frame Rate using the Slider Control, instead of having to input it manually in the expression.
Creating the Line Boil Preset
Now that the expression and Slider Control are set up, we can save out everything as a preset. (This will make it easy to drag and drop the effect on anything we need in the future.) First, hold CTRL and select the Line Boil Frame Rate and the Turbulent Displace effects.
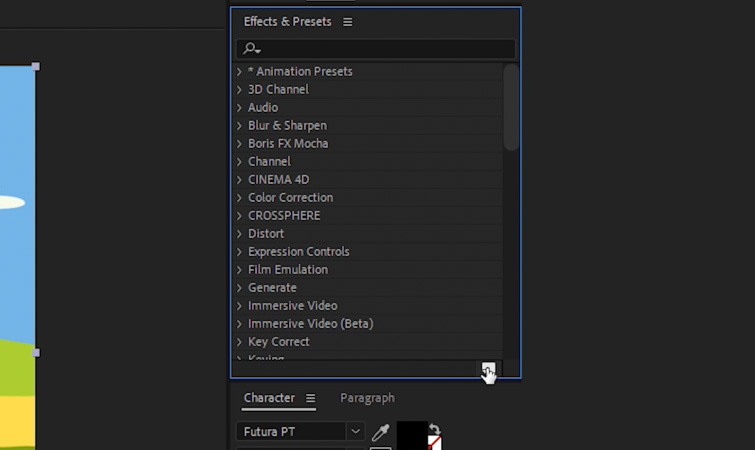
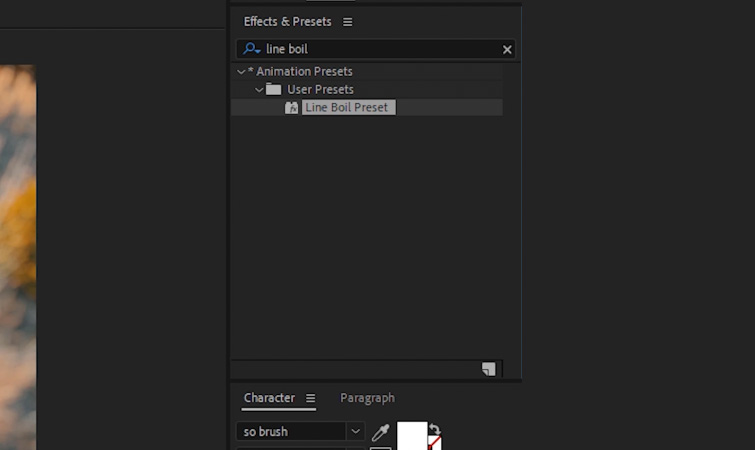
With both effects still selected, make sure you have the Effects & Presets panel open. Then, click on the small post-it note icon in the bottom corner. This will allow you to name and save the preset.
You can now search for the line boil preset in the Effects & Presets panel.
Drag and drop the preset directly onto graphics or Adjustment layers to immediately create a line boil look.

Interested in the royalty-free tracks we used to make this video? Give them another listen:
- “Influencers” by FASSounds
- “Lo Fi Beach Dawn” by Trending Music
- “Rain Rain Go Away” by Cosmo
- “Lo-Fi Dreams” by Trending Music
Also, for additional info on creating graphics and animations, check out these articles:


