7 Tutorials for Learning Blackmagic’s DaVinci Resolve

In the following tutorials, we’ll cover some of the best tips, tricks, and advice for working with Blackmagic Design’s DaVinci Resolve.
From its digital color correction roots back in the 1980s, DaVinci Resolve has transformed from a software with no more than a hundred users in 2009, to a product user-base of over two million in 2019, which is a number matching Apple’s Final Cut Pro X at its height in 2017. It’s safe to say that DaVinci Resolve is now one of the most popular video editing applications (both for color correction and non-linear editing) for film and video professionals.
Yet, for many in the industry, DaVinci Resolve might seem a bit daunting. This is especially true for those who’ve been happy and comfortable with other editing platforms. However, if you’re someone starting out in video editing for the first time — or thinking about trying out a new platform for some specific changes — DaVinci Resolve is fast becoming a new editing workhorse for many.
So, let’s dive into some of the best tutorials to get you started.
Color Grading in DaVinci Resolve
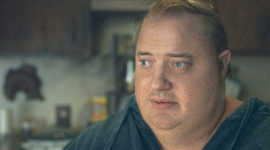
In my professional film and video career — as both an editor and a shooter — DaVinci Resolve came up most often as one of the better solutions for working with color grading and specific situations, like the above — working with skin tones.
However, while the app is much more than just a color grading software, for many it’s still one of the best options for touching up colors and tones. In the tutorial above, we not only get some great insights into how to work with different skin tones, but also how to make masks, unify tones, pair imperfections, and separate mixed nodes.
You can read more about the whole process in this article here.
DaVinci Resolve Easy Screen Pump Effect
One cool, simple trick — which is pretty easy to uniquely pull off in DaVinci Resolve’s NLE editing platform — is the iconic “screen pump” effect. You know, the one from concert or music videos where the screen seems to bounce with the beat of the song?
In this quick tutorial, Jay Lippman shows us how to create this effect without going into color of fusion, but by simply applying some basic keyframing techniques.
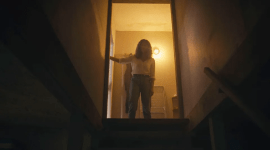
How to Remove Objects in DaVinci Resolve
So, less than a year ago Adobe turned some heads when they announced their “Content Aware Fill” tool for After Effects. This tool blew fans and editors away with its almost science fiction-level technology. And, while it’s a great option for After Effects users, in the tutorial above you can see that DaVinci Resolve (which is a free program as a basic offering) has the exact same technology.
You can follow along in the tutorial above, or check out this full article to learn how to use the Content Aware Fill on your Resolve projects.
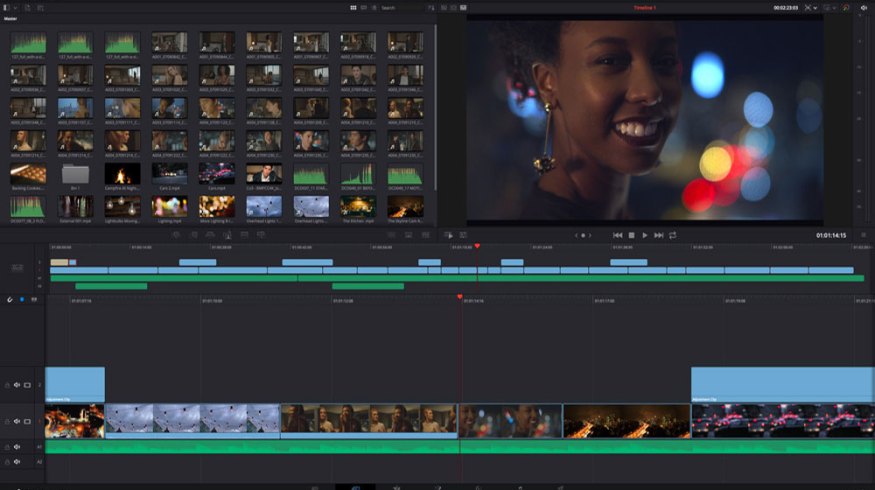
Basic Fusion and Compositing
Getting back to the basics in this tutorial by Casey Faris, we dive into a quick primer on how to navigate DaVinci Resolve, and the first steps you’ll need to take when just getting started. In many ways, the platform is quite similar to other popular NLEs. But, once you start really getting into the fusion and composition, it might help to have a guide in order to understand what’s going on — plus all the advanced options at your control.
Using DaVinci Resolve’s Face Refinement Tool
As a good partner video and article to go along with the skin tone editing tutorial at the top of our list, DaVinci Resolve’s “Face Refinement Tool” is truly a remarkable tool video editors and color correctors/graders will love. DaVinci’s Face Refinement Tool was introduced in DaVinci Resolve 14, as seen in the video above.
If you really want your models, subjects, or actors to look their best in your film and video projects, check out the full, in-depth article here.
Create Neon Animations in DaVinci Resolve
In case you haven’t seen the trendy and stylized looks created by Blotter Media, you should definitely check out the channel here. And, if you’d like to add it to your films and videos, we have a great tutorial to recommend. Editor Jamie Fenn breaks down how to add the neon animations to your projects.
Taking a simple example using his fingers, Fenn takes you through creating the painted, soft glows and the frame-by-frame technique of creating your custom animations.
THE Total Guide to the Best Free Video Editor
Finally, if you’ve checked through the videos above and feel like you’re ready to fully dive into DaVinci Resolve and truly MASTER the platform as one of your regular editing options, we actually have a multi-episode course that’ll teach you the following:
- How to Organize and Import Media in Resolve
- How to Use the Edit Page in Resolve
- How to Edit Your Video in DaVinci Resolve
- How to Edit Audio in DaVinci Resolve
- How to Render or Export in DaVinci Resolve
- How to Set Up Basic User Settings in DaVinci Resolve
- How to Color Correct and Color Grade in DaVinci Resolve
You can read more about the full course guide and check out some of the individual episodes in this full article here.
Cover image via DaVinci Resolve.
For more DaVinci Resolve and video editing tips, tricks, and resources, check out some of these articles below.
- Color Grading Tips: The Ins and Outs of Correcting for a Pink Sky
- How to Use the Shared Node Feature in DaVinci Resolve
- Color Grading: Working with the Hue vs. Curves in DaVinci Resolve
- Your Guide to Working with Project Files in DaVinci Resolve
- Quick Tip: How to Use Optimized Media in DaVinci Resolve